Space-Savvy Solutions: Making the Most of Your Small Home

Embracing a small living space can be both a practical and stylish choice. At Casability, we understand that maximizing a small home’s potential is key to creating a comfortable and functional environment. This guide offers innovative ideas for homeowners looking to enhance their smaller homes.

The Art of Decluttering

Simplifying Your Space

Decluttering is the first step in maximizing a small home’s potential. By simplifying your belongings, you can create a more open and airy space.

Essentialism: Adopting a less-is-more approach by keeping only what you need and love. Evaluate your items and consider donating or selling things that no longer serve a purpose or bring you joy. This minimalist mindset helps to keep your home organized and clutter-free.

Smart Storage: Utilizing under-bed storage, over-the-door racks, and multi-purpose furniture. Look for storage solutions that make use of often-overlooked spaces, such as under the bed or over doors. Multi-purpose furniture, like ottomans with storage compartments, can also help maximize your space.

Utilizing Vertical Space

Thinking Upwards

When floor space is limited, vertical space becomes incredibly valuable.

Wall Shelves: Adding shelving high up on walls for books, plants, and decor. Wall-mounted shelves not only provide additional storage but also draw the eye upward, making the room feel taller.

Hanging Solutions: Using ceiling or wall-mounted racks for items like pots and pans. In the kitchen, hanging pots and pans can free up cabinet space. Similarly, consider hanging racks in other rooms for items like bikes, hats, or bags.

Multi-functional Furniture

Dual-Purpose Designs

Furniture that serves more than one purpose is ideal for small spaces.

Convertible Pieces: Investing in furniture that can serve multiple purposes, such as sofa beds or extendable tables. Sofa beds provide a place to sit during the day and sleep at night, while extendable tables can be adjusted to accommodate more guests as needed.

Built-In Storage: Choosing beds, sofas, and ottomans with built-in storage compartments. These pieces help reduce clutter by providing hidden storage for items like blankets, books, or off-season clothing.

Creative Organization Hacks

Clever Ways to Organize

Innovative organization solutions can make a big difference in small spaces.

Magnetic Strips: Using magnetic strips in the kitchen or office area to hold tools and accessories. Magnetic strips are perfect for organizing knives, tools, or office supplies, keeping them within reach and freeing up drawer space.

Pegboards: Customizable pegboards for organizing kitchen, craft, or workspace items. Pegboards can be customized with hooks, shelves, and bins to store a variety of items, making them highly versatile and functional.

Color and Light: Creating the Illusion of Space

Bright and Airy Interiors

Using color and light strategically can make your small space feel larger and more open.

Light Colors: Opting for light, neutral colors to make rooms appear larger. Light colors reflect more light, making rooms feel brighter and more spacious. Consider shades of white, beige, or light gray for walls and large pieces of furniture.

Mirrors: Placing mirrors strategically to reflect light and create a sense of depth. Mirrors can make a small room feel larger by reflecting light and creating the illusion of more space. Place mirrors opposite windows or in narrow hallways to enhance this effect.

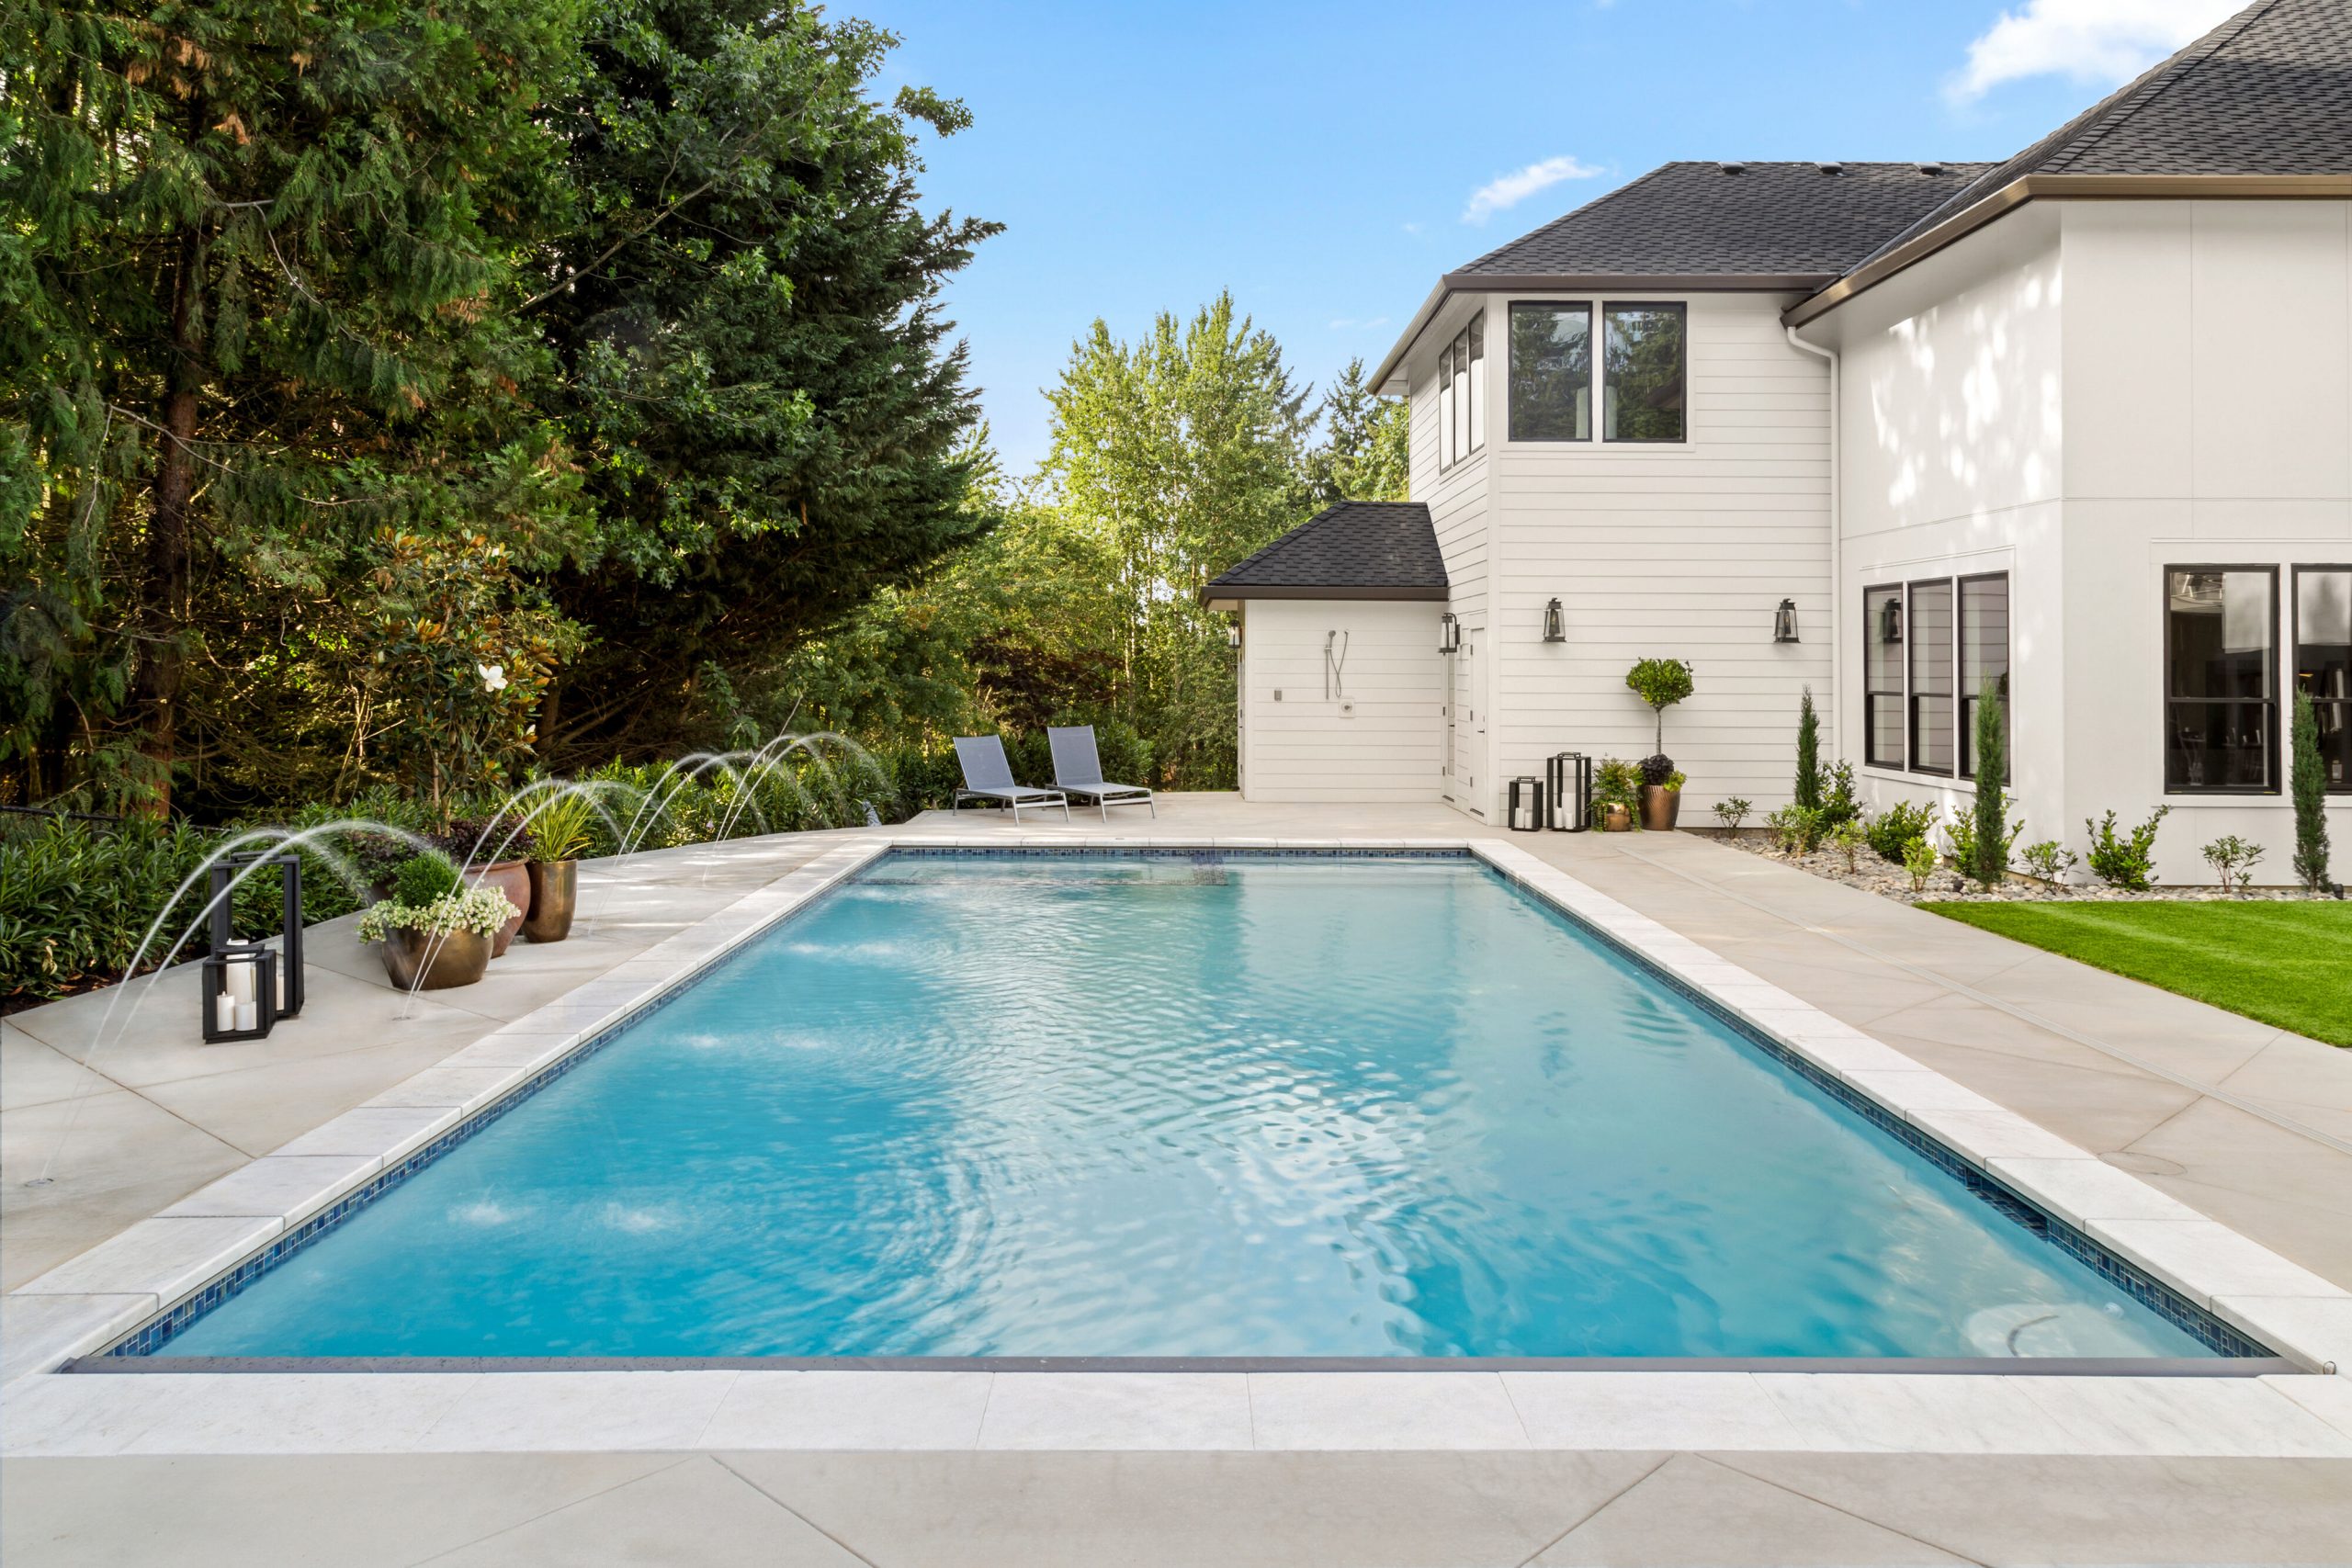
Smart Use of Outdoor Areas

Expanding Living Spaces

Even small outdoor areas can be transformed into functional and enjoyable spaces.

Balcony Makeover: Turning a small balcony into a cozy retreat with seating and plants. Add a small table and chairs, along with some potted plants, to create an inviting outdoor space for relaxation or entertaining.

Vertical Gardens: Installing vertical planters for greenery without taking up floor space. Vertical gardens are perfect for adding greenery to your home without sacrificing space. Use wall-mounted planters or hanging pots to create a lush, green wall.

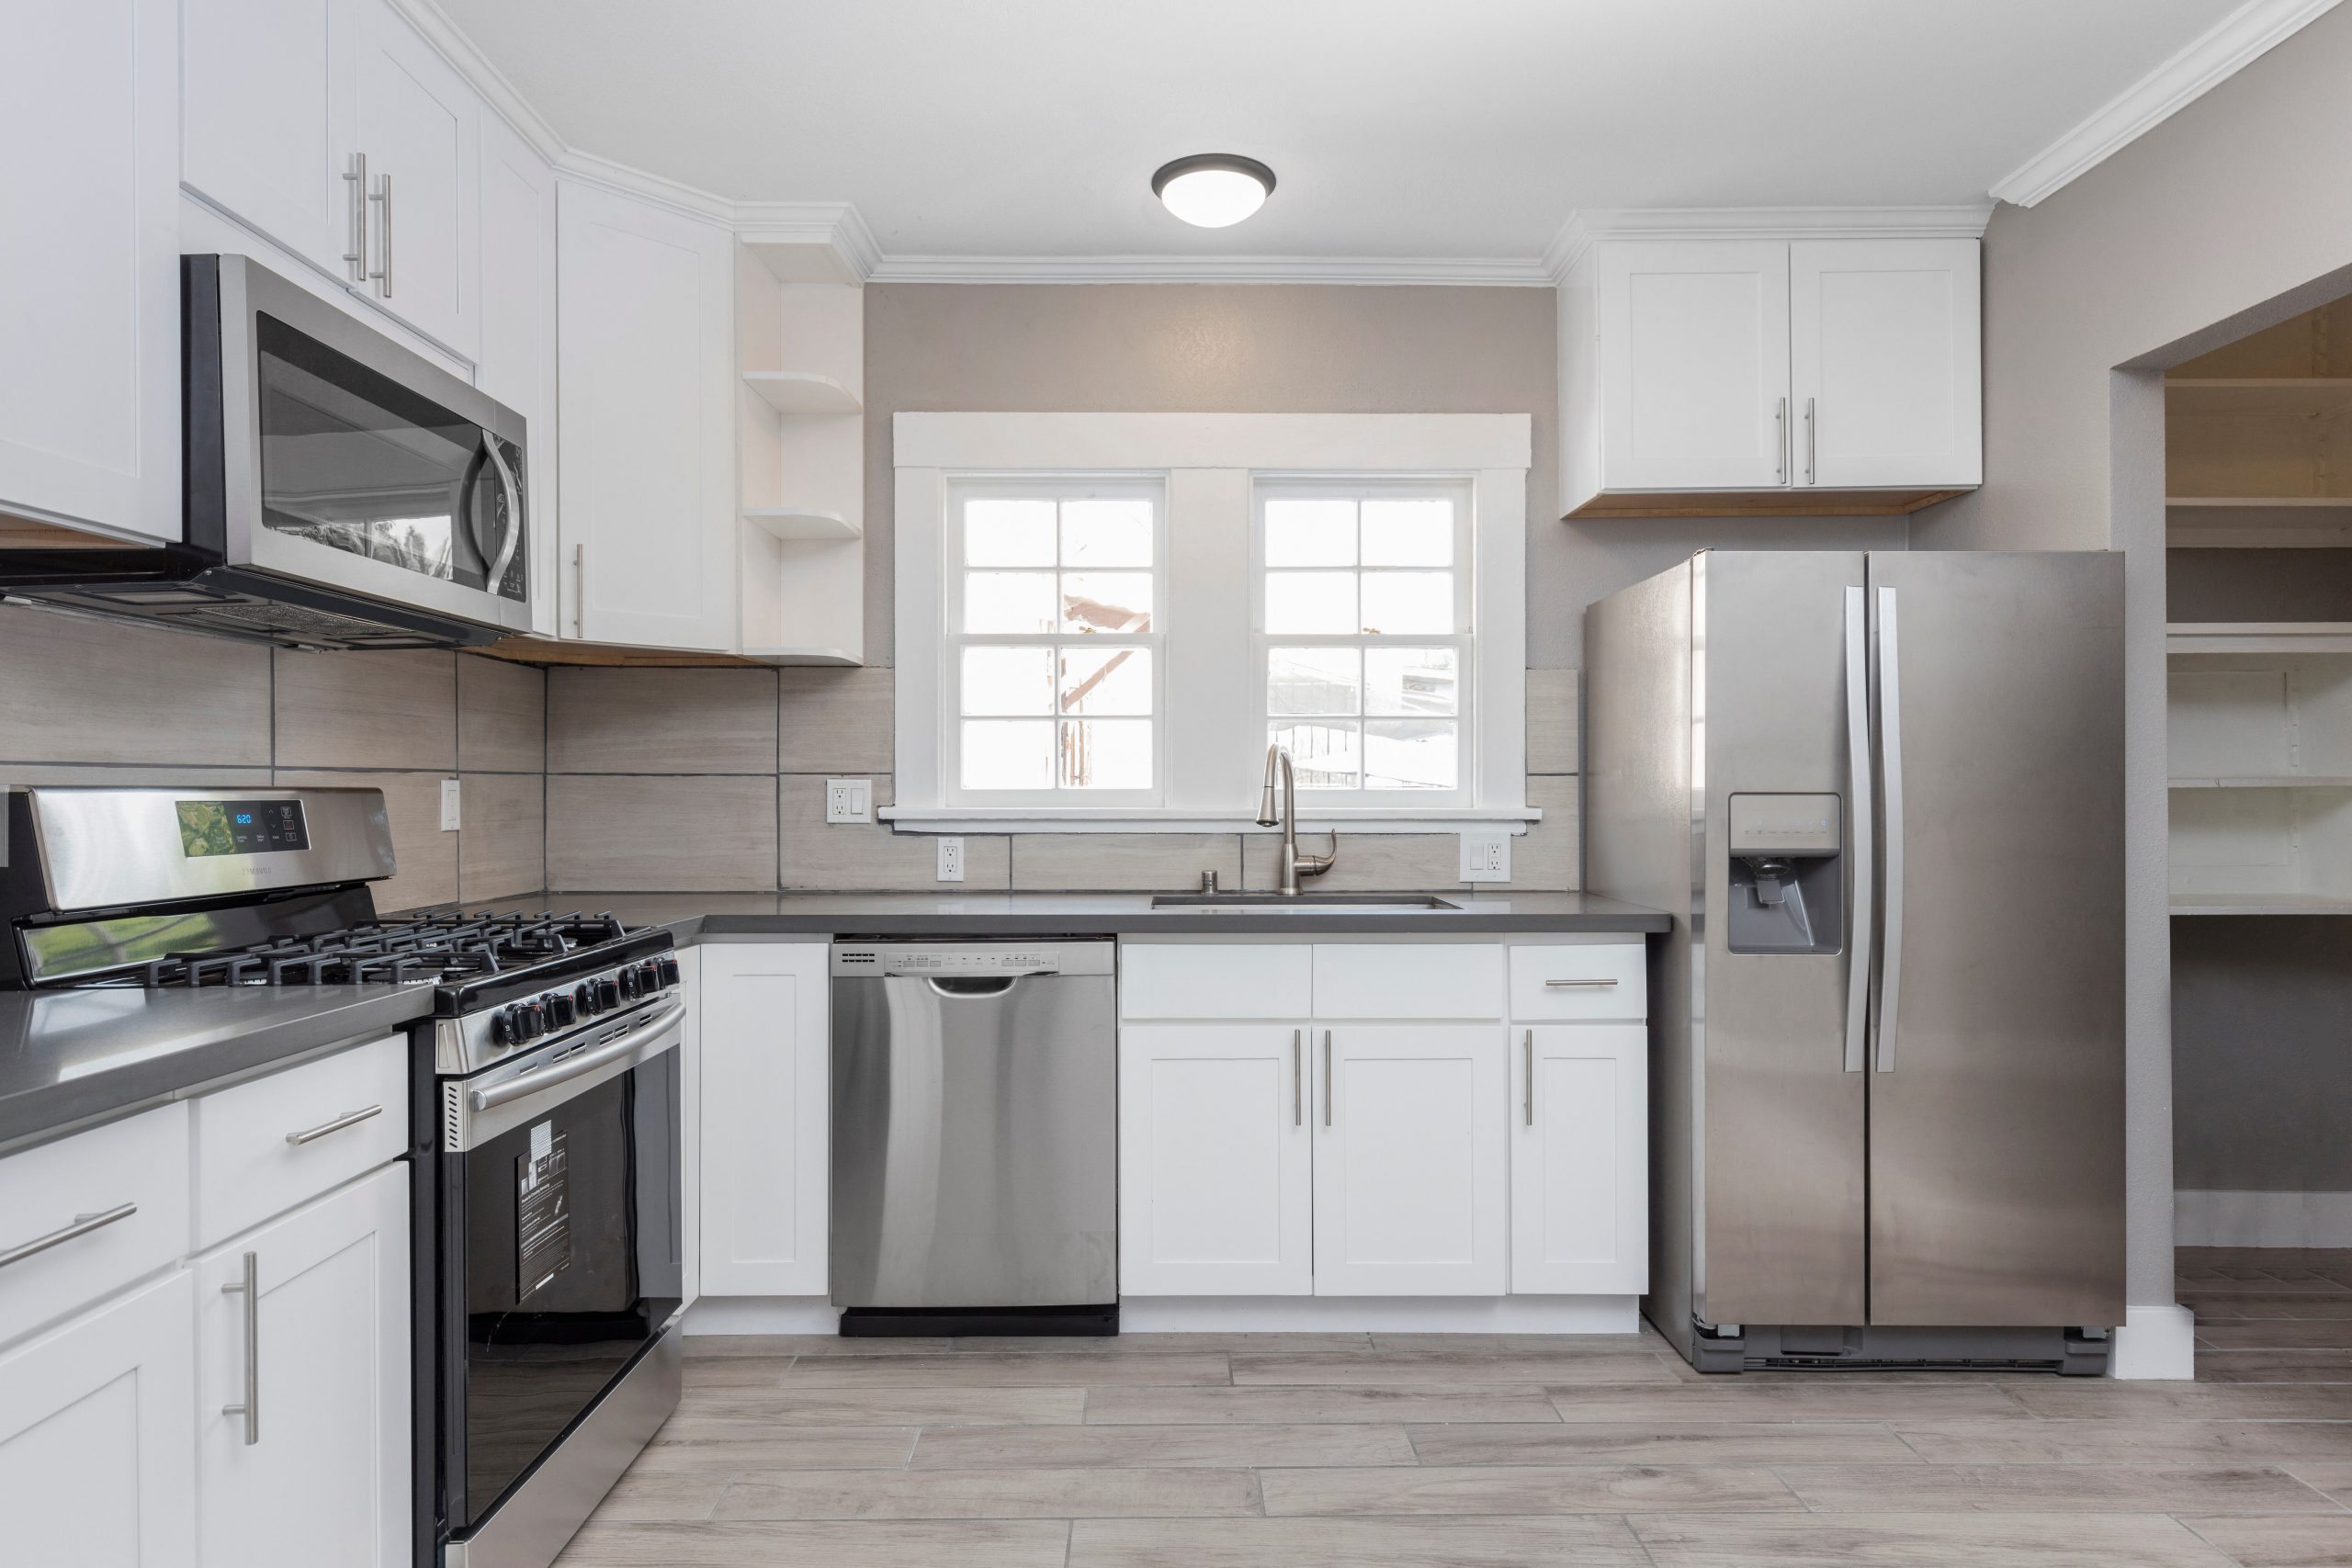
Efficient Kitchen Solutions

Space-Saving Kitchen Ideas

Kitchens can quickly become cluttered, but with the right solutions, they can remain functional and organized.

Compact Appliances: Choosing smaller or multi-functional kitchen appliances. Opt for compact versions of essential appliances or multi-functional appliances like a toaster oven that can also act as an air fryer.

Foldable Countertops: Installing foldable or pull-out countertops for extra prep space. These can be tucked away when not in use, providing additional workspace without permanently taking up space.

Bathroom Space Maximizers

Organizing Smaller Bathrooms

Bathrooms often have limited space, but smart solutions can maximize their functionality.

Over-the-Toilet Storage: Utilizing the space above the toilet for shelves or cabinets. This often-overlooked space can be used for storing toiletries, towels, and other essentials.

Shower Caddies: Keeping toiletries tidy with hanging or corner caddies. Shower caddies help keep your shower organized and free up space on the shower floor.

Technology for Small Spaces

High-Tech Enhancements

Incorporating technology can help you make the most of your small space.

Smart Home Devices: Incorporating devices like smart speakers or lights that don’t take up physical space. Smart home devices can control lighting, temperature, and entertainment systems, enhancing convenience without adding clutter.

Cord Management: Using cord organizers to keep spaces neat and tidy. Organize and hide cords using clips, channels, or cord covers to maintain a clean and uncluttered look.

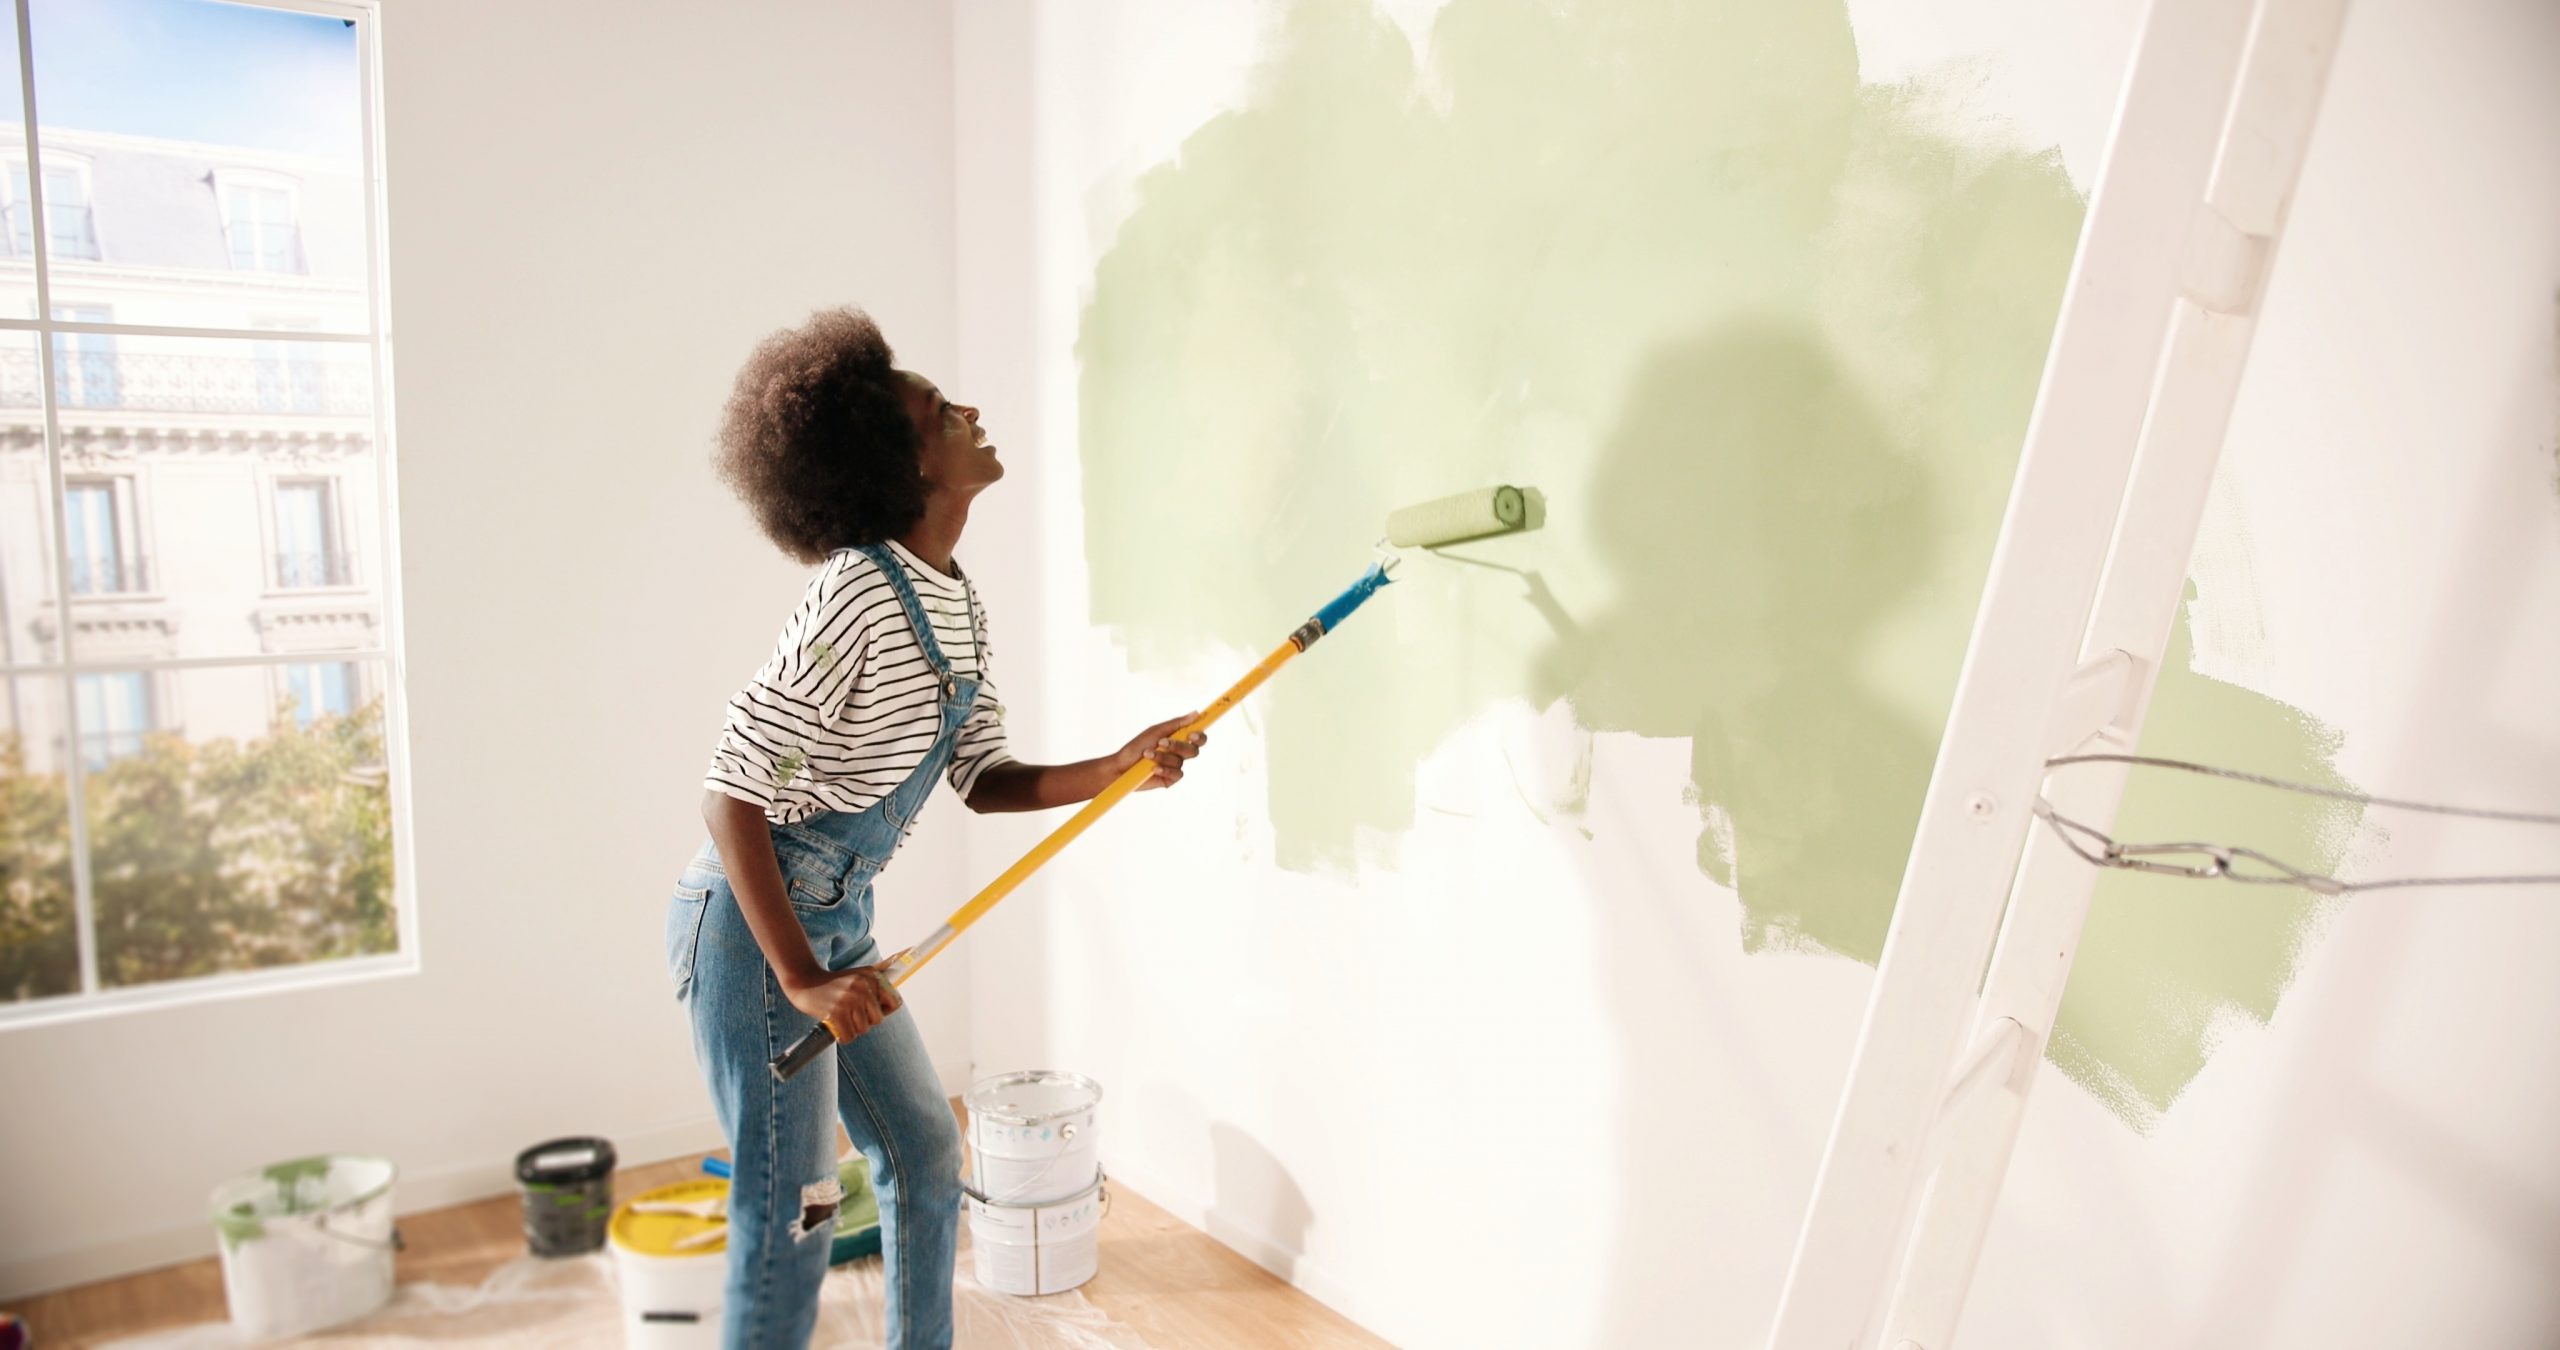
Budgeting for Small Space Upgrades

Cost-Effective Improvements

Enhancing a small space doesn’t have to be expensive.

DIY Projects: Tackling simple projects yourself to save money. From painting walls to installing shelves, there are many DIY projects that can improve your space without a significant financial investment.

Investment Pieces: Prioritizing spending on items that will make the biggest impact in small spaces. Invest in high-quality, multi-functional furniture or efficient storage solutions that will enhance the functionality and aesthetic of your home.

Maximizing a small home’s space requires creativity and strategic planning. By decluttering, utilizing multi-functional furniture, and employing clever storage solutions, you can transform your small home into a spacious, organized, and stylish haven. Casability is here to guide you through every step, from planning to execution, ensuring your home improvement journey is successful and within budget. Whether you’re making the most of vertical space, enhancing outdoor areas, or incorporating smart technology, these tips will help you create a functional and beautiful home.

Longevity of Kitchen Appliances: Lifespan and Replacement Costs

Understanding the lifespan and replacement costs of major kitchen appliances is essential for budgeting and home maintenance. This Casability guide provides insights into how long your kitchen appliances typically last and what you might expect to pay when it’s time for a replacement.

Refrigerator: The Cooling Giant

Lifespan and Cost

  • Average Lifespan: 10-15 years.
  • Replacement Cost: $1,200 to $2,500 for a standard model, higher for advanced features.

Refrigerators are a staple in any kitchen, providing essential cooling and storage. While they can last up to 15 years with proper maintenance, features like smart technology and energy efficiency can drive up the replacement cost.

Range/Oven: The Heart of Cooking

Lifespan and Cost

  • Average Lifespan: Ranges typically last 13-15 years.
  • Replacement Cost: $650 to $2,000 depending on the type (gas or electric) and features.

Ranges and ovens are central to meal preparation. Their lifespan is relatively long, but costs can vary significantly based on whether you choose a gas or electric model and the range of features.

Dishwasher: The Cleaning Helper

Lifespan and Cost

  • Average Lifespan: About 9-12 years.
  • Replacement Cost: Ranges from $400 to $700 for most models.

Dishwashers save time and water, making them a valuable kitchen asset. They typically last just over a decade, with replacement costs influenced by capacity and additional features such as energy efficiency and noise reduction.

Microwave Oven: Quick and Convenient

Lifespan and Cost

  • Average Lifespan: 7-10 years.
  • Replacement Cost: Approximately $100 to $300 for countertop models and more for built-in units.

Microwave ovens offer quick and easy cooking solutions. Their shorter lifespan means they might need replacement sooner than other appliances, but their relatively low cost makes this manageable.

Garbage Disposal: The Under-Sink Workhorse

Lifespan and Cost

  • Average Lifespan: 8-15 years.
  • Replacement Cost: Around $150 to $400, plus installation fees if needed.

Garbage disposals are handy for managing food waste. Their lifespan can vary widely based on usage and maintenance. Installation costs should also be factored in if you’re not doing it yourself.

Freezer: Long-Term Storage Solution

Lifespan and Cost

  • Average Lifespan: 10-20 years.
  • Replacement Cost: $300 to $800, more for larger or chest-style freezers.

Freezers are crucial for storing food long-term. Their lifespan is impressive, often outlasting other kitchen appliances. Costs can vary significantly based on size and type.

Factors Affecting Appliance Lifespan

Influencing Elements

  • Usage: Frequent use can shorten an appliance’s lifespan.
  • Maintenance: Regular cleaning and upkeep can extend life.
  • Quality: Higher quality appliances tend to last longer.

Signs That It’s Time for a Replacement

Recognizing the Need

  • Frequent Repairs: Constant need for repairs is a clear sign.
  • Declining Efficiency: Increased energy bills or decreased performance.
  • Outdated Technology: Modern appliances offer better efficiency and features.

Cost-Saving Tips for Appliance Replacement

Budgeting Smartly

  • Shop Sales and Discounts: Look for deals during major sales events.
  • Consider Energy Efficiency: Energy-efficient models can save money in the long run.
  • Research and Compare: Look at different brands and models for the best value.

Appliance Warranties and Insurance

Protecting Your Investment

  • Manufacturer Warranties: Usually cover the first year or more.
  • Extended Warranties: Consider for more expensive appliances.
  • Homeowners Insurance: Typically doesn’t cover appliance replacement unless due to insured damage.

Professional Installation vs. DIY

Choosing the Right Approach

  • DIY: Possible for simpler appliances like microwaves.
  • Professional Installation: Recommended for complex appliances like ranges and dishwashers.

The lifespan of your kitchen appliances varies, and understanding this can help you plan financially for replacements. Regular maintenance can extend their life, but eventually, replacement will be necessary. By knowing the average costs and considering energy efficiency, you can make smart choices that fit your budget and home needs. Casability is here to provide guidance and confidence as you navigate through these important household decisions.

Sealing Comfort: Weatherproofing Your Doors and Windows

At Casability, we know that keeping your home comfortable and energy-efficient is a top priority. Weatherproofing your doors and windows is a key step in this process. This guide will help you determine when it’s time to weatherproof and how to do it effectively.

The Importance of Weatherproofing

Why Weatherproof?

Weatherproofing your home’s doors and windows brings several benefits:

  • Energy Efficiency: Prevents heat loss in winter and keeps cool air in during summer.
  • Cost Savings: Reduces energy bills by improving home insulation.
  • Comfort: Keeps your home more comfortable year-round by maintaining consistent indoor temperatures.

Identifying the Need for Weatherproofing

Signs to Look Out For

Determining when to weatherproof involves looking for specific signs:

  • Drafts: Feeling air coming through closed doors or windows is a clear indication that weatherproofing is needed.
  • Visible Damage: Cracks or gaps in the sealant or weather stripping suggest deterioration.
  • Condensation: Moisture between panes of glass or around frames indicates poor insulation and potential gaps.

Assessing Your Doors and Windows

Conducting an Inspection

Regular inspections can help you catch problems early:

  • Visual Check: Look for cracks, gaps, or worn-out sealant around frames.
  • Touch Test: Feel around the edges for drafts or temperature differences, especially on windy days.
  • Age Factor: Older doors and windows may require more frequent weatherproofing as materials degrade over time.

Materials Needed for Weatherproofing

Gathering Your Supplies

Having the right materials is crucial for effective weatherproofing:

  • Caulk: For sealing gaps and cracks around frames.
  • Weather Stripping: To insulate around the moving parts of windows and doors.
  • Draft Stoppers: For the bottom of doors to prevent drafts.

Step-by-Step Weatherproofing Process

How to Seal the Gaps

Here’s a simple guide to weatherproofing your doors and windows:

  1. Clean Surfaces: Ensure the areas around doors and windows are clean and dry before applying any materials.
  2. Apply Caulk: Use caulk to seal fixed gaps, particularly where the window or door frame meets the house structure. Choose a high-quality, weather-resistant caulk.
  3. Install Weather Stripping: Apply weather stripping around movable parts of windows and doors to ensure a tight seal when closed. There are various types, such as adhesive-backed foam or V-strip, each suitable for different applications.
  4. Place Draft Stoppers: Fit draft stoppers at the bottom of doors to block drafts. These can be permanent fixtures or removable, depending on your preference.

Professional Help vs. DIY

Deciding the Best Approach

Choosing between DIY and professional help depends on the scope of the work and your comfort level:

  • DIY Weatherproofing: Cost-effective and suitable for minor issues. Materials like caulk and weather stripping are inexpensive and relatively easy to apply with basic tools and a bit of patience.
  • Professional Services: Recommended for extensive repairs, older homes, or if you’re not confident in your DIY skills. Professionals can ensure a thorough job and provide more durable solutions.

Maintenance and Upkeep

Keeping Weatherproofing Effective

Regular maintenance ensures long-lasting effectiveness:

  • Regular Checks: Inspect seals and stripping seasonally for any signs of wear or damage. Reapply caulk or replace weather stripping as needed.
  • Prompt Repairs: Address any damage or wear immediately to maintain insulation efficiency and prevent further deterioration.

Cost Considerations

Budgeting for Weatherproofing

Understanding the costs involved helps in planning and budgeting:

  • DIY Costs: Generally low, involving the cost of materials like caulk and weather stripping, typically totaling around $20-$50 for small projects.
  • Professional Weatherproofing: More expensive, ranging from $150 to $500 depending on the extent of the work, but can offer a thorough and long-lasting solution.

The Benefits of Timely Weatherproofing

Long-Term Advantages

Investing in timely weatherproofing has several long-term benefits:

  • Energy Savings: Proper insulation can significantly reduce heating and cooling costs, leading to substantial savings on energy bills over time.
  • Increased Comfort: Eliminates drafts and cold spots, ensuring a consistently comfortable indoor environment.
  • Home Protection: Prevents water damage from leaks, which can improve the longevity of doors and windows and reduce the need for frequent repairs.

Knowing when and how to weatherproof your doors and windows is key to maintaining a comfortable, energy-efficient home. Whether you choose to do it yourself or hire a professional, regular weatherproofing is an essential part of home maintenance. At Casability, we’re here to guide you through these decisions, ensuring your home remains cozy and efficient year-round.

Smart Watering: The Impact of Automatic Sprinkler Systems on Your Water Bill

Thinking about installing an automatic sprinkler system? Casability is here to help you understand how this investment can impact your water bill and lawn care. Let’s explore the benefits and considerations of automated sprinklers, ensuring you make an informed decision for your home.

Understanding Automatic Sprinkler Systems

What Are They?

Functionality: Automatic sprinkler systems water your lawn and garden at preset times, ensuring consistent and efficient irrigation without manual intervention.

Components: These systems typically include a controller, valves, sprinkler heads, and sometimes sensors. The controller schedules the watering times, the valves control water flow to different zones, and the sprinkler heads distribute water. Advanced systems may include sensors to optimize watering.

The Efficiency of Automatic Systems

Saving Water and Money

Targeted Irrigation: Automatic sprinklers can be set to water specific areas, reducing water waste. By customizing the irrigation schedule for different zones, you can ensure that each area receives the right amount of water.

Consistent Watering: Even, regular watering can be more efficient than manual methods, which often lead to inconsistent water distribution. Automated systems provide a steady and uniform application, promoting healthier lawns and gardens.

Comparing Water Usage: Automatic vs. Manual

Analyzing the Differences

Manual Watering: Often leads to over or under-watering, affecting water usage. Manual methods can be inconsistent, and it’s easy to forget to water or leave the hose running too long.

Automatic Systems: Designed to use only the necessary amount of water, potentially lowering usage. These systems can be programmed to water during optimal times of day, such as early morning or late evening, to minimize evaporation.

The Role of Technology in Efficiency

Smart Sprinklers

Weather Sensors: Some systems adjust watering based on rainfall, preventing unnecessary watering. This feature ensures that your lawn isn’t watered when it’s already wet, saving water and money.

Soil Moisture Sensors: These can detect moisture levels and water only when needed. By monitoring soil conditions, the system can avoid overwatering and ensure plants get the right amount of moisture.

Initial Costs vs. Long-Term Savings

Balancing the Budget

Installation Costs: While there’s an upfront cost for installing an automatic system, it can lead to savings over time. The initial investment includes the price of the system and installation fees.

Reduced Water Bills: Efficient watering can lower your monthly water expenses. Over time, the savings on your water bill can offset the initial installation costs.

Customizing Your Sprinkler System

Tailoring to Your Needs

Zone Settings: Customize watering based on the needs of different lawn and garden areas. For example, flower beds may require more frequent watering than grass lawns.

Timer Settings: Set specific times for watering to maximize efficiency and minimize waste. Early morning or late evening watering reduces evaporation and ensures more water reaches the roots.

The Environmental Impact

Conserving Water Resources

Water Conservation: Automated systems contribute to overall water conservation efforts. By using water more efficiently, you can help reduce the strain on local water supplies.

Eco-Friendly Practices: Using less water is not only good for your wallet but also for the environment. Reducing water waste helps conserve a vital natural resource.

Maintenance and Upkeep

Keeping Your System Optimal

Regular Checks: Inspect and maintain your system to ensure it’s working efficiently. Regular maintenance includes checking for leaks, cleaning sprinkler heads, and ensuring valves function correctly.

Seasonal Adjustments: Change settings based on seasonal weather patterns and lawn needs. For instance, you might reduce watering frequency during rainy seasons.

Professional Installation vs. DIY

Choosing the Right Approach

DIY Installation: Can be more cost-effective but requires technical knowledge. If you have experience with irrigation systems and are comfortable with the installation process, DIY can save money.

Professional Services: Ensure correct setup and efficiency, potentially saving more water in the long run. Professionals can design a system tailored to your landscape and install it correctly, reducing the risk of issues.


Installing an automatic sprinkler system can be a wise investment for efficient lawn care and water usage. By providing targeted, consistent watering, it has the potential to reduce your water bill while keeping your lawn healthy and green. Remember, the key is in proper setup, regular maintenance, and utilizing technology like sensors for optimal efficiency. With Casability, you can navigate this decision with confidence, ensuring your home improvement projects not only add value to your home but also contribute to sustainable living practices.

Hot Water Solutions: Traditional Heaters vs. Tankless Systems

Welcome to Casability’s exploration of hot water systems for your home. Choosing the right water heating system is crucial for comfort, efficiency, and cost-effectiveness. This article will clarify the differences between traditional hot water heaters and modern tankless systems, helping you decide which is best for your home.

Traditional Hot Water Heaters: The Familiar Choice

Understanding the Basics

Storage Tanks: These heaters store and heat a large volume of water in a tank. The tank keeps water hot and ready for use, maintaining a reserve of heated water.

Operation: Water is heated continuously or on a set schedule, ensuring hot water availability. The heater works to keep the stored water at a consistent temperature, reheating it as needed.

Pros and Cons

Advantages:

  • Lower Initial Cost: Traditional heaters generally cost less upfront compared to tankless systems.
  • Simpler Installation: Installation is typically straightforward and doesn’t usually require significant modifications to existing plumbing or electrical systems.
  • Reliable Performance: Provides a steady supply of hot water for common household needs.

Disadvantages:

  • Higher Energy Use: Continuously heating water leads to higher energy consumption.
  • Limited Hot Water Supply: Once the hot water in the tank is used up, there is a wait for the tank to refill and reheat.
  • Larger Space Requirements: Storage tanks take up more space, which can be an issue in smaller homes.

Tankless Heating Systems: The Modern Approach

How They Work

On-Demand Heating: Tankless systems heat water directly without the need for a storage tank. When a hot water tap is turned on, cold water travels through a pipe into the unit where it is heated by gas or electricity.

Instant Hot Water: Provides hot water only as it is needed, delivering a continuous supply without the limitations of a tank.

Benefits and Drawbacks

Efficiency:

  • More Energy-Efficient: Since they heat water on demand, they avoid the standby heat losses associated with traditional tank systems.
  • Space-Saving: Smaller units can be installed in various locations, freeing up space.

Higher Initial Cost:

  • Typically More Expensive: Both the purchase price and installation costs are higher compared to traditional heaters.

Energy Efficiency and Cost Implications

Comparing Long-Term Costs

Energy Bills: Tankless systems can be more energy-efficient, potentially leading to lower utility bills. By only heating water when necessary, they reduce energy waste.

Lifespan: Tankless heaters often have a longer lifespan, typically lasting 20 years or more, compared to 10-15 years for traditional tank heaters. This can offset the higher initial cost over time.

Water Usage and Capacity

Meeting Your Household Needs

Hot Water Availability: Traditional tanks can run out of hot water, especially during periods of high demand, while tankless systems provide a continuous supply.

Size and Demand: Assess your household’s hot water usage to choose the right size and capacity. Larger households with higher hot water demands may benefit more from tankless systems, while smaller households might find traditional tanks sufficient.

Installation and Maintenance

Understanding the Requirements

Installation Complexity: Tankless systems often require more complex installation and may need updates to your home’s electrical or gas systems. This could include higher-capacity gas lines or upgraded electrical circuits.

Maintenance Needs: Tankless heaters require regular maintenance to prevent scale buildup and ensure efficiency. Maintenance typically includes descaling the unit periodically, which can be more frequent in areas with hard water.

Environmental Considerations

Eco-Friendly Aspects

Energy Consumption: Tankless systems are generally more environmentally friendly due to lower energy consumption. By reducing the amount of energy used to heat water, they contribute less to carbon emissions.

Sustainability: Tankless heaters’ longer lifespan means less environmental impact from disposal. Fewer replacements reduce waste and the environmental footprint of manufacturing new units.

Suitability for Your Home

Assessing Compatibility

Space Constraints: Tankless heaters are ideal for homes with limited space. They can be mounted on walls and fit into smaller spaces that traditional tanks cannot.

Hot Water Demand: Consider the peak hot water usage in your household when choosing a system. Tankless systems can be ideal for high-demand situations, while traditional tanks may struggle to keep up.

The Bottom Line: Which is Right for You?

Making an Informed Decision

Budget: If upfront cost is a concern, traditional heaters may be more appealing. They offer a lower initial investment but may cost more in energy bills over time.

Long-Term Savings: For energy savings and less frequent replacements, tankless systems are beneficial. Though more expensive initially, their efficiency and longevity can provide cost savings in the long run.


Choosing between a traditional hot water heater and a tankless system depends on your household’s specific needs, space, and budget. While traditional heaters are more straightforward and have a lower upfront cost, tankless systems offer efficiency, continuous hot water supply, and space savings. At Casability, we’re dedicated to helping you navigate these decisions, ensuring you have all the information to select the best water heating solution for your home.

Navigating Home Protection: Home Warranty vs. Homeowners Insurance

Understanding the difference between a home warranty and homeowners insurance is crucial for homeowners. While both offer protection, they cover different aspects of your home and possessions. This Casability guide breaks down the differences to help you make informed decisions about safeguarding your home.

Home Warranty: Appliance and System Protection

What It Covers

Coverage Focus: Home warranties typically cover the repair or replacement of major home systems and appliances. This type of coverage ensures that when essential components of your home fail due to normal wear and tear, you’re protected from the high costs of repairs.

Common Inclusions: Heating systems, electrical systems, plumbing, kitchen appliances, washers, and dryers. These warranties are particularly beneficial for items that are used frequently and have a higher likelihood of breaking down over time.

How It Works

Service Agreements: A home warranty is essentially a service contract. You pay an annual fee for the contract, and when a covered item breaks down, you can call the warranty company.

Repair and Replacement: When a covered item breaks down, the warranty company arranges for a technician to fix or replace it. This process simplifies the repair process, as the warranty company manages the logistics and costs, minus any service call fees.

Cost and Duration

Annual Contracts: Home warranties are usually annual contracts that can be renewed. This provides homeowners with the flexibility to extend their coverage based on their needs.

Fees: In addition to the annual fee, there’s often a service call fee for repairs. These fees are typically much lower than the out-of-pocket costs for major repairs or replacements without a warranty.

Homeowners Insurance: Home and Property Safety Net

What It Covers

Coverage Scope: Homeowners insurance provides financial protection against loss due to disasters, theft, and accidents. This type of insurance is crucial for protecting the structural integrity of your home and your personal belongings.

Typical Coverage: Includes the structure of the home, personal belongings, liability protection, and living expenses during home repairs. This comprehensive coverage ensures that you are protected from significant financial loss due to a wide range of potential hazards.

How It Operates

Claims Process: In the event of damage or loss, you file a claim with your insurance company. The company will assess the damage, determine coverage, and provide compensation based on your policy terms.

Deductibles and Payouts: Insurance policies have deductibles, and the company pays out for covered damages minus the deductible. This means you share in the cost of a claim up to the deductible amount, with the insurance covering the remainder.

Cost and Policy Terms

Premiums: Insurance premiums vary based on home value, location, and coverage level. Premiums can be adjusted based on factors such as additional coverage options or increased risk factors in your area.

Policy Periods: Policies are typically annual and can be renewed or modified as needed. This allows homeowners to adjust their coverage based on changes in their home’s value or risk factors.

Key Differences: Warranty vs. Insurance

Distinct Purposes

  • Home Warranty: Focuses on the wear and tear of home components. It is ideal for covering the costs associated with aging appliances and systems.
  • Homeowners Insurance: Protects against unexpected events like fires, storms, or theft. It provides a safety net against major financial loss due to unforeseen incidents.

Financial Aspects

  • Warranty Costs: Generally lower in cost but includes service fees. Home warranties are affordable annual contracts that include service call fees for each repair.
  • Insurance Costs: Premiums are influenced by risk factors and coverage limits. Homeowners insurance can vary significantly in cost based on location, home value, and the extent of coverage.

The Importance of Both

Comprehensive Protection

  • Balanced Coverage: While a home warranty covers appliance breakdowns, insurance covers major disasters. Together, they provide a well-rounded protection plan for your home.
  • Financial Planning: Having both can provide peace of mind and financial protection. This dual coverage strategy ensures that you are prepared for both minor and major home-related expenses.

Choosing the Right Coverage

Assessing Your Needs

  • Home Age and Condition: Older homes might benefit more from a warranty due to the increased likelihood of system and appliance failures.
  • Location Risks: Consider local risks like floods or earthquakes for insurance. This will help you choose the appropriate level of coverage based on environmental and geographic factors.

Both a home warranty and homeowners insurance play vital roles in protecting your home and finances. A home warranty covers the costs of repairing or replacing worn-out appliances and systems, while homeowners insurance covers damages from unforeseen events. As a homeowner, understanding and choosing the right type of protection is crucial. Casability is here to guide you through these choices, ensuring you have the right coverage for your home’s needs.

Spotting the Signs: Do You Have Termites in Your Home?

At Casability, we understand that termites can be a silent nightmare for homeowners. Detecting them early can save you significant money and hassle. This guide is designed to help you identify signs of a termite infestation, empowering you to take action before they cause serious damage.

Termites: The Hidden Invaders

Termites are often hard to detect as they can thrive unseen, causing damage to the structure of your home. Knowing how to spot their presence is key to protecting your investment.

Visible Signs of Termites

Telltale Indicators

Mud Tubes: These pencil-sized tubes near the foundation of your home are a common sign of termites. Termites build these tubes to travel between their colony and their food source.

Wood Damage: Look for hollow or blistered wood, especially in areas like the attic. Termites consume wood from the inside out, leaving a thin veneer of timber or paint.

Discarded Wings: After swarming, termites discard their wings, which are often found near windowsills or other light sources. This is a sign that a termite colony is present in or near your home.

Sounds and Sensations

Subtle Clues

Hollow Sounds: Tap on wood structures; termites leave a hollow sound in damaged wood. This can be particularly noticeable in wooden furniture or structural beams.

Papery or Hollow Feeling: Floors or walls that feel more papery or hollow could indicate termite activity. As termites consume the wood, they leave behind a thin layer that feels delicate.

Frass: Termite Droppings

A Dusty Discovery

Frass: These tiny, wood-colored droppings are often found near wooden structures. They look like fine sawdust or sand and are a clear sign of drywood termite activity.

Swarms: The Most Obvious Sign

A Termite Gathering

Swarmers: A group of winged termites, usually seen during spring, is a clear sign of infestation. These termites are reproductive and leave their colony to start new ones.

Location: Swarms often occur near light sources like windows. If you see a swarm, it’s a strong indication of a nearby colony.

Preventative Measures

Keeping Termites at Bay

Reduce Moisture: Termites thrive in damp conditions. Fix leaks, ensure proper drainage around your home, and keep gutters clean to reduce moisture levels.

Regular Inspections: Schedule annual termite inspections, especially if you live in a prone area. Regular checks can help catch an infestation early before it causes significant damage.

The Cost of Ignoring Termites

A Financial Impact

Structural Damage: Termite damage can be costly, impacting the structural integrity of your home. Repairing termite damage often involves replacing wooden structures and can be expensive.

Value Depreciation: Untreated termite problems can significantly decrease your home’s value. Potential buyers may be deterred by the presence of termites or the cost of repairs.

DIY Checks vs. Professional Inspection

When to Call Experts

DIY Inspections: Regularly check for signs of termites yourself. Look for mud tubes, damaged wood, and discarded wings.

Professional Help: If you suspect an infestation, a professional inspection is crucial for accurate assessment and treatment options. Professionals have the expertise and tools to detect and treat termites effectively.

Treatment Options

Eradicating the Problem

Chemical Treatments: Professionals often use termiticides to treat infested areas. These chemicals can be applied to the soil around your home or directly to infested wood.

Bait Systems: These are placed around your home to eliminate colonies. Baits contain a substance that termites carry back to their colony, eventually killing it.


Termites can be a hidden threat to your home, but early detection is key to preventing extensive damage. Regular inspections, both DIY and professional, along with preventative measures, can keep your home termite-free. At Casability, we’re dedicated to helping you navigate the challenges of home maintenance, providing the knowledge and resources you need to make confident decisions. Remember, taking action against termites not only protects your home but also preserves its value.

Diving into Value: Does a Pool Boost Your Home’s Worth?

Are you dreaming of adding a pool to your backyard? At Casability, we understand that homeowners often wonder if a pool will increase their home’s value. This guide dives into the financial and lifestyle impacts of installing a pool, helping you make an informed decision.

The Pool Debate: A Splash of Reality

While a pool can be a delightful addition to your home, its impact on your property value varies. Several factors come into play when determining if a pool will boost your home’s worth.

Location: A Key Factor

The Role of Climate and Neighborhood

Climate: In warmer regions, a pool is often more desirable and can add significant value. For example, homes in states like Florida, Texas, and California might see a higher demand for properties with pools.

Neighborhood Trends: If pools are common in your area, not having one might affect your home’s competitiveness in the market. In neighborhoods where pools are a standard feature, buyers may expect them and be willing to pay a premium.

The Cost of Installation and Maintenance

Understanding the Financial Commitment

Installation Costs: Building a pool can be a substantial investment, ranging from $20,000 to $50,000 or more. Costs vary based on the type of pool (in-ground vs. above-ground), materials used, size, and additional features like heating systems or custom designs.

Ongoing Maintenance: Regular cleaning, chemical balancing, and repairs add to the total cost of owning a pool. Maintenance can cost between $1,200 and $1,800 annually. It’s essential to budget for these recurring expenses to keep your pool in top condition.

Return on Investment (ROI)

Evaluating the Financial Return

Potential Increase in Value: Pools may increase a home’s value by 5-7%, depending on the factors mentioned above. However, this increase might not cover the initial installation and ongoing maintenance costs, especially in cooler climates.

Market Preferences: In some markets, buyers might prefer more yard space over a pool. It’s important to research local real estate trends to understand what prospective buyers in your area are looking for.

Lifestyle Enhancement vs. Resale Value

Weighing Personal Enjoyment Against Investment

Personal Enjoyment: A pool can provide a great source of entertainment and relaxation for your family. If you plan to use the pool frequently and enjoy outdoor living, the lifestyle benefits might outweigh the financial considerations.

Resale Considerations: Not all buyers may want the responsibility and cost of pool maintenance. For some, the upkeep and potential safety concerns can be deterrents. Ensure that adding a pool aligns with your long-term homeownership plans.

Safety and Insurance Implications

Additional Responsibilities

Safety Measures: Pools require safety barriers and measures, especially in homes with children. Installing fences, pool covers, and alarms can prevent accidents and might be legally required in some areas.

Insurance Costs: Owning a pool can increase your home insurance premiums due to the added liability. Contact your insurance provider to understand how a pool might impact your policy and premiums.

Alternative Features That Add Value

Pool Alternatives for Home Improvement

Outdoor Living Spaces: Consider investing in a deck or patio, which can be less costly and widely appealing. Outdoor kitchens, fire pits, and seating areas can create a beautiful and functional space for entertaining.

Landscaping: Enhanced landscaping can improve curb appeal and add value without the cost of a pool. Features like garden beds, water features, and pathways can make your yard more attractive and enjoyable.

The Bottom Line: Is a Pool Right for You?

Making an Informed Choice

Assess Your Lifestyle Needs: If a pool aligns with your family’s lifestyle and you plan to stay in your home for a while, it might be a worthwhile addition. Consider how often you’ll use the pool and whether it enhances your quality of life.

Consider Your Local Market: Research how much value a pool adds in your specific region and neighborhood. Speak with local real estate agents and look at comparable homes to gauge the demand for pools in your area.


Deciding to add a pool to your home involves more than just financial considerations. It’s about balancing the potential increase in property value with the costs of installation, maintenance, and lifestyle preferences. At Casability, we’re here to help you navigate these decisions, providing the information you need to make a choice that’s right for your home and family. Whether a pool is a splash hit or a financial miss depends on your unique situation.

Freshening Up Your Space: Repainting Walls and Refinishing Floors

Welcome to Casability’s guide on maintaining your home’s charm! Refreshing your living space involves more than just tidying up; it includes regular maintenance like repainting walls and refinishing floors. In this article, we’ll explore how often you should undertake these tasks to keep your home looking its best.

The Lifespan of Paint and Floors

Understanding how long paint and flooring typically last is key to scheduling maintenance. This keeps your home looking fresh and can prevent more costly repairs down the line.

Repainting Walls: A Colorful Update

When to Repaint

General Timeline: On average, walls need repainting every 5 to 7 years. However, this can vary based on room usage, paint quality, and color. For instance, a living room might not need repainting as often as a kitchen.

High-Traffic Areas: Kitchens, bathrooms, and hallways may need more frequent touch-ups due to more wear and tear. These areas are exposed to more moisture, grease, and scuff marks.

Factors Affecting Paint Longevity

  • Quality of Paint: Higher quality paint can last longer, making it a worthwhile investment. Look for durable, washable paints for high-traffic areas.
  • Surface Preparation: Properly cleaned and primed walls can extend the life of your paint job. Any dirt, grease, or previous paint should be properly removed or treated.
  • Color Fading: Lighter colors may fade less noticeably than darker hues. UV exposure from windows can also affect how quickly colors fade.

Refinishing Floors: Restoring Their Shine

Knowing When to Refinish

Hardwood Floors: Generally, hardwood floors should be refinished every 7 to 10 years. However, rooms with heavy foot traffic might need attention sooner, possibly every 3 to 5 years.

Signs of Wear: Look for scratches, discoloration, and dullness as indicators. If water does not bead up on the surface, it’s time to refinish.

Elements Impacting Floor Durability

  • Type of Wood: Softer woods may require more frequent refinishing. Oak, maple, and hickory are harder and more durable options.
  • Quality of Finish: High-quality finishes can extend the time between refinishing. Consider finishes that offer UV protection and are resistant to scratches.
  • Floor Maintenance: Regular cleaning and care can prolong the life of your floors. Avoid using harsh chemicals or abrasive tools that can damage the finish.

Budgeting for Repainting and Refinishing

Cost Considerations

  • DIY vs. Professional: While DIY can be more cost-effective, professional services ensure quality and durability. Professionals can also tackle larger projects more efficiently.
  • Material Costs: High-quality paints and finishes can be more expensive but offer better longevity and appearance. Don’t skimp on materials if you want lasting results.

Planning Your Projects

  • Scheduling: Plan these projects during off-peak seasons for potential savings. For example, painters and contractors might offer discounts in the winter months.
  • Long-Term Savings: Regular maintenance can prevent more extensive and costly repairs in the future. Keeping up with small tasks can avoid bigger issues like rotting wood or deeply embedded stains.

DIY Tips for Repainting and Refinishing

Tackling It Yourself

Preparation Is Key: Properly prepare surfaces for the best results. This includes cleaning, sanding, and priming where necessary.

Choosing Materials: Research and select the right paints and finishes for your specific needs. For example, choose moisture-resistant paint for bathrooms and kitchens.

The Value of Professional Services

When to Call the Pros

Complex Projects: For large areas or specialized finishes, professional services can ensure quality and efficiency. Professionals have the right tools and expertise to handle intricate details and larger surfaces.

Expertise: Professionals can provide advice on color choices, finishes, and maintenance. They can recommend the best products and techniques for your specific home and needs.


Regularly repainting your walls and refinishing your floors is essential for maintaining the beauty and value of your home. Whether you decide to DIY or hire professionals, staying on top of these tasks can transform the look of your space and prevent future damage. At Casability, we’re here to help guide you through these decisions, ensuring your home improvement projects are successful and cost-effective. Keep your home looking fresh and vibrant with timely repainting and refinishing!

Stop the Drip: Understanding Leaking Faucets in the Bathroom

Welcome to Casability’s guide on tackling leaking faucets in the bathroom. A dripping faucet is not just a nuisance; it can lead to increased water bills and potential water damage. This article will explore common reasons behind leaks in bathroom sinks and shower heads, offering practical tips for homeowners.

Why Faucets Leak: The Basics

Leaking faucets in the bathroom are often due to a few common issues. Understanding these can help you determine whether it’s a DIY fix or time to call a professional.

Worn Out Washers: The Usual Suspects

Sink and Shower Faucet Culprits

How They Cause Leaks: Washers press against the valve seat, and over time, this constant friction causes them to wear out. This wear and tear result in water seeping through even when the faucet is turned off.

Signs to Look For: Dripping around the spout or handle. If you notice a continuous drip after the faucet is turned off, the washer might be worn out.

O-Ring Issues: Small Part, Big Problems

Keeping the Handle in Check

O-Ring Function: This small ring holds the faucet handle in place and can become loose or wear out. The O-ring is a crucial part of cartridge faucets and helps seal the area around the stem.

Common Signs: Leakage near the handle. If you see water pooling around the base of the faucet handle, the O-ring could be the culprit.

Valve Seat Corrosion: The Hidden Foe

Where Water Meets Metal

Cause of Leaks: The valve seat connects the faucet and the spout in the compression mechanism. Water sediments can corrode the valve seat, causing leaks.

Detection Tips: If cleaning the sediment doesn’t stop the leak, the valve seat may need professional attention. Look for leakage around the spout and consider having the valve seat professionally checked if cleaning doesn’t resolve the issue.

Washer Installation Errors: A Tricky Fix

Precision Matters

Incorrect Washer Installation: If a washer is not the right size or not installed properly, it can cause leaks. Incorrect installation can lead to uneven pressure and gaps where water can escape.

Solution: Ensure the correct washer size and proper installation. Double-check the specifications for your faucet model and make sure the washer fits snugly.

Broken Plumbing: Beyond the Faucet

When It’s More Than Just a Faucet Issue

Pipes and Fittings: Sometimes, the issue lies with the pipes or fittings connected to the faucet. Cracks or breaks in the plumbing can lead to leaks that are often mistaken for faucet issues.

Professional Inspection Needed: If you suspect broken plumbing, it’s best to consult a professional. They can assess and repair any hidden damage to the pipes and fittings.

Shower Head Leaks: A Different Challenge

More Than Just a Drip

Clogged Shower Heads: Mineral deposits can build up, causing blockage and leakage. This buildup can prevent water from flowing properly, leading to leaks.

Simple Fix: Regular cleaning with vinegar can help prevent this issue. Detach the shower head and soak it in a vinegar solution to dissolve mineral deposits.

DIY vs. Professional Repair

Knowing When to Call in the Experts

DIY: Simple washer replacements and cleaning can be done at home. Many minor leaks can be fixed with basic tools and a little know-how.

Professional Help: For valve issues, incorrect installations, or plumbing problems, it’s safer to call a professional. Complex problems or persistent leaks often require professional expertise.

Preventative Measures: Keeping Leaks at Bay

Maintenance is Key

Regular Checks: Inspect your faucets and shower heads regularly for early signs of wear and tear. Catching problems early can prevent bigger issues down the line.

Water Softeners: In areas with hard water, consider installing a water softener to reduce mineral buildup. This can prolong the life of your faucets and shower heads.


Leaky bathroom faucets, whether in the sink or shower, can be more than just an annoyance; they can lead to larger water bills and potential damage if not addressed. Understanding the common causes of these leaks is the first step towards fixing the problem. Whether you tackle the issue yourself or call in a professional, regular maintenance and prompt attention to repairs can save you money and hassle in the long run. Remember, at Casability, we’re here to guide you through every step of your home improvement journey, making sure you have the confidence to take the right decisions.

Skip to content