Table of Contents
DIY Recycled Planters: Budget-Friendly Gardening Projects Using Old Containers
Looking for a creative, budget-friendly way to upgrade your garden or outdoor space? You don’t have to spend a lot—or anything at all. With a few everyday items and a little imagination, you can turn old containers, buckets, or crates into beautiful and functional planters. Not only do these DIY projects save money, but they also help reduce waste and add charm to your space. Discover how to reuse what you already have to create one-of-a-kind planters with personality.
Why Use Recycled Materials for Planters?
Using recycled containers for planters is a smart and eco-friendly way to garden.
- Saves Money: No need to buy expensive pots or planters when you can repurpose what you already own.
- Reduces Waste: Keeps items out of landfills and gives them a second life.
- Adds Unique Style: Each planter becomes a one-of-a-kind piece that reflects your creativity and personality.
- Fun for the Whole Family: These projects are simple and great for getting kids involved in gardening.
What Can Be Reused as a Planter?
Just about anything that holds soil and has drainage potential can become a planter. Look around your home or garage—you might already have everything you need.
Great Items to Reuse as Planters:
- Old buckets or mop pails
- Wooden crates or wine boxes
- Coffee cans or large food tins
- Colanders or metal bowls
- Drawer organizers or old dresser drawers
- Worn-out rain boots or shoes
- Plastic containers (milk jugs, storage tubs)
- Mason jars or glass bottles
- Tires, toolboxes, or baskets
How to Turn Old Items into Planters
Transforming these items into planters is easier than you might think.
Step 1: Clean It Up
Give the item a good rinse or scrub to remove dirt, dust, or any old residue. This helps protect your plants and makes the finished project look nicer.
Step 2: Add Drainage
Most plants don’t like soggy roots. If your container doesn’t already have holes, drill or poke a few in the bottom. For metal or plastic containers, a standard drill works well. For wood, use a hammer and nail.
Step 3: Line or Paint (Optional)
If your container is made of wood or metal, you might want to line it with a plastic bag with holes poked in it to keep moisture in without damaging the container.
Painting or decorating your planter is a fun way to make it match your space. Use outdoor or waterproof paint for long-lasting color.
Step 4: Add Soil and Plants
Fill the bottom with small rocks or gravel for extra drainage, then add potting soil and your choice of plants.
Easy DIY Planter Ideas to Try
Painted Tin Can Planters
Clean out large soup or coffee cans, drill a hole in the bottom, and paint them in bright colors or patterns. Line them along a windowsill, balcony, or patio.
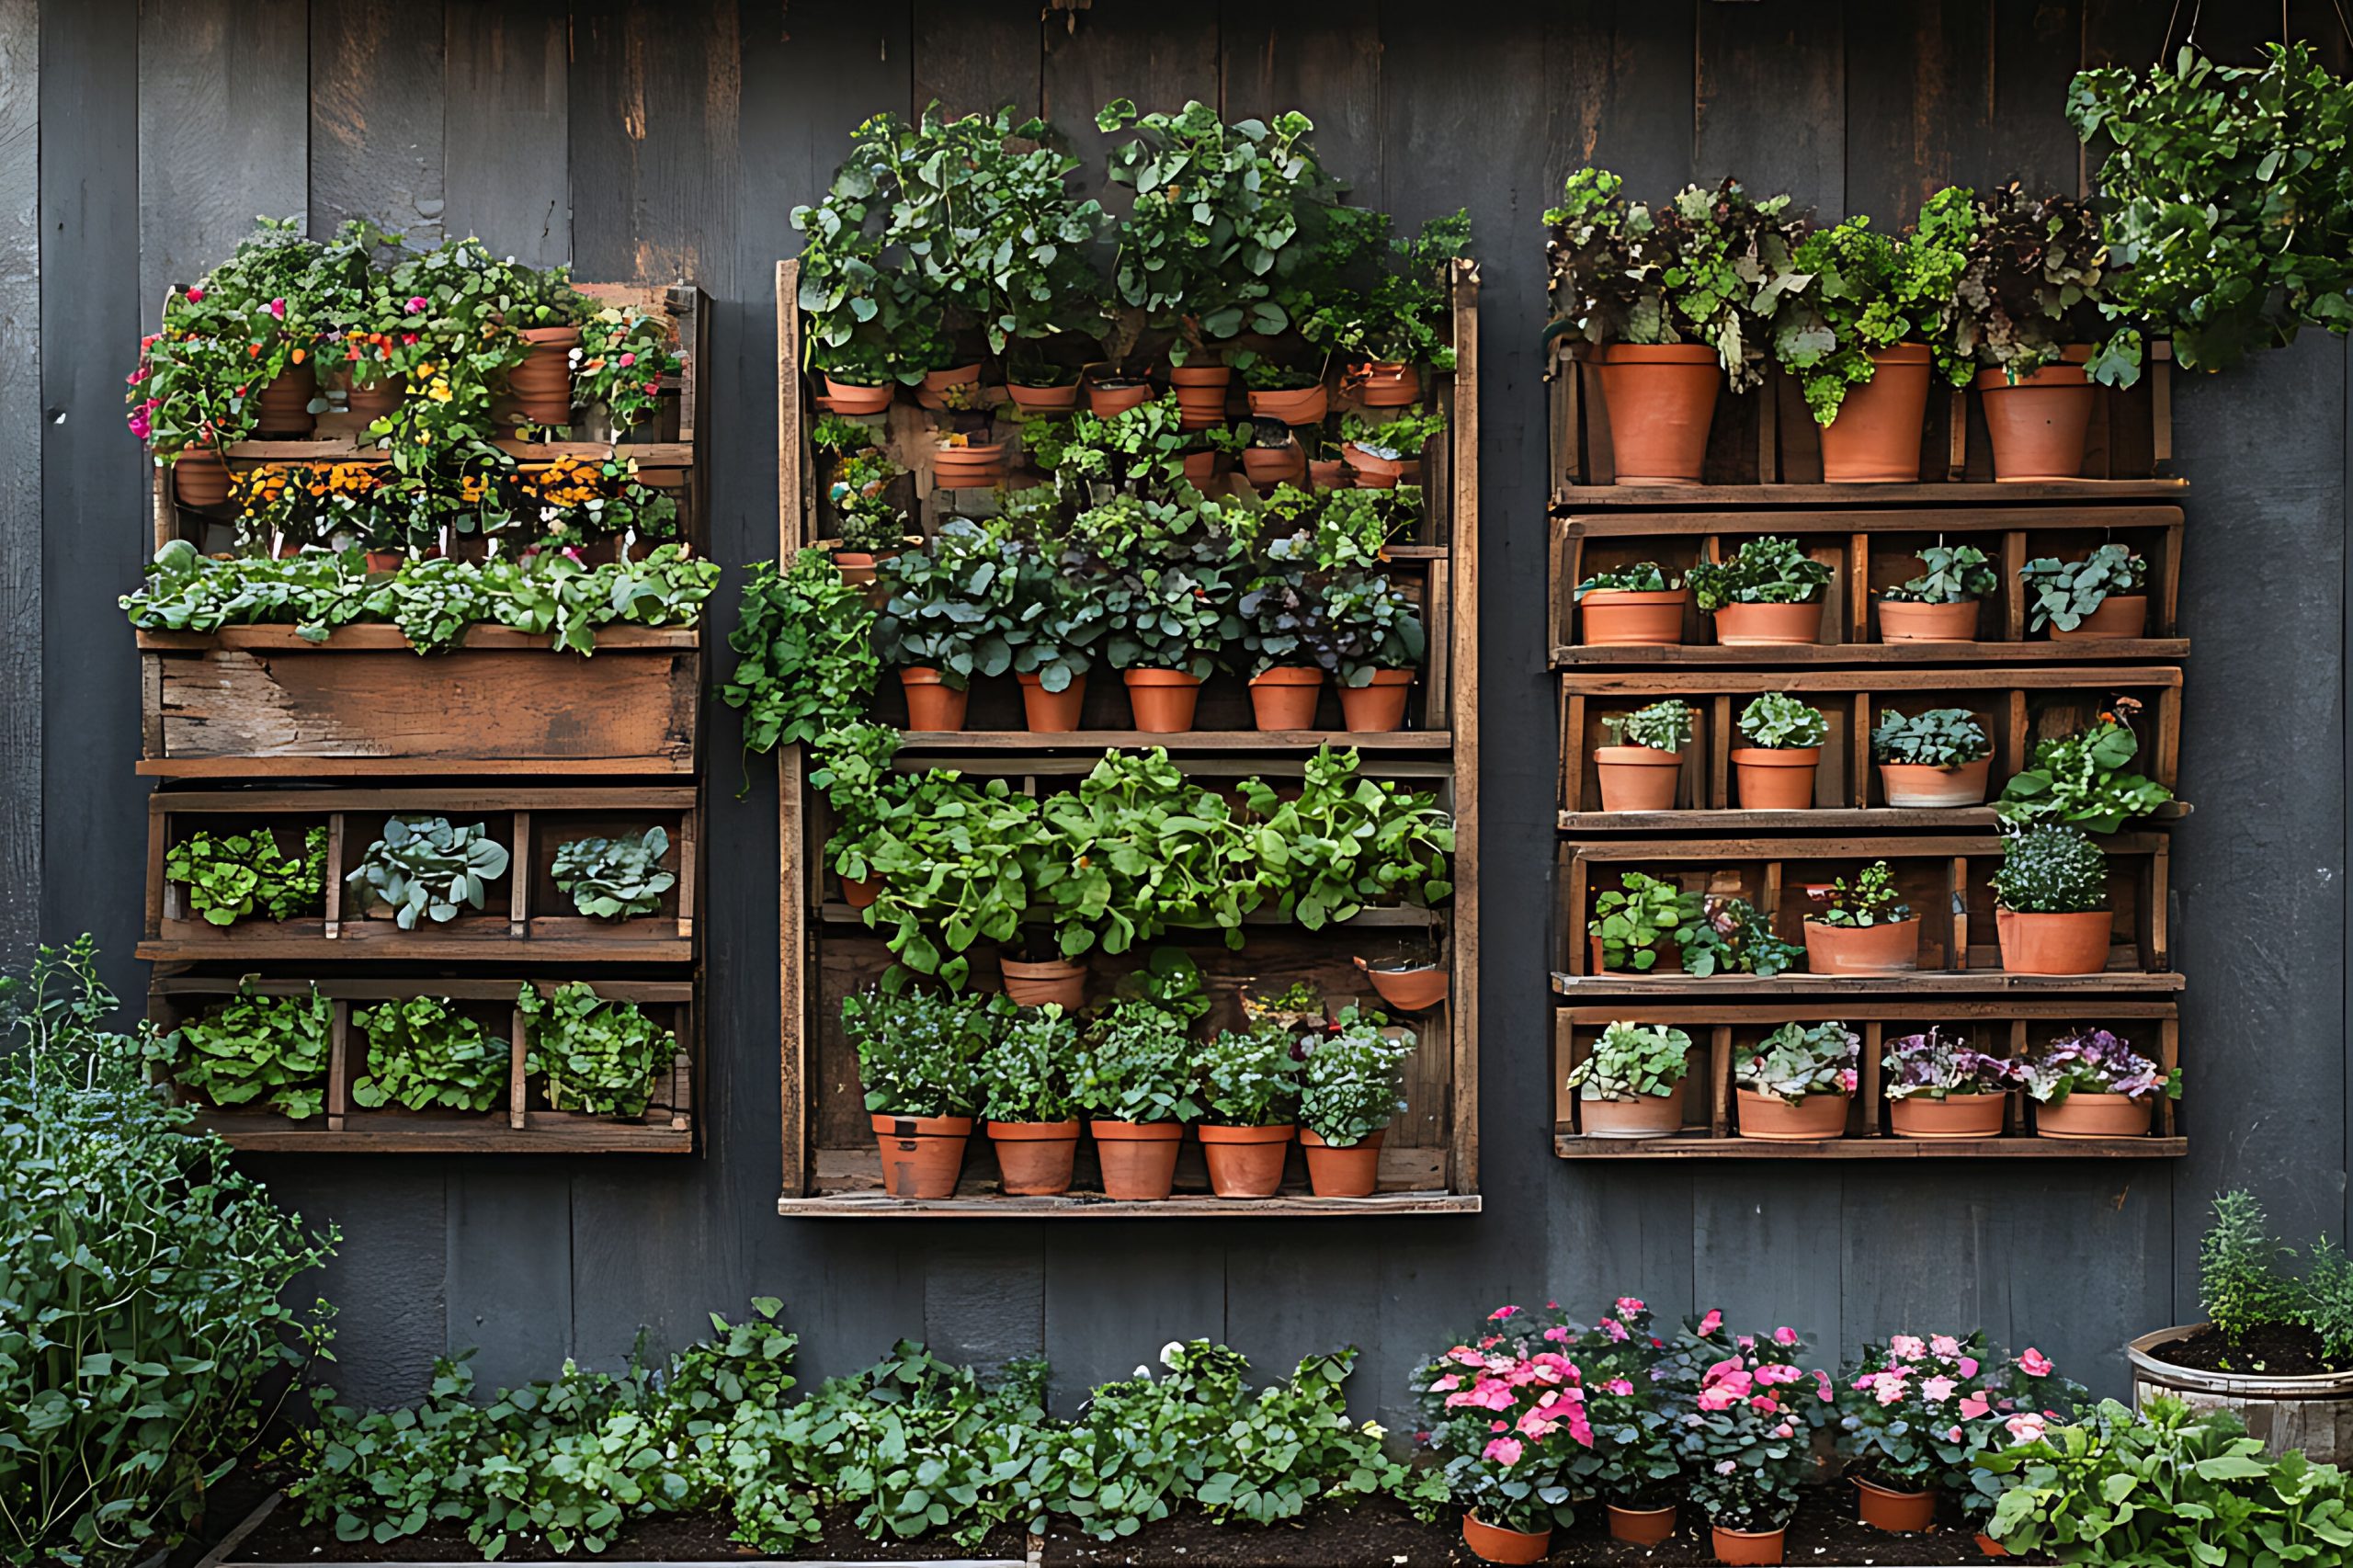
Crate Garden Boxes
Old wooden crates make great rustic planters for herbs or flowers. Line with landscape fabric and fill with soil. Stack them for a vertical garden or lay side by side.
Colander Hanging Basket
Colanders already have built-in drainage! Attach chains or rope to the handles and hang them as quirky planters filled with trailing flowers or herbs.
Drawer Planters
An old dresser drawer becomes a raised flower bed with a little sanding and sealing. Great for shallow-rooted plants like lettuce, pansies, or succulents.
Shoe and Boot Planters
Kids’ rain boots or old sneakers make cute, compact planters. Drill holes in the soles, fill with dirt, and plant colorful blooms for a fun garden accent.
Milk Jug Herb Pots
Cut a milk jug in half, poke drainage holes in the bottom, and decorate the outside. These lightweight containers are perfect for growing herbs on a windowsill.
Toolbox Garden
An old metal or plastic toolbox makes a rugged planter for succulents or small flowers. Open the lid, drill holes, and fill each compartment for a layered look.
Tips for Success
Use the Right Soil
Different plants need different types of soil. Use potting mix for flowers and vegetables, or cactus mix for succulents.
Label Your Planters
Add homemade labels or tags to keep track of what’s planted where, especially in herb or veggie gardens.
Water Wisely
Since many DIY containers are smaller than traditional pots, they may dry out faster. Keep an eye on moisture and water regularly.
Rotate and Refresh
Switch out plants with the seasons, or repaint containers now and then for a new look without starting over.
Final Insights
You don’t need fancy supplies or a big budget to start a garden. With a little time and creativity, you can transform recycled containers into unique, eco-friendly planters that add color and personality to your outdoor (or indoor) space. So before you toss that old bucket or drawer, give it another look—it might just be your next garden masterpiece.