DIY
Featured


Home Services


Outdoors


Renovating


Weather & Maintenance


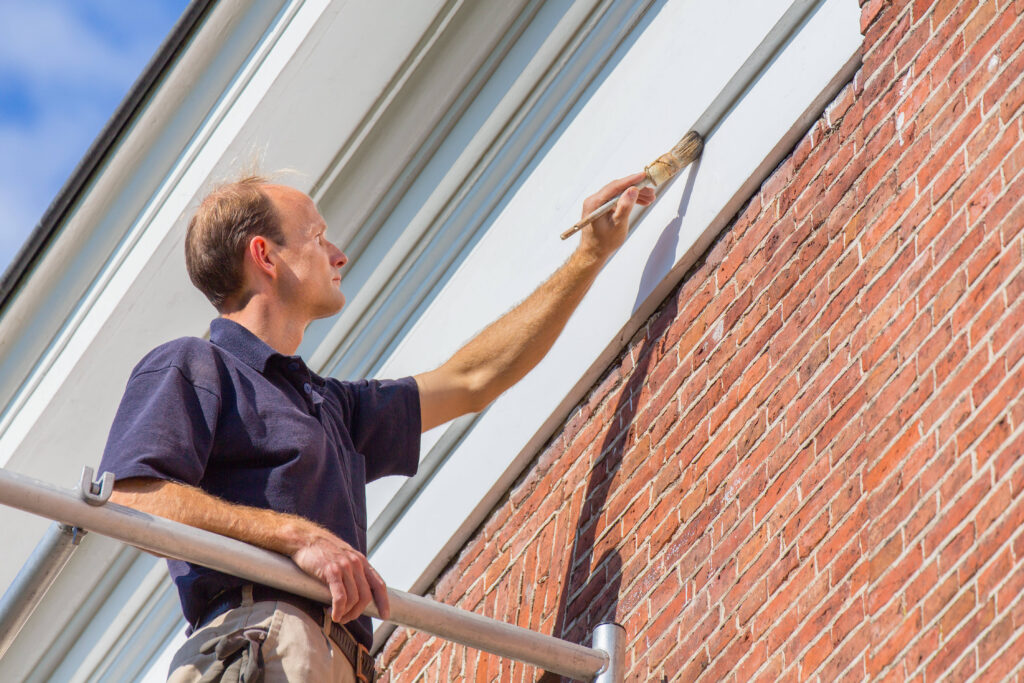
How to Refresh a Room With Paint Without Making Expensive Mistakes
Paint is the most cost-effective room transformation available to homeowners and renters, and it's also the one most likely to…

Low-Cost Noise Reduction Solutions for Apartments and Shared Homes
Noise is one of the most consistently underestimated quality-of-life factors in shared living situations, and one of the hardest to…

How to Make Your Home Feel More Organized Without Buying More Storage
The most common response to a home that feels cluttered or chaotic is a trip to a home goods store…

Easy Weekend Projects That Reduce Long-Term Home Maintenance Costs and Stress
Home maintenance has a way of sneaking up on you. Small issues turn into expensive repairs when they’re ignored, and…

Affordable Flooring Fixes That Hide Wear and Tear Without a Full Remodel
Worn floors can make an entire home feel older than it really is. Scratches, stains, fading, and scuffs draw the…

Budget DIY Projects That Can Boost Your Home’s Value
Home improvements don’t have to involve contractors, permits, or five-figure budgets to make a difference. Some of the most effective…
How to Add Curb Appeal When You’re on a Tight Budget
First impressions matter—and when it comes to your home, that impression starts at the curb. Whether you're planning to sell,…

Budget-Friendly Ways to Make Your Bathroom More Senior-Friendly
As we age, everyday routines like bathing and using the restroom can become more physically challenging—and potentially risky. The bathroom…

Simple Lighting Upgrades to Help Prevent Falls
Good lighting isn’t just a design choice—it’s a safety essential. As we age, our eyes require more light to see…
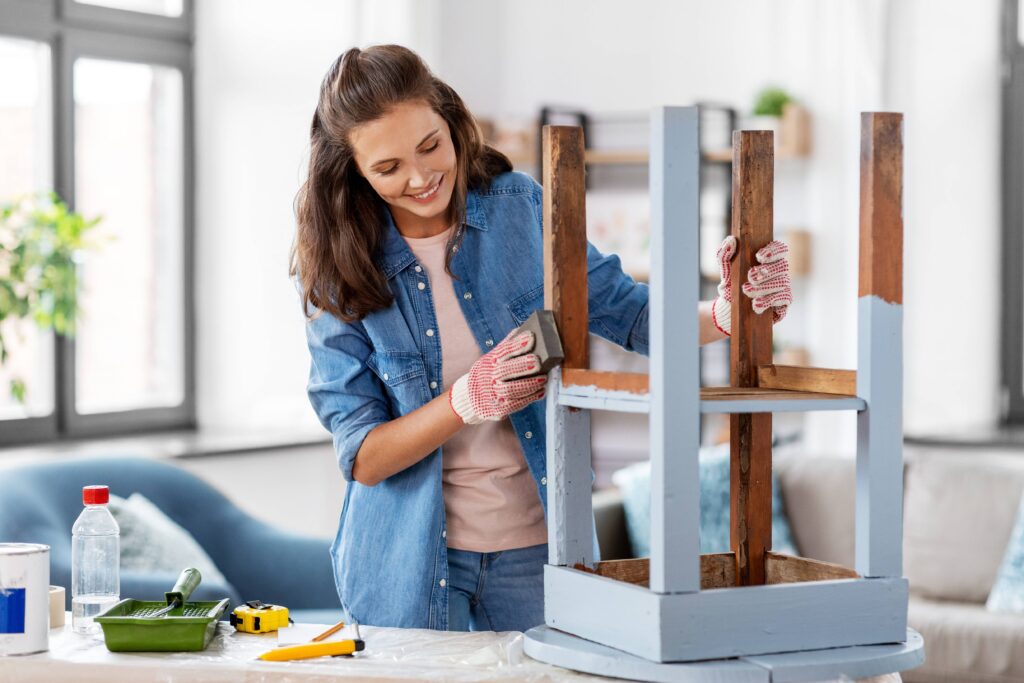
DIY Home Decor Projects You Can Do in a Weekend (No Experience Needed)
Refreshing your home doesn’t always require a renovation budget, professional tools, or advanced crafting skills. In fact, some of the…