Home Services
DIY


Featured


Outdoors


Renovating


Weather & Maintenance


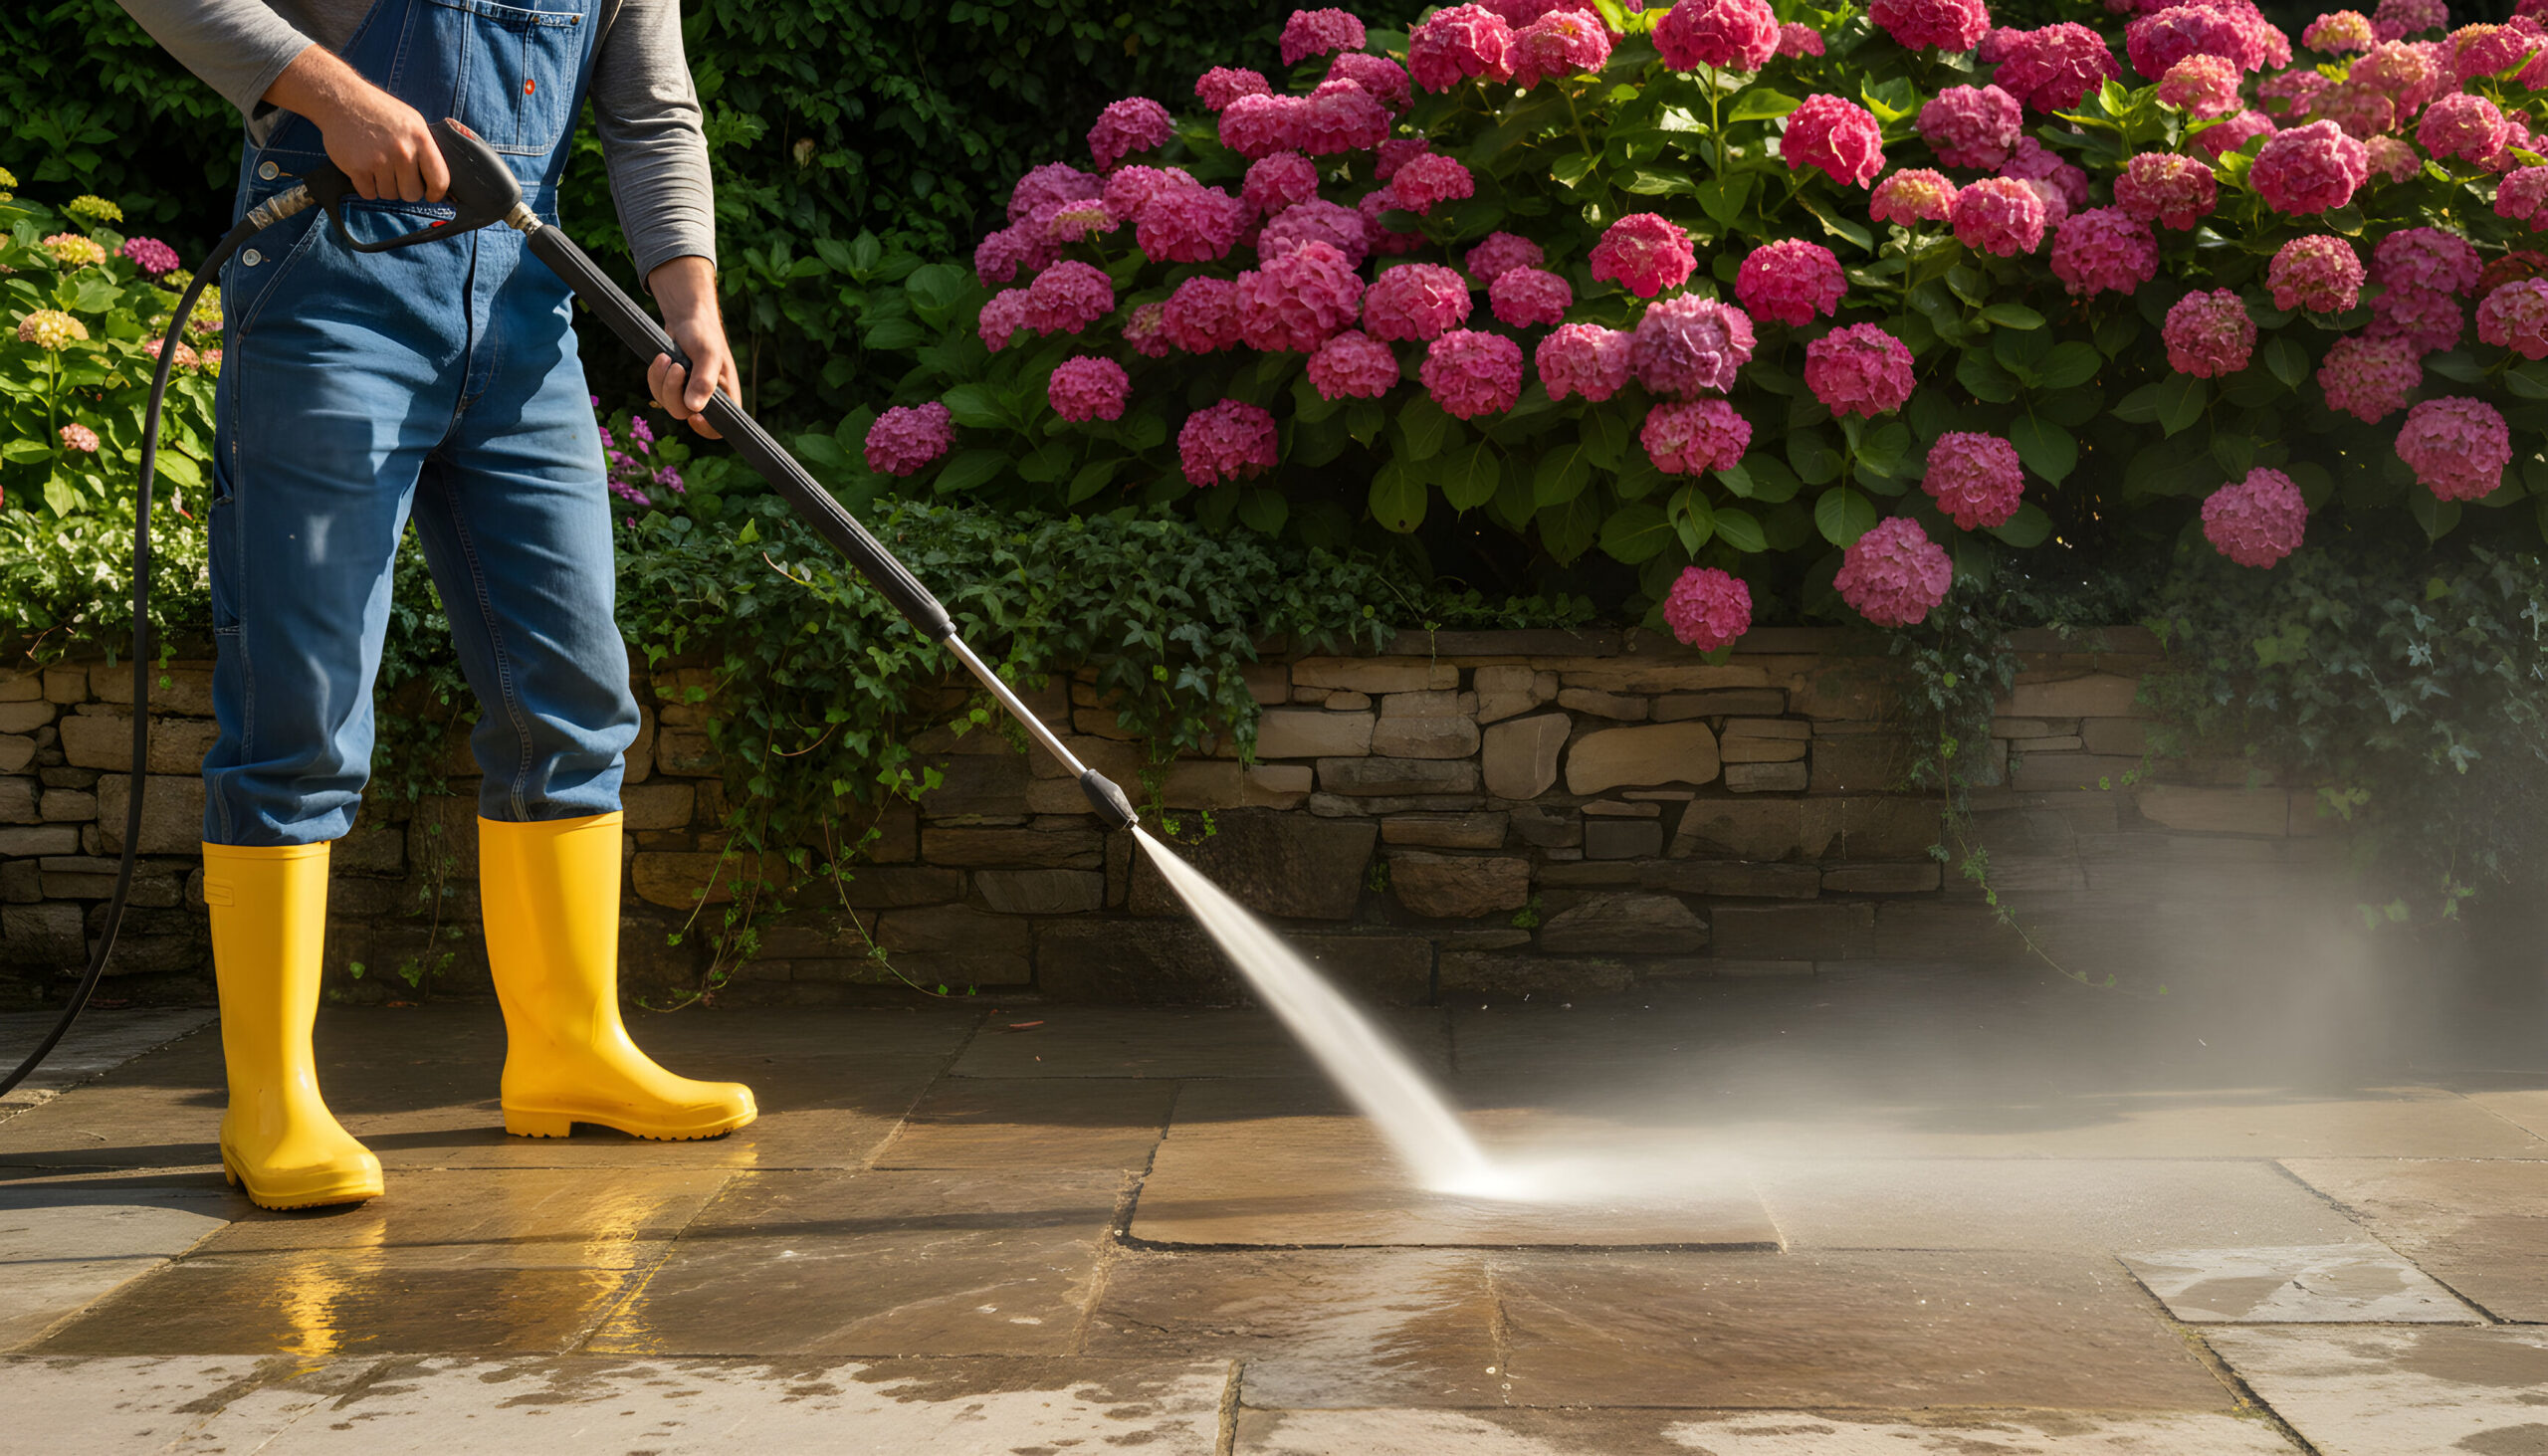
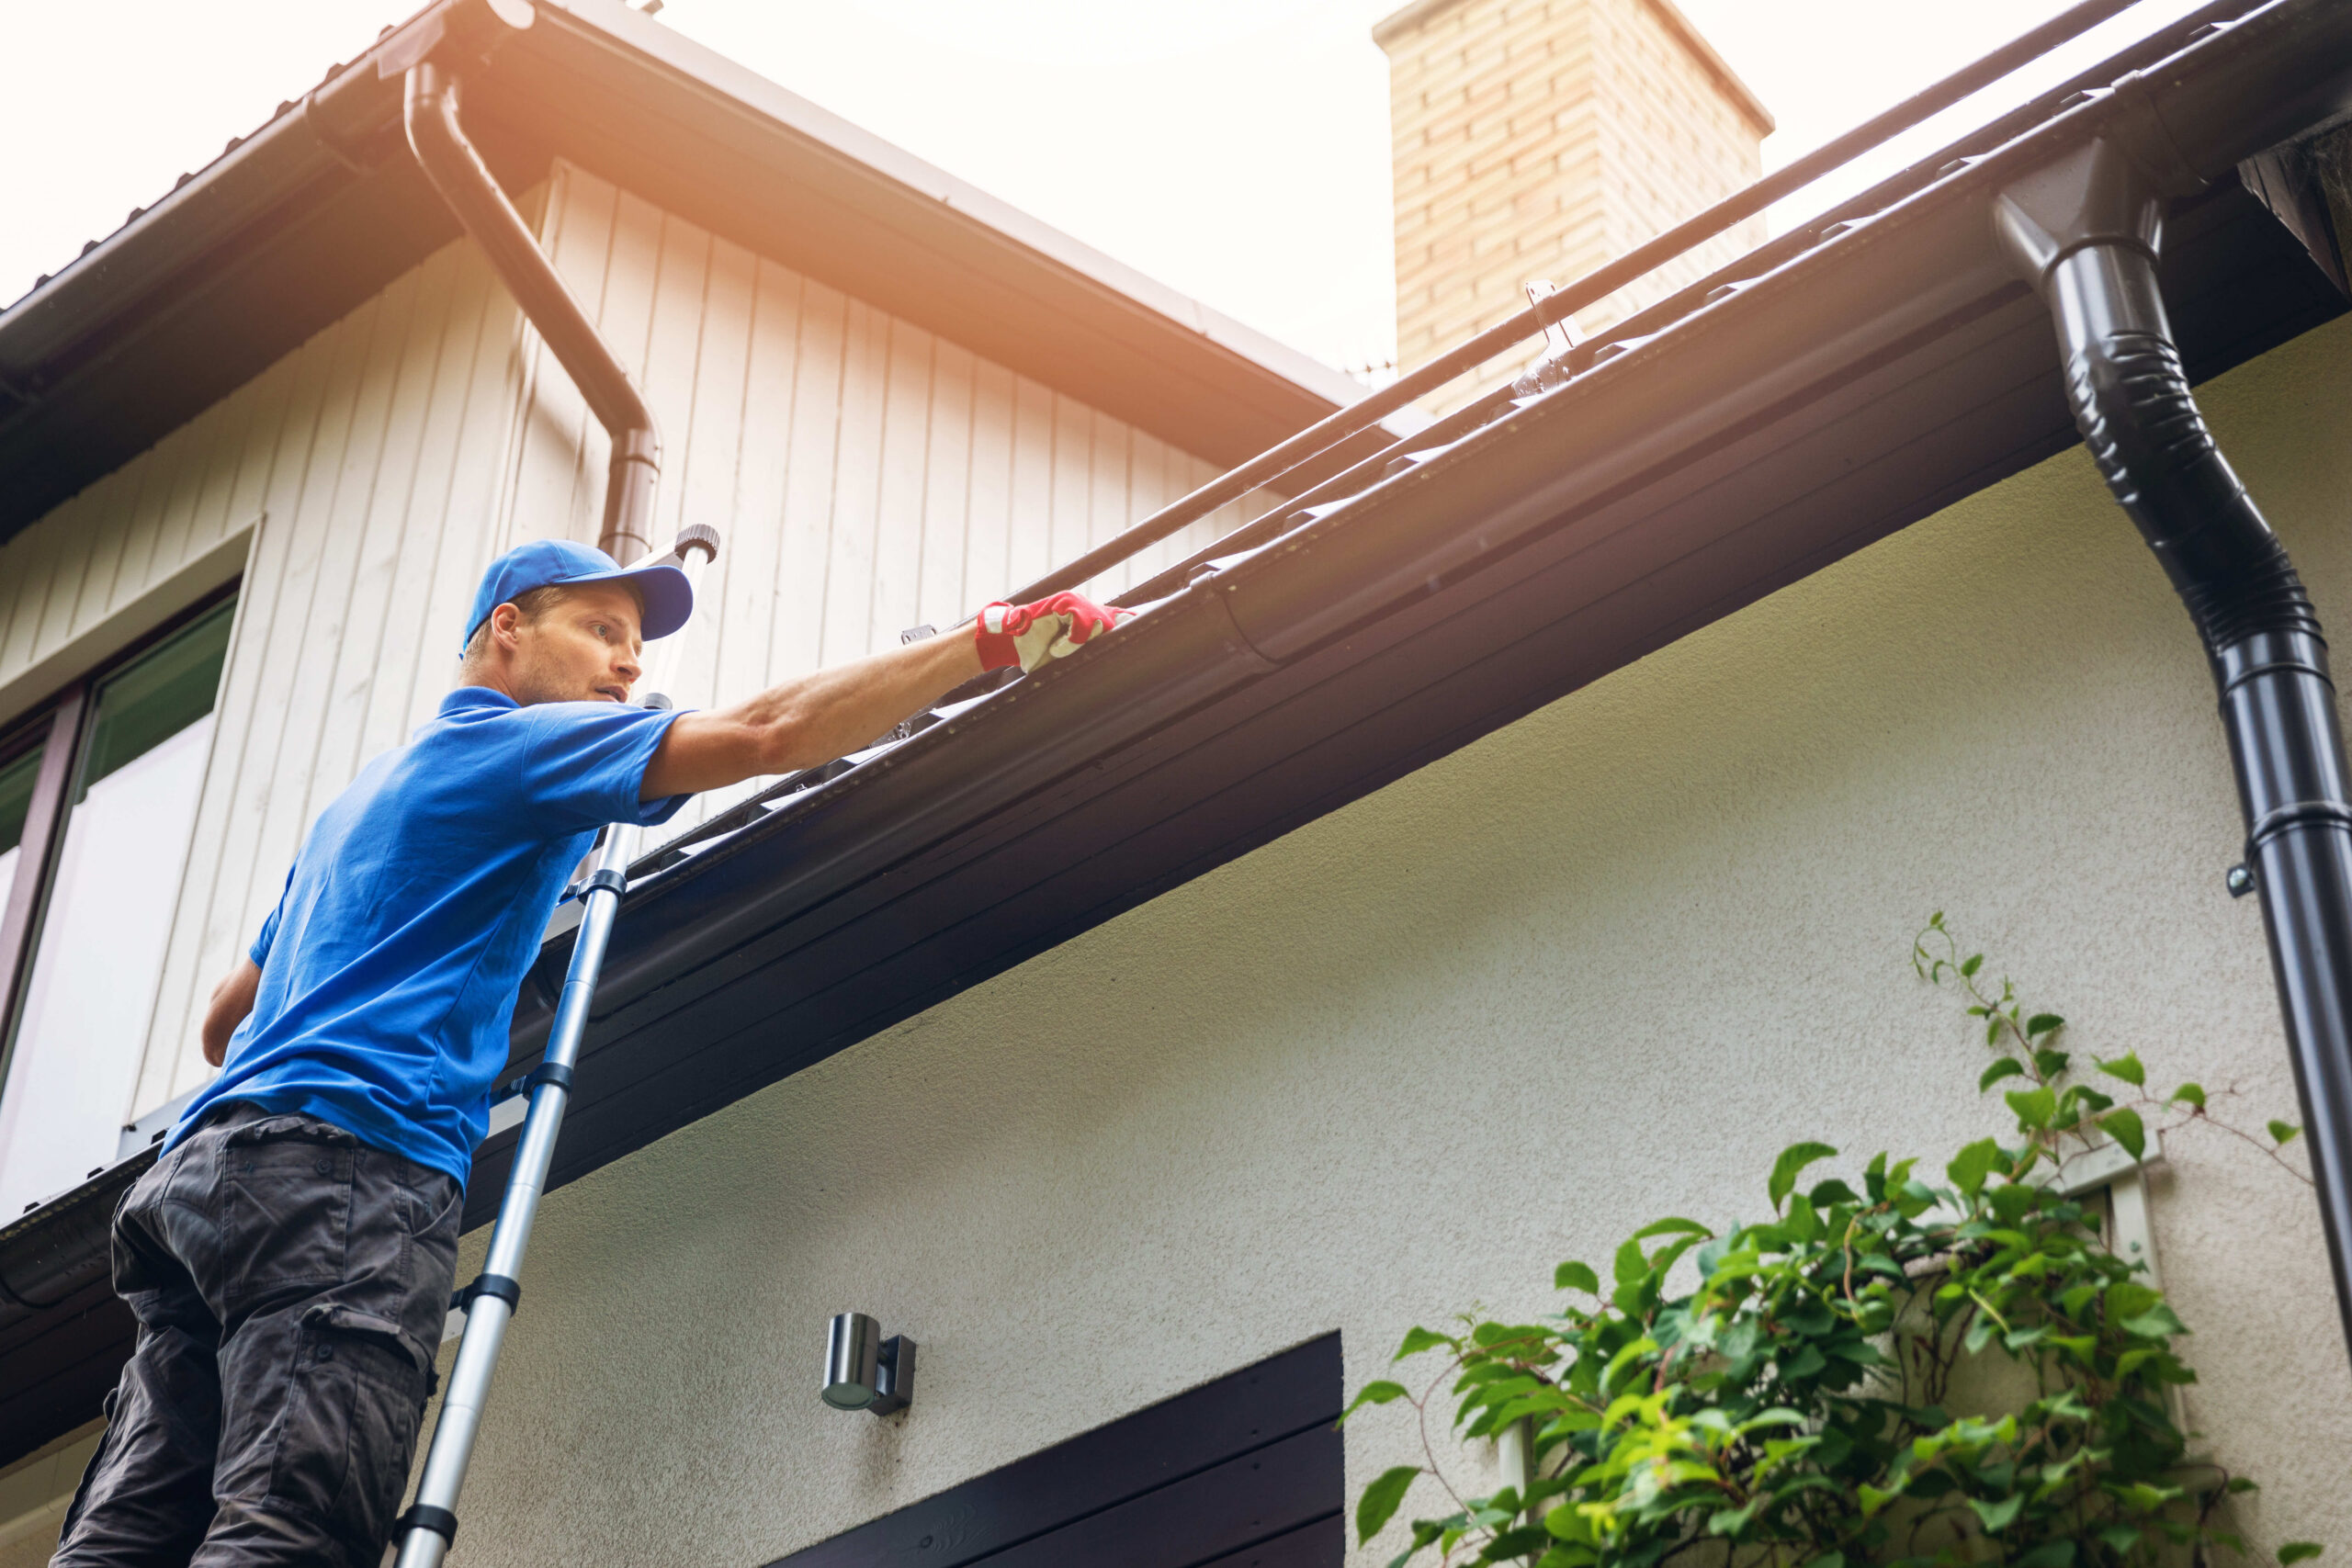
When to Repair and When to Replace: A Homeowner’s Decision Guide
Every homeowner eventually faces the same frustrating decision: something breaks or stops working properly, and the question of whether to…
Practical Home Upgrades That Support Independent Living Long-Term
Most people don't think seriously about whether their home will work for them as they age until something happens that…

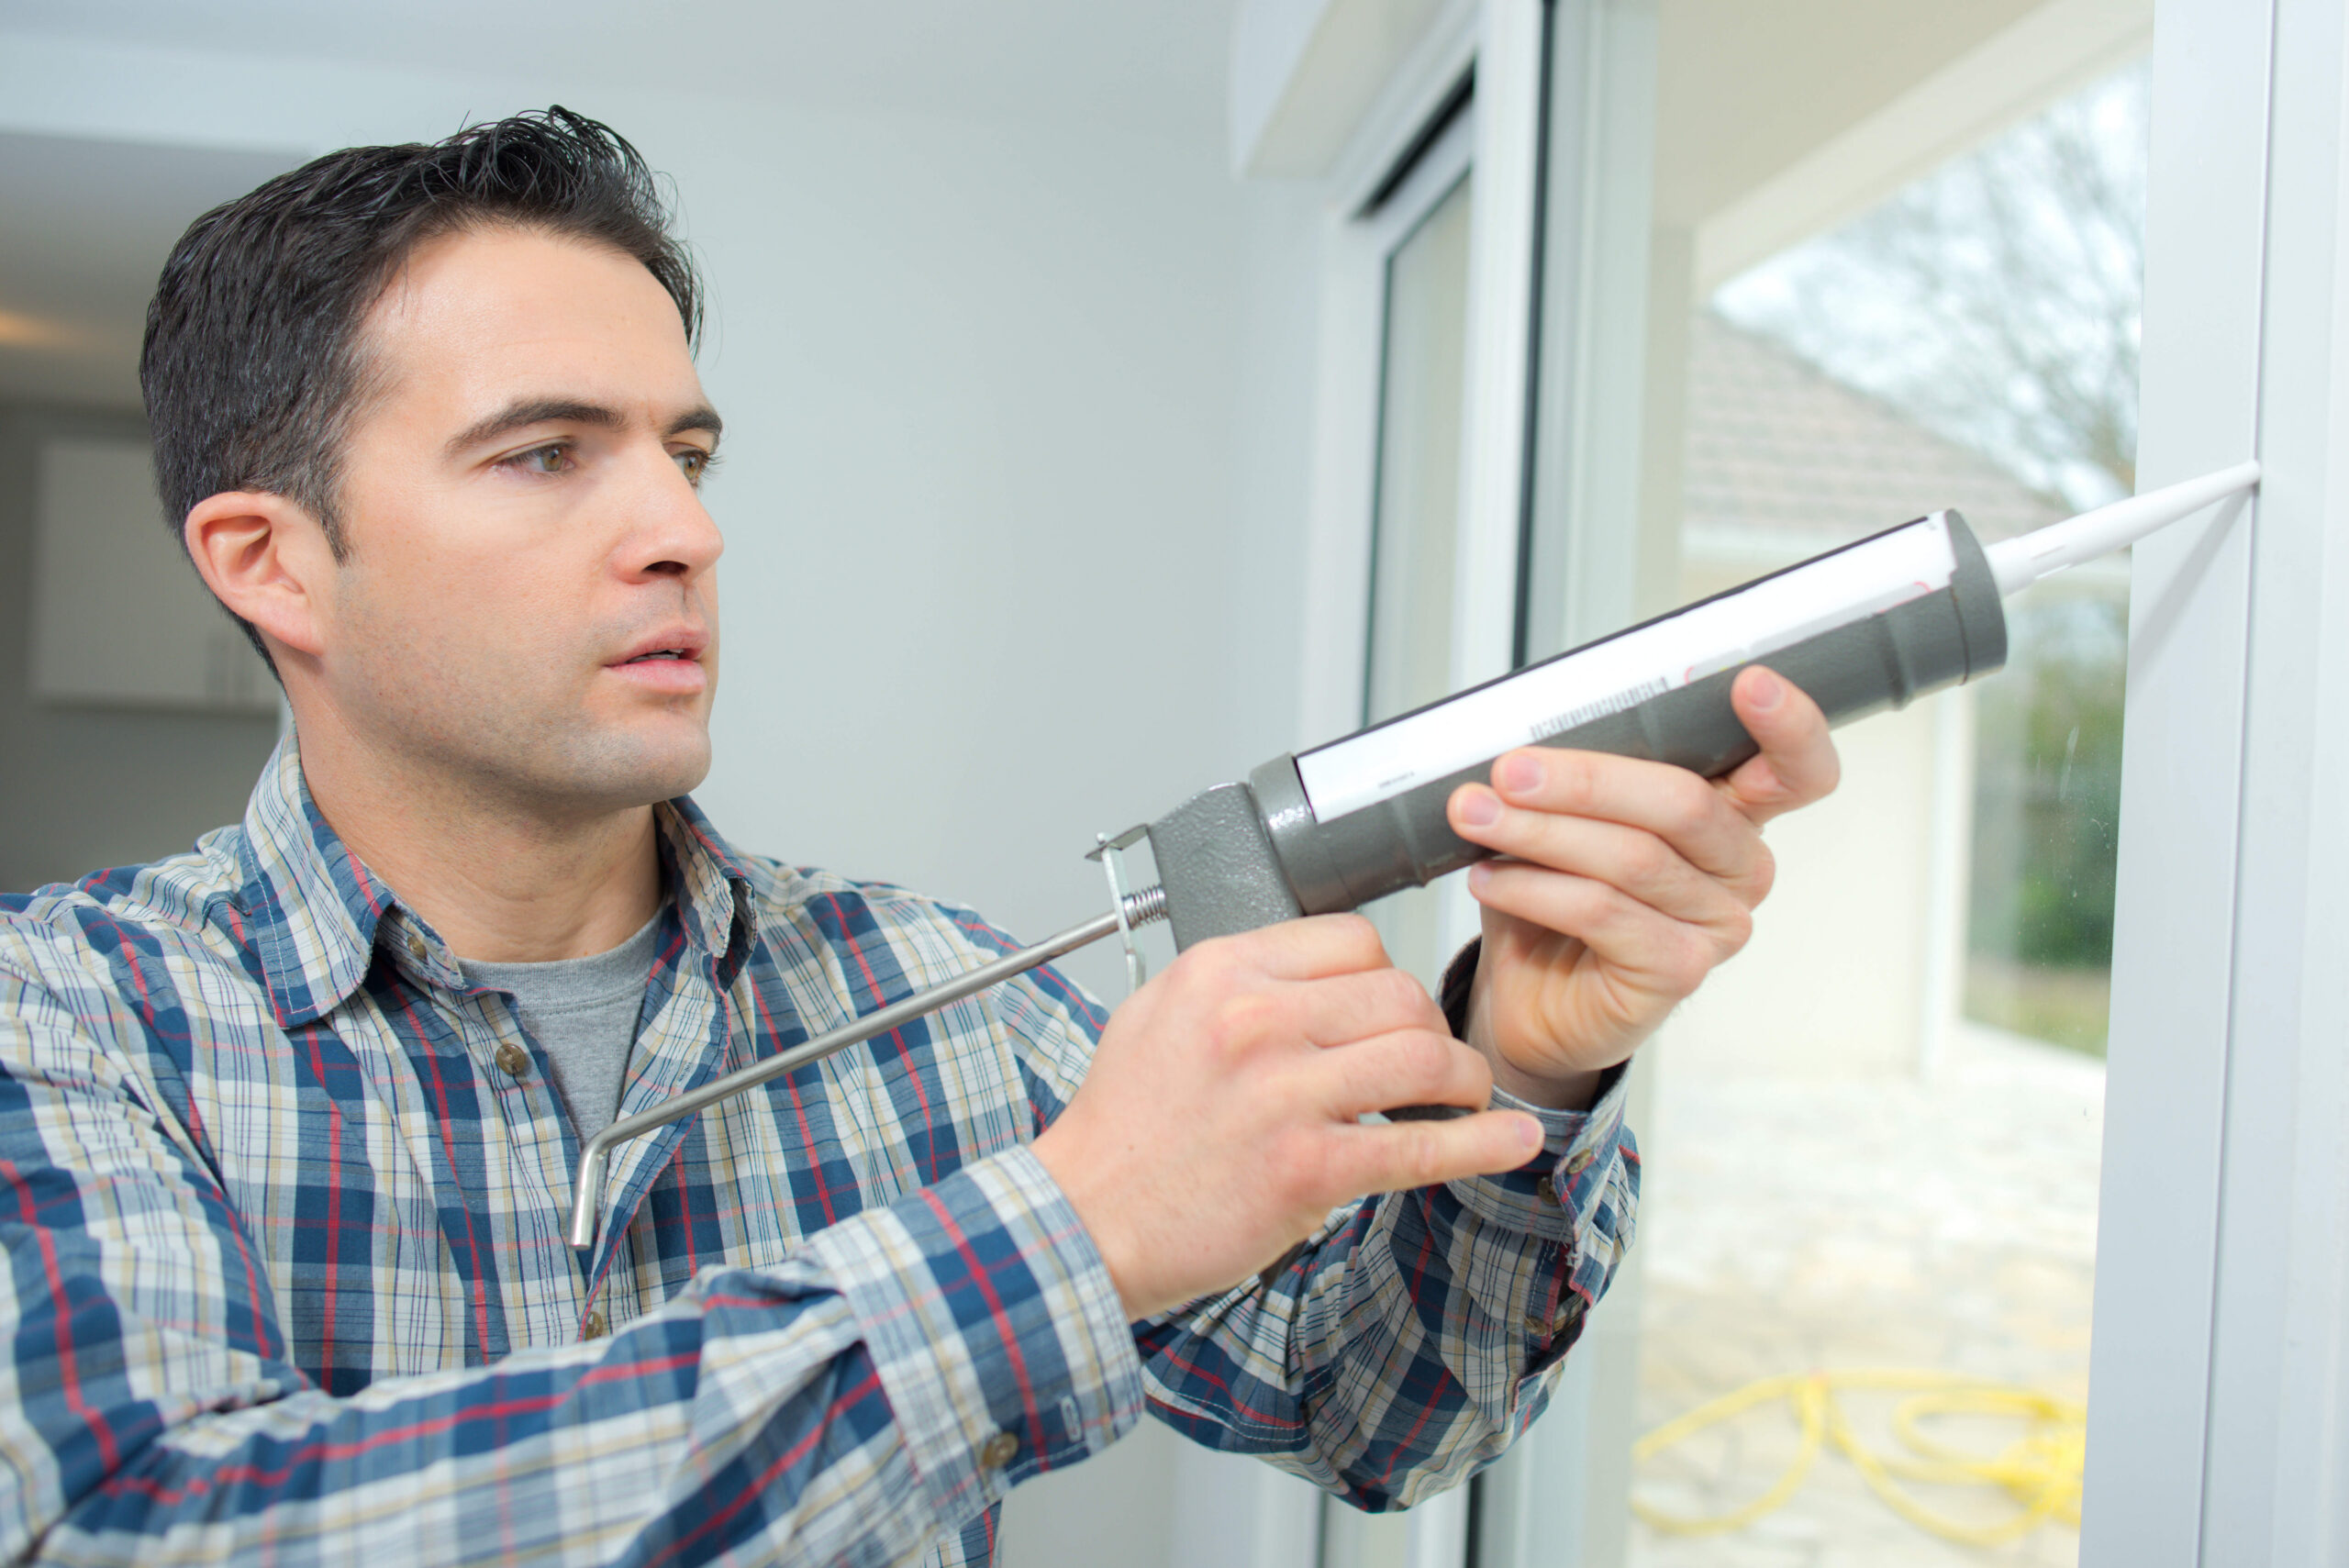
Budget-Friendly Window Treatments That Improve Privacy and Energy Efficiency
Windows do more than bring in natural light—they also impact privacy, comfort, and energy costs. The right window treatments can…

Affordable Ways to Improve Indoor Air Quality at Home for Better Comfort and Health
Indoor air quality has a bigger impact on daily comfort than most people realize. From how well you sleep to…

Simple Home Changes That Make Daily Routines Easier and More Efficient
Daily routines have a way of becoming harder than they need to be. Small inefficiencies stack up, turning simple mornings,…

Budget-Friendly Storage Solutions for Garages, Basements, and Utility Rooms That Maximize Usability
Garages, basements, and utility rooms are often treated like storage overflow zones. Boxes pile up, tools scatter, and seasonal items…
Bathroom Remodels Are More Affordable Than You Think
Think a bathroom remodel has to cost a fortune? Think again. Upgrading your bathroom can be far more affordable than…

Smarter Home Security Starts Now in 2026
Your home should be the safest and smartest place in your life, not the easiest target on the block. In…
Power Up Your Home in 2026 with Smart Energy Upgrades
Upgrading your home's energy systems in 2026 is not just an eco-friendly choice, it is one of the smartest financial…
How Smart Homeowners Are Preparing for Unexpected Repairs in 2026
In 2026, confident homeowners are taking control of their finances and their futures by planning ahead for the unexpected. Instead…