Table of Contents
How to Caulk Like a Pro: Easy DIY Sealing Tips for Tubs, Windows, and More
Caulking is one of the easiest DIY home improvement projects that can help you save money on repairs, stop drafts, and prevent water damage. Whether you’re sealing up a drafty window, refreshing your bathtub, or fixing gaps around a backsplash, learning how to caulk like a pro gives you a cleaner, more energy-efficient home. Find out how to tackle these small sealing jobs with confidence and just a few basic tools.
Why Caulking Matters
Caulking doesn’t just make things look tidy—it also protects your home from water damage, mold, mildew, and energy loss. Over time, old caulk can dry out, crack, or peel away, especially in moist or high-traffic areas.
Benefits of Fresh Caulk:
- Seals out water around sinks, tubs, and showers
- Blocks air leaks at windows and doors
- Keeps bugs and dirt from creeping into gaps
- Gives your home a finished, polished look
What You’ll Need
Before you start caulking, gather these simple tools:
- Caulk (choose the right type for your project—more on that below)
- Caulking gun
- Utility knife or razor blade
- Putty knife or old credit card
- Painter’s tape (optional, for clean lines)
- Paper towels or rags
- Bucket of warm soapy water
Choosing the Right Caulk
There are different types of caulk depending on the job:
- Silicone Caulk: Best for kitchens and bathrooms. It resists water and mold but can’t be painted.
- Acrylic Latex Caulk: Good for trim, baseboards, and windows. It’s paintable and easy to clean.
- Hybrid or Specialty Caulk: Designed for specific materials like concrete, brick, or metal.
Tip: Check the label to make sure the caulk is meant for indoor or outdoor use depending on your project.
Step-by-Step Guide: How to Re-Caulk Like a Pro
Step 1: Remove Old Caulk
Use a utility knife or scraper to peel off the old caulk. Try to get as much as possible out of the joint or crack. Wipe the area clean with a damp rag to remove dirt and leftover debris. Let the area dry completely before adding new caulk.
Step 2: Apply Painter’s Tape (Optional)
If you want super-clean edges, apply painter’s tape along both sides of the joint. This helps create a perfect line and prevents extra cleanup.
Step 3: Load the Caulking Gun
Cut the tip of the caulk tube at a 45-degree angle. Puncture the seal inside the nozzle if needed (some caulking guns have a built-in poker for this). Insert the tube into the caulking gun.
Step 4: Apply the Caulk
Hold the caulking gun at a slight angle and apply even pressure as you move along the joint. Try to make a steady, continuous line without stopping. Work in small sections if needed.
Pro Tip: Less is more. Don’t overload the area—you can always add a little extra if needed.
Step 5: Smooth the Caulk
Dip your finger or a smoothing tool in water and gently smooth the caulk line before it starts to dry. This pushes the caulk into the gap and gives it a clean, even finish.
Step 6: Remove Tape and Let Dry
If you used painter’s tape, peel it off carefully while the caulk is still wet. Allow the caulk to dry according to the label instructions—usually 24 hours—before using the area.
Common Caulking Projects You Can Do Today
Re-Caulk a Bathtub or Shower
Water damage around tubs and showers is a common problem. Scrape away old, moldy caulk and apply a fresh bead of waterproof silicone caulk around the edges where the tub meets the wall or floor.
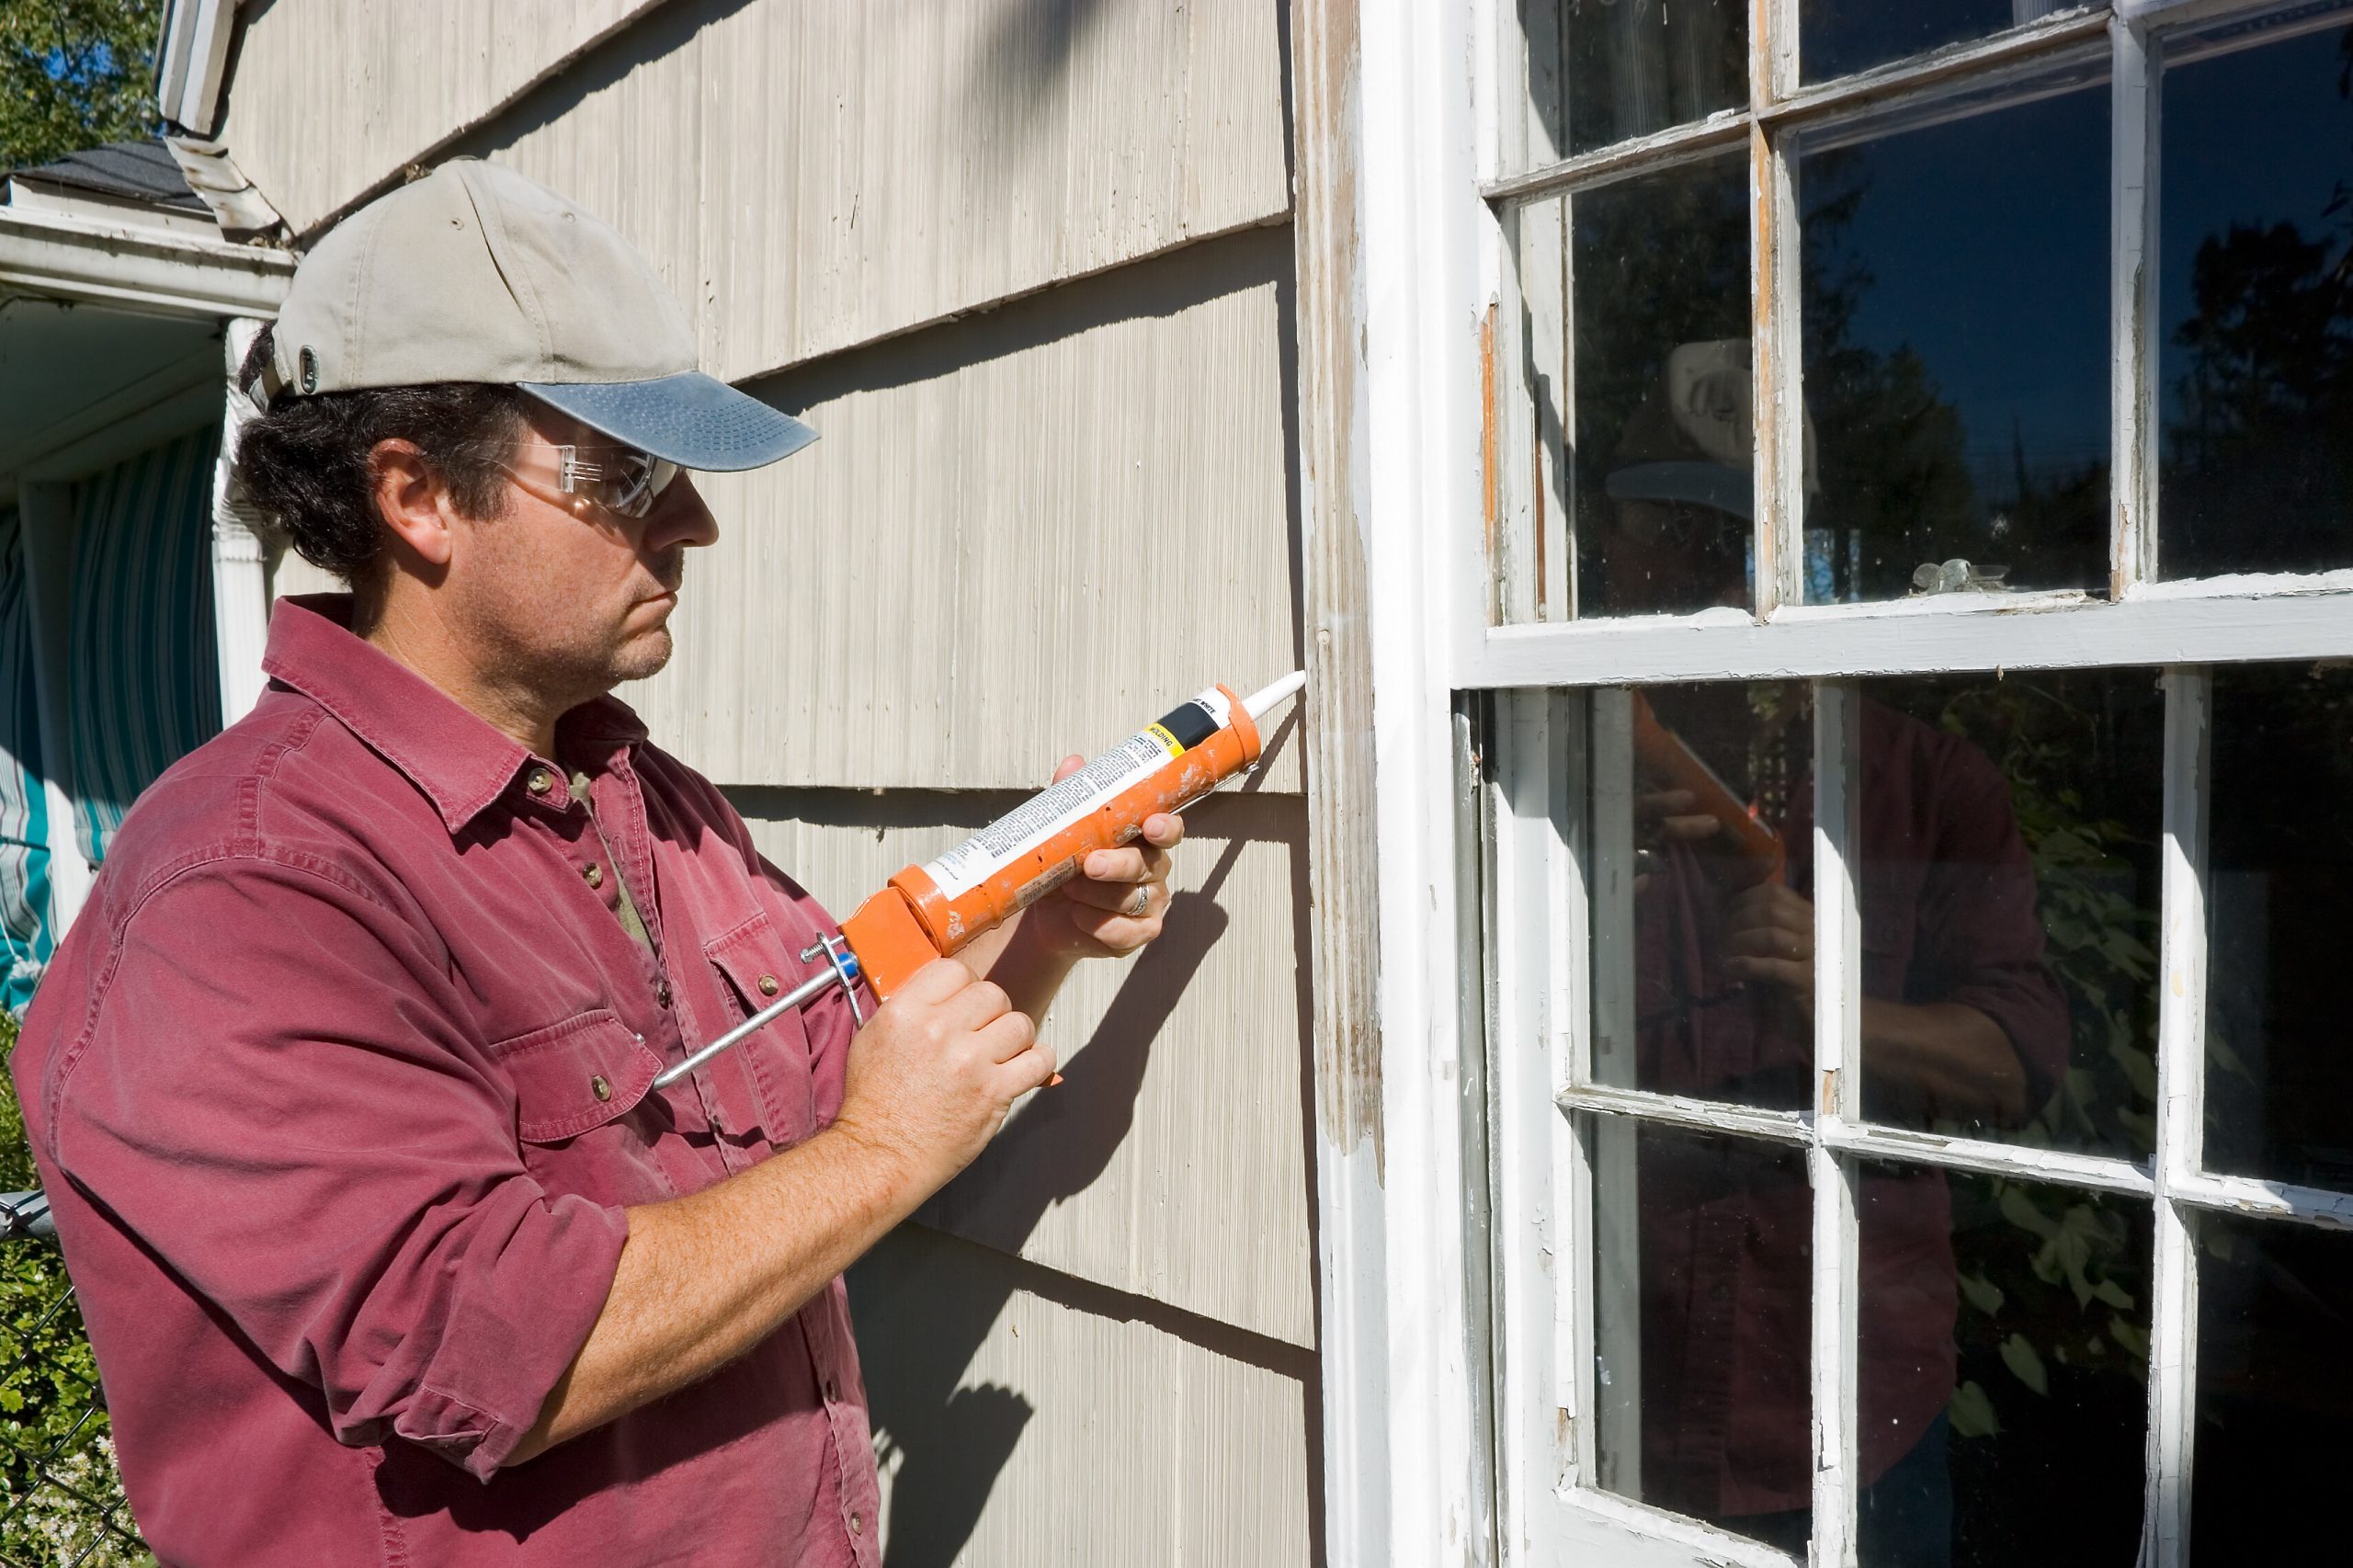
Seal Drafty Windows
Cracks around window frames can let in cold air. Use acrylic latex caulk to fill in gaps where the window trim meets the wall, inside or out.
Update Kitchen Backsplashes
Over time, the seal between your countertop and backsplash can wear out. Remove old caulk and apply a neat line of silicone caulk to keep out crumbs and moisture.
Baseboards and Trim
Caulk the gaps where baseboards or crown molding meet the wall to hide seams and make your room look polished.
Exterior Touch-Ups
Seal gaps around outdoor outlets, vents, or siding with weatherproof caulk to block drafts and moisture.
Caulking Tips and Tricks
- Always read the product label—some caulks aren’t paintable or may need special handling.
- Store leftover caulk by sealing the tip with plastic wrap or a nail to prevent it from drying out.
- Practice on a scrap surface if you’re nervous about getting a clean line.
- Use a damp cloth to wipe up any messes immediately—dried caulk is much harder to remove.
Final Insights
Caulking doesn’t take long, but it can make a big difference in how your home looks and functions. With just a few basic tools and a little practice, you can take on small sealing projects that improve comfort, prevent damage, and even cut down on energy costs. So grab that caulking gun and tackle one gap at a time—you’ve got this!