Table of Contents
How to Weatherproof Your Home Before Winter Without Hiring a Contractor
Winter doesn’t give much warning before it starts costing you money. One week the temperatures are manageable, and the next you’re running the heat constantly, noticing drafts you didn’t notice before, and wondering why your energy bill has jumped when nothing obvious has changed. The gap between a home that handles winter efficiently and one that fights it at every turn almost always comes down to preparation, and most of the preparation that matters is genuinely within the reach of a homeowner with a free weekend and a modest budget — no contractor required.
Start With an Air Leakage Assessment
Before spending anything on weatherproofing materials, the single most useful first step is finding where your home is actually losing conditioned air — because the distribution of air leaks in most homes is uneven in ways that aren’t obvious from the inside, and spending money sealing low-leakage areas while ignoring major ones produces disappointing results. Air leaks don’t announce themselves with obvious drafts in most cases. Many of the most significant ones are in areas you rarely look at and wouldn’t think to check.
The most effective DIY method for identifying air leaks is a simple pressure test: on a cold, windy day, close all windows and doors, turn off the HVAC system, and move slowly along walls, around window and door frames, and near any penetration through the building envelope — electrical outlets, pipe entry points, where walls meet floors and ceilings — holding your hand or a lit incense stick near the surface. Air movement will be detectable by feel on your hand or by smoke disturbance from the incense at any meaningful leak point. What most homeowners discover during this exercise is that their windows and doors, which tend to receive the most attention and weatherproofing effort, are often not the primary sources of air leakage. Attic hatches, recessed light fixtures that penetrate the ceiling into an unconditioned attic, gaps around pipes and wires where they pass through walls, and the band joist area where the floor framing meets the foundation are collectively responsible for a large share of air leakage in most homes — and are frequently never addressed because they’re out of sight.
For a more precise assessment, Energy Star’s home sealing guide provides a prioritized list of the highest-impact air leakage locations in typical residential construction, which is worth reviewing before starting any sealing work to ensure effort goes toward the areas that will produce the largest return.
Sealing Windows and Doors
Windows and doors are the most visible and most commonly addressed weatherproofing targets, and while they’re rarely the biggest source of air leakage in a well-maintained home, they’re worth addressing systematically because the materials involved are inexpensive and the work is straightforward. The most important distinction to make before starting is between gaps in the window or door frame — where the frame meets the wall — and gaps in the operation of the window or door itself, because these require different approaches.
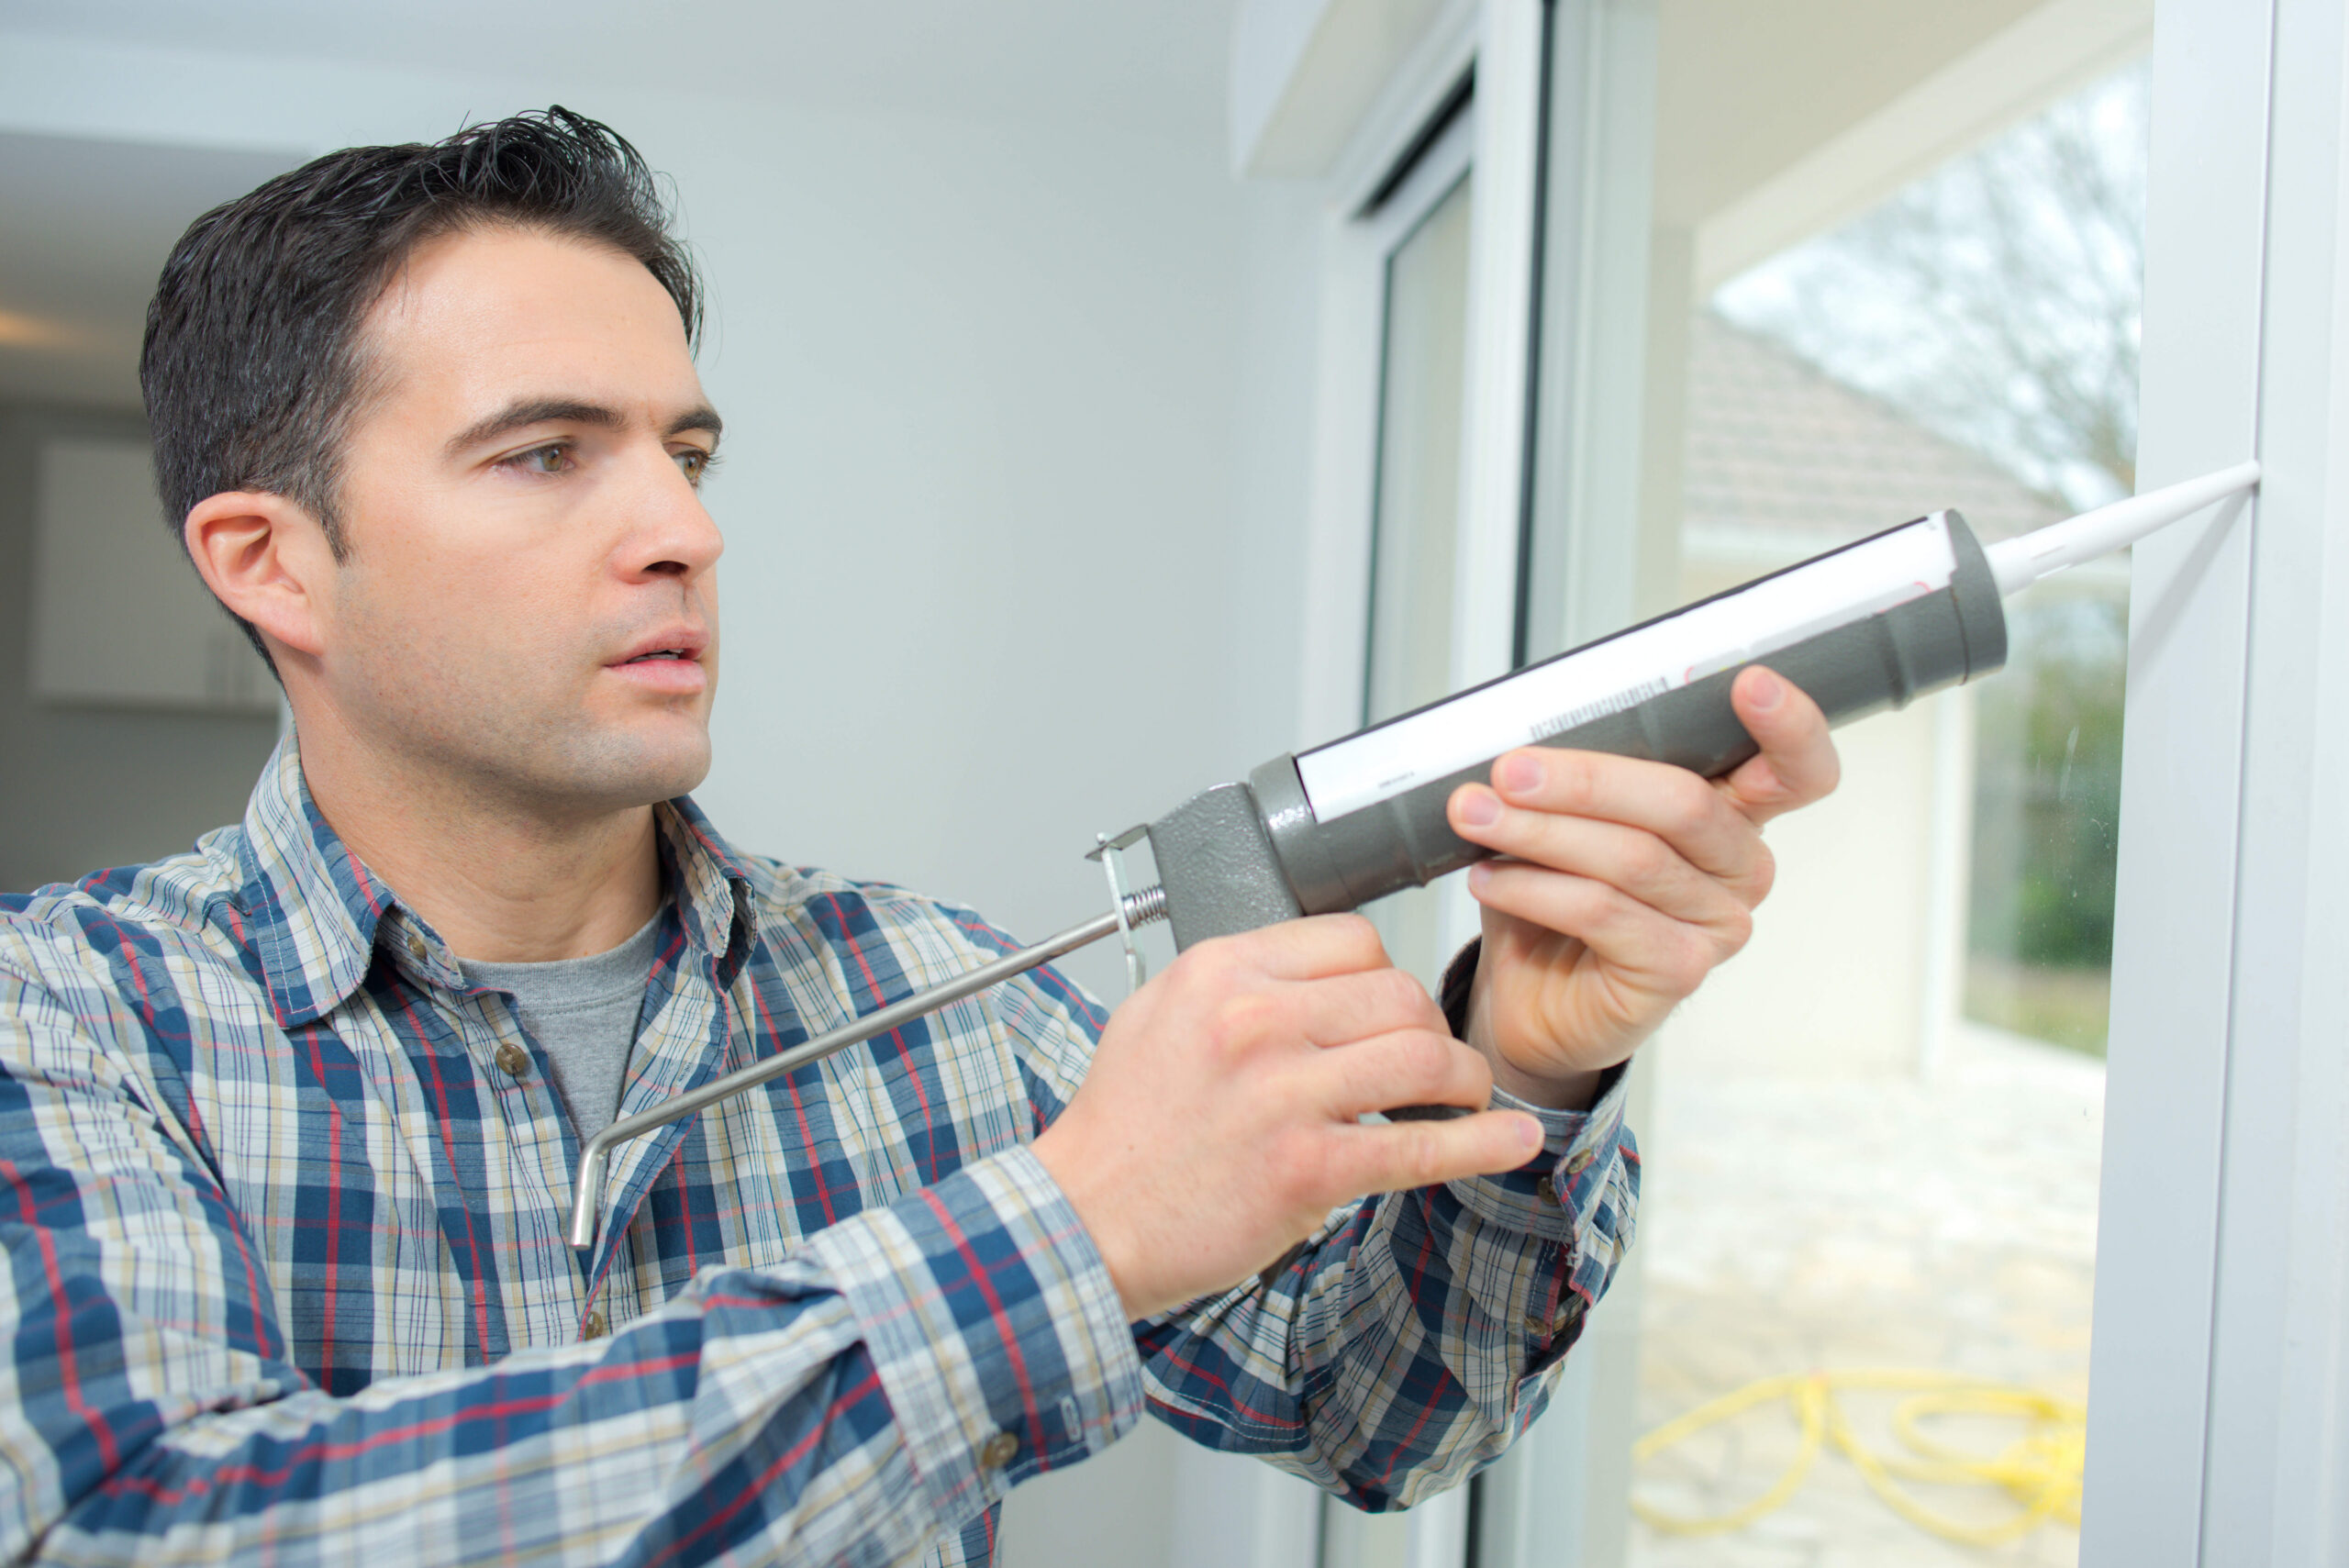
Gaps between window and door frames and the surrounding wall are best addressed with paintable acrylic caulk, applied to any visible crack or separation between the frame and the adjacent wall surface. This is exterior work on the outside of the home as well as interior work on the inside, and both surfaces matter. A gap that’s sealed on the interior but open on the exterior still allows moisture infiltration even if it reduces air movement, so checking and caulking both sides produces more complete results. Exterior caulk designed for outdoor use handles temperature variation and UV exposure better than standard interior caulk and should be used for any exterior application.
Operational gaps — where the moving parts of a window or door don’t seal completely against the frame when closed — are addressed with weatherstripping rather than caulk. The type of weatherstripping appropriate for a given application depends on the gap size and the type of movement involved. Foam tape weatherstripping is the easiest to apply and works well for window sashes and door stops where the surfaces compress together when closed. V-strip or tension seal weatherstripping, which is a folded strip of metal or plastic that springs open to fill a gap, works better for the sides of double-hung windows and the edges of doors where surfaces slide past each other rather than compressing together. Door bottoms and thresholds — which are consistently among the largest operational gaps in a home — benefit from a combination of a door sweep on the door bottom and a threshold seal on the floor, which together eliminate the gap that’s visible as a strip of daylight under most interior and exterior doors. This Old House’s weatherstripping guides provide clear guidance on matching weatherstripping type to application, which prevents the common mistake of using foam tape in situations where it compresses fully and loses its sealing function within a season.
Addressing the Attic: The Most Overlooked Heat Loss Location
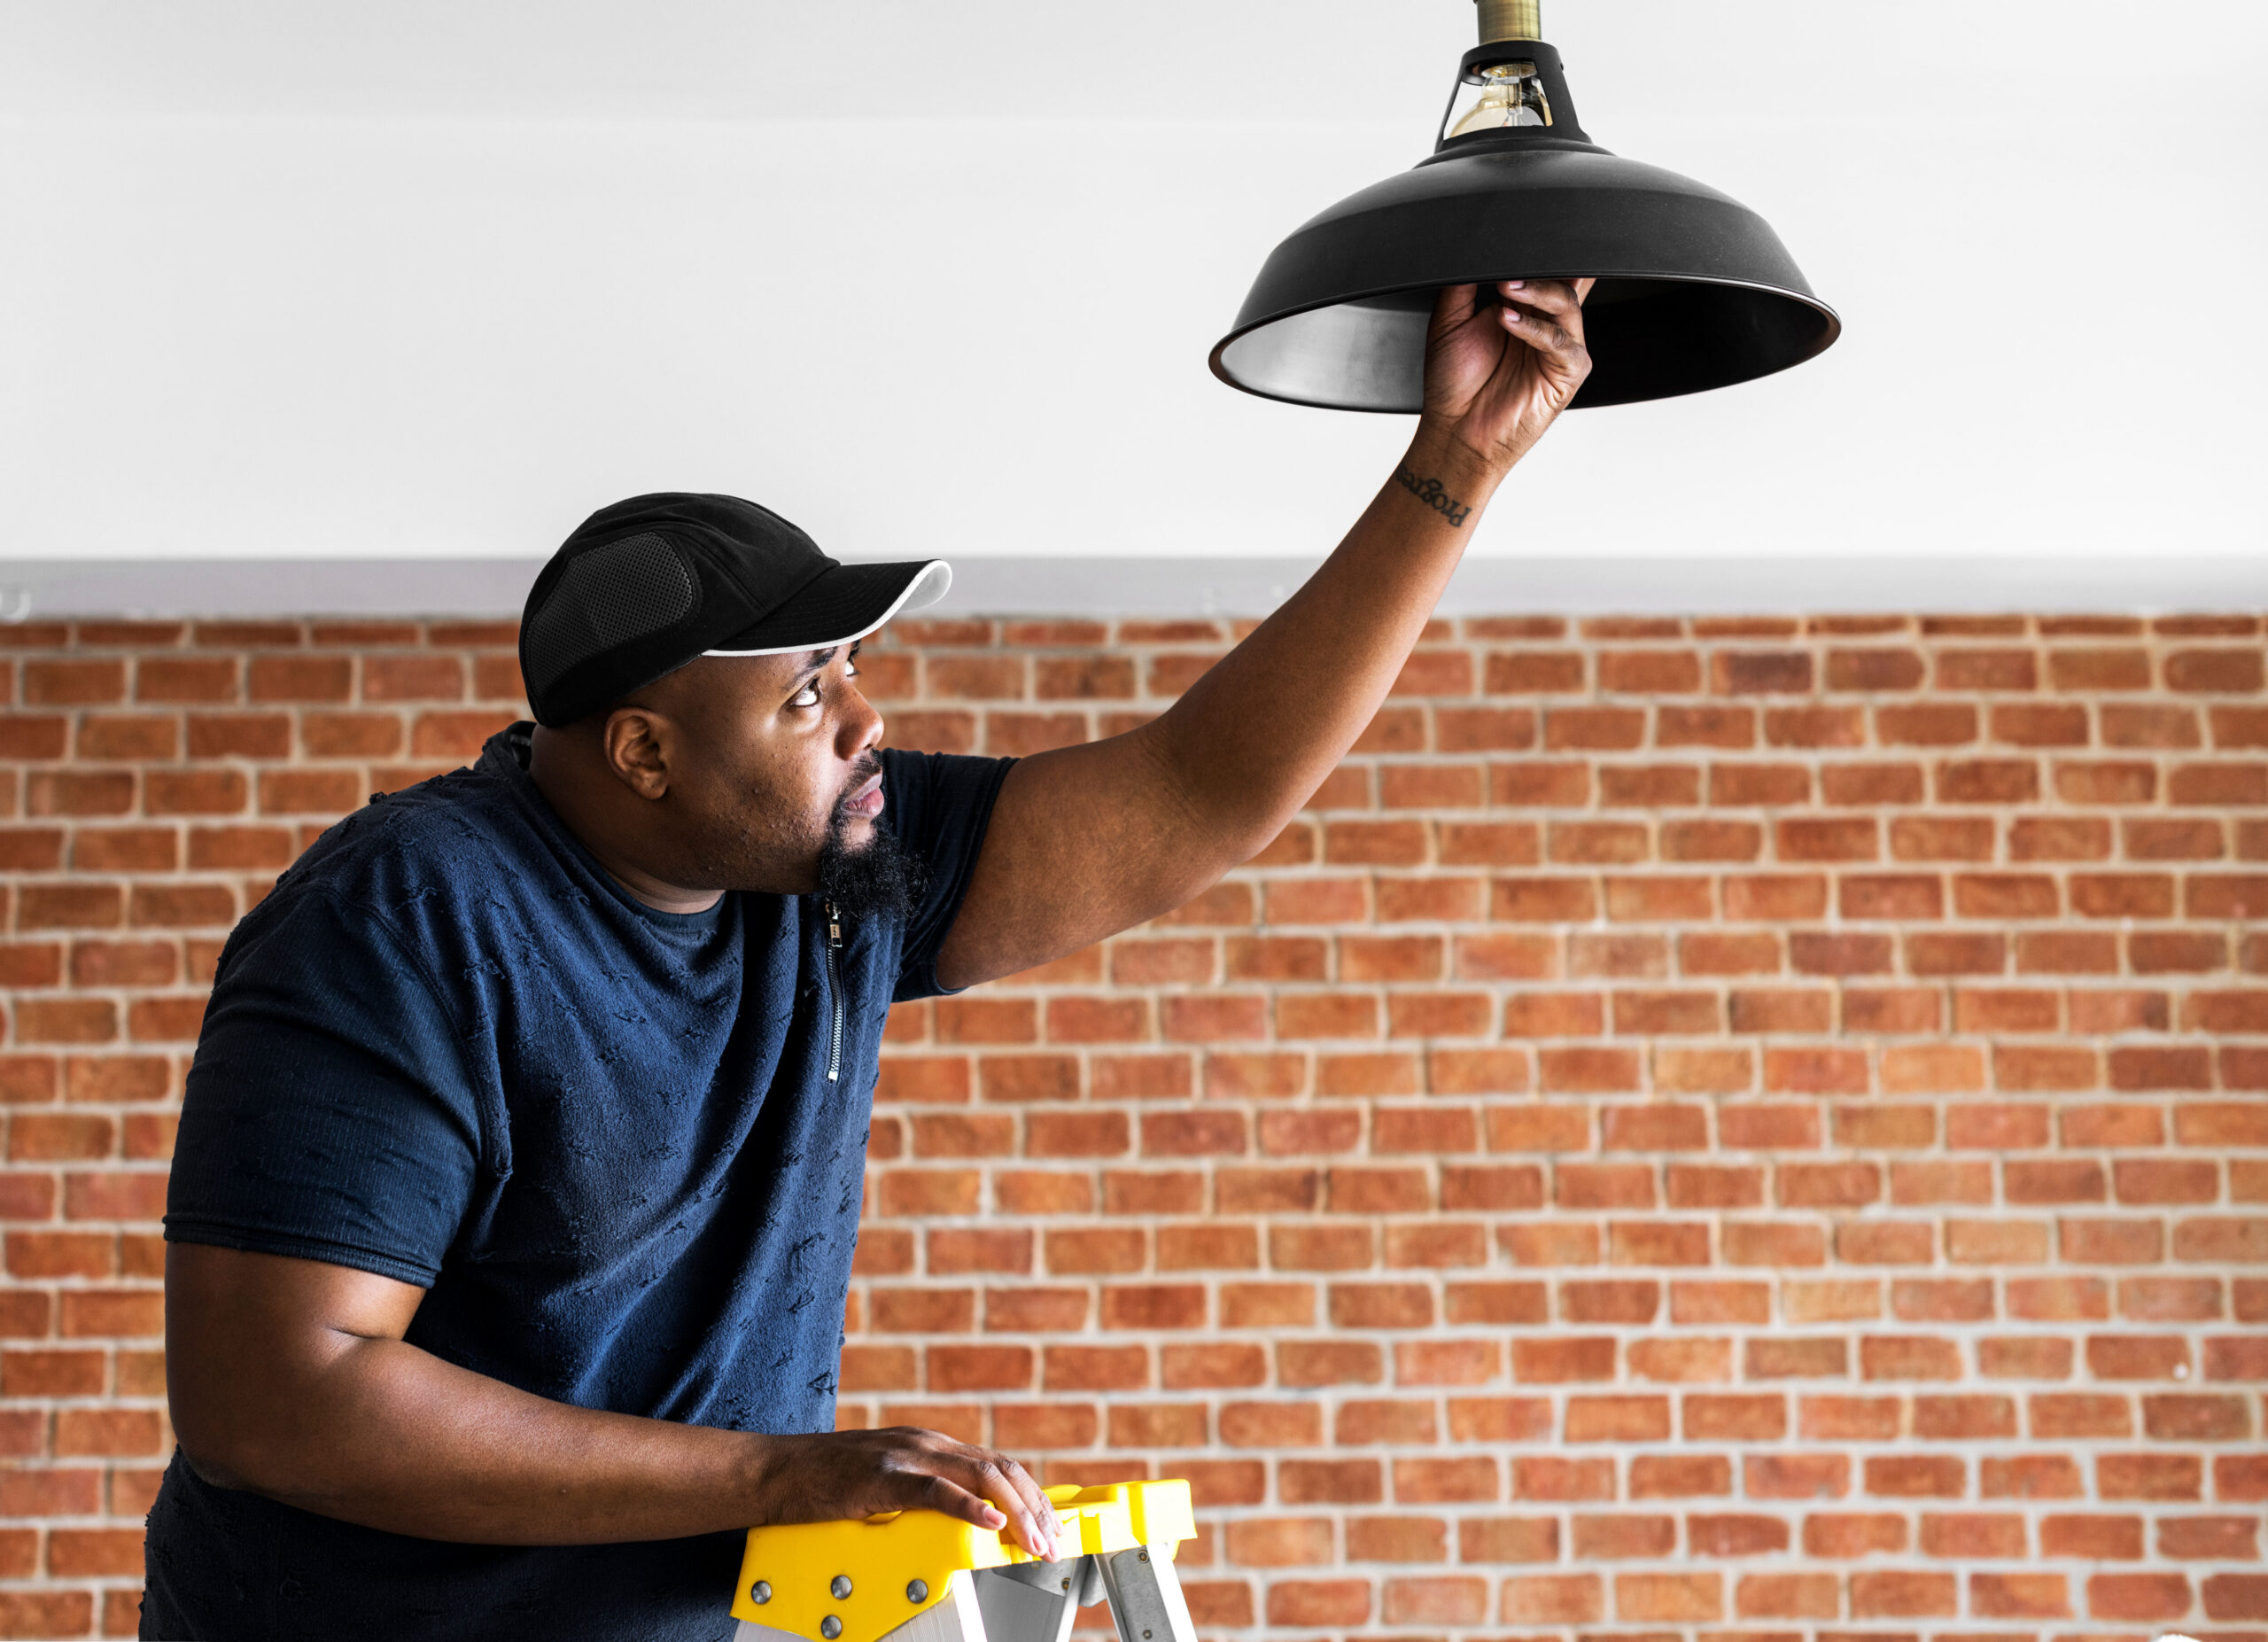
For most homes in cold climates, the attic is where the largest single weatherproofing return is available — and it’s the area that receives the least attention from homeowners focused on windows and doors. Heat rises, and in a home where the ceiling plane isn’t well air-sealed and insulated, a significant portion of heating energy escapes upward into the attic and out of the home before it can do any useful work. The attic hatch is typically the most acute single point of air leakage in this zone: a standard pull-down attic stair or hatch cover is typically an uninsulated piece of thin wood or drywall sitting in a frame with no weatherstripping, creating a large opening in the ceiling plane that’s thermally equivalent to leaving a window open.
Insulating and weatherstripping an attic hatch is a project that costs $20 to $50 in materials — foam board insulation cut to fit the hatch door, weatherstripping applied to the frame, and a simple latch to hold the insulated hatch firmly against the weatherstripping — and can cut meaningful heat loss at this specific location. Pre-made attic stair covers are also available as drop-in solutions for standard pull-down stair installations. Beyond the hatch, any penetrations through the ceiling plane into the attic — recessed light fixtures, ceiling fan boxes, pipe and wire penetrations — should be air-sealed with fire-rated caulk or foam from the attic side, where access is easiest and the sealing is most effective. The Department of Energy’s attic air sealing guidance identifies the specific locations to target and the appropriate materials for each, along with safety guidance for working in attic spaces.
Pipe and Utility Penetrations
Every pipe, wire, and duct that passes through an exterior wall or from a conditioned space into an unconditioned one represents a potential air leakage point, and in most homes these penetrations are sealed only minimally or not at all. Plumbing pipes that enter through exterior walls, dryer vents, bathroom exhaust fans, kitchen range hood ducts, and the areas where electrical service and cable or internet lines enter the building are all locations where gaps between the penetrating element and the wall opening allow air movement that bypasses every other weatherproofing measure applied to the home.
Expanding spray foam is the most practical material for sealing these penetrations from the interior, and a single can of low-expansion foam — the type labeled for windows and doors, which expands less aggressively than standard foam and doesn’t distort frames — is sufficient to address most utility penetrations in an average home. The application process requires only gloves and a careful hand, and the foam can be trimmed flush with the wall surface once it cures. For larger gaps and irregular openings, a combination of backer rod — a flexible foam rod that fills the bulk of the gap — topped with caulk produces a more durable and paintable result than foam alone. Exterior penetrations that are accessible should also be checked and sealed, as exterior gaps allow moisture infiltration alongside air movement and can cause wood rot and insulation damage over time that creates much larger repair costs than the initial sealing would have prevented.
Checking and Improving Insulation Where It Matters Most
Air sealing and insulation address related but distinct problems — air sealing stops air movement, while insulation slows heat transfer through the building materials themselves — and both are necessary for a well-performing building envelope. Many older homes are under-insulated by current standards in the locations that matter most, and identifying the worst deficiencies before winter is more straightforward than most homeowners assume.
The attic floor is the highest-priority insulation location in most homes because it separates the largest conditioned and unconditioned surface area. Current Department of Energy recommendations for attic insulation in most U.S. climate zones call for R-38 to R-60 at the attic floor, which corresponds to roughly 12 to 20 inches of blown cellulose or fiberglass. Many older homes have significantly less than this, and adding insulation to an attic floor is among the more accessible DIY insulation projects — blown insulation can be rented as a machine from home improvement stores with bags of insulation material purchased at the same time, and the work involves simply distributing the material evenly across the attic floor to the target depth. Home Depot’s insulation rental program provides equipment and guidance that makes this project accessible to homeowners without prior insulation experience.
Crawl spaces and basement rim joists — the framed area where the floor structure meets the foundation wall — are the second-highest priority insulation location in most homes and are frequently completely uninsulated. Cutting rigid foam board to fit between the floor joists in the rim joist area and sealing the edges with foam or caulk addresses significant heat loss at the base of the home, and is a contained, manageable project that can be completed in a day in most homes.
The Systems That Weatherproofing Supports
Weatherproofing the building envelope works in conjunction with the home’s heating system, and making sure the system itself is ready for winter before temperatures drop is part of the same preparation logic. A forced-air heating system with a dirty filter works harder, runs longer, and costs more to operate while delivering less effective heat distribution than one with a clean filter — a $5 to $20 filter replacement that should happen before the heating season begins. Having the furnace or boiler serviced annually — a task that does warrant a professional visit — ensures that any efficiency or safety issues are identified before the system is running at full demand rather than discovered during the first cold snap of the season.
Bleeding radiators in hot-water heating systems, reversing ceiling fans to push warm air downward in winter mode, and checking that all heating vents are open and unobstructed by furniture are all zero-cost adjustments that improve heating efficiency without any material investment. The cumulative effect of a well-sealed, adequately insulated building envelope combined with a well-maintained heating system that’s distributing heat effectively is a home that reaches and holds comfortable temperatures with less energy input — which translates directly into lower heating bills throughout the season and a more comfortable interior environment during the months when the outside is doing its worst.
Sources:
https://www.energy.gov/energysaver/insulation
https://www.energystar.gov/saveathome/seal_insulate
https://www.energy.gov/energysaver/air-seal-and-insulate-attic
https://www.thisoldhouse.com/doors/21015626/all-about-weatherstripping
https://www.homedepot.com/c/ab/how-to-insulate-an-attic/9ba683603be9fa5395fab90114c6a3d8