Table of Contents
How to Refresh a Room With Paint Without Making Expensive Mistakes
Paint is the most cost-effective room transformation available to homeowners and renters, and it’s also the one most likely to produce an expensive redo when the preparation and decision-making steps are skipped in the excitement of wanting to see the finished result. The mistakes that cost the most — the wrong color that looks nothing like the swatch, the finish that shows every imperfection, the walls that needed priming but didn’t get it — are almost universally the result of rushing the planning phase rather than any difficulty in the actual painting.

Start With the Color Selection Process That Actually Works
Color selection is where most paint projects go wrong before a drop has been applied, and the reason is almost always relying too heavily on a paint swatch under store lighting rather than testing colors in the actual space where they’ll live. Paint color is profoundly affected by the light conditions in a specific room — the direction the windows face, whether the room gets morning or afternoon sun, whether the overhead lighting is warm or cool — and a color that looks exactly right under the bright fluorescent lights of a paint aisle can look completely different on your north-facing bedroom wall at 7pm.
The correct process is buying sample pots of two or three finalists and painting large swatches — at least 12 by 12 inches, ideally larger — directly on the wall in the room you’re painting. Observing those swatches at different times of day and under artificial lighting in the evening reveals how the color actually behaves in your specific space. This step feels like extra effort and a minor additional expense, but it’s the single most reliable way to prevent the expensive mistake of painting a full room in a color that turns out to be wrong in your particular lighting and space.
The undertone issue is what catches most people off guard. Colors have undertones — a white can lean yellow, pink, gray, or blue depending on its formulation, and a gray can read purple, green, or blue depending on the light. Two colors that look identical on swatches can diverge dramatically on a wall, and two colors you thought were different can look nearly the same once painted. Painting sample swatches on opposing walls and at different heights allows you to see how the undertone shifts across the room, which is information no swatch ever communicates.
Choose the Right Finish for the Right Room
Selecting the wrong paint finish is one of the mistakes that’s difficult to fix without repainting, because finish affects both the appearance and the durability of the painted surface in ways that become apparent only after the work is complete. The finish decision should be made based on the practical demands of the space rather than purely aesthetic preference.
Flat and matte finishes have a chalky, non-reflective quality that hides surface imperfections beautifully — drywall patches, texture variations, and minor wall irregularities disappear under a flat finish in a way that shinier finishes reveal rather than conceal. This makes flat finishes ideal for ceilings and for living room and bedroom walls in good condition where durability isn’t the primary concern. The limitation is that flat finishes are difficult to clean; wiping down a flat-painted wall to remove a mark often removes paint along with the mark.
Eggshell and satin finishes occupy the practical middle ground that works well in most living spaces — slightly more reflective than flat, considerably more washable, and still forgiving enough of surface imperfections to work well on typical residential walls. These are the finishes that make the most sense for living rooms, dining rooms, and bedrooms where you want some durability without the sheen that draws attention to every wall texture variation.
Semi-gloss and gloss finishes are the right choice for trim, doors, and cabinetry because their durability and cleanability are ideal for high-contact surfaces, and because the contrast between a flat or eggshell wall and a semi-gloss trim is a classic combination that looks intentional and finished. Using semi-gloss on walls, however, highlights every surface imperfection because the reflective quality of the finish catches light in a way that makes drywall repairs, uneven texture, and minor wall damage immediately visible. Walls that would be perfectly acceptable under a flat or eggshell finish become noticeably imperfect under semi-gloss.
The Preparation Work That Determines the Final Result
The quality of a paint job is determined more by preparation than by application technique, and this is where most DIY paint projects fall short. A wall that hasn’t been properly cleaned, patched, and primed will show those deficiencies through the paint regardless of how carefully it’s applied, and the temptation to skip or rush the prep work in order to get to the visible progress of actually painting is the source of most results that require repainting.
Cleaning the walls before painting is the step most often skipped, but surface grease, dust, and residue prevent paint from adhering properly and can cause peeling, uneven coverage, and finish inconsistencies that show up within months of painting. Washing walls with a mild degreasing solution, allowing them to dry completely, and wiping down any areas near cooking surfaces, doorknobs, and switch plates is standard prep that takes an hour and prevents adhesion failures.
Patching holes and dings before painting requires allowing adequate dry time for the patching compound and sanding smooth before the first coat of paint is applied. Painting directly over a fresh patch without allowing complete drying typically results in the patch showing through as a different texture or a sunken area once the paint dries, because the compound can continue to shrink slightly as moisture evaporates. Sanding the patched area smooth with 120-grit sandpaper and feathering the edges into the surrounding wall surface produces a patch that disappears under paint rather than remaining visible.
Priming is the preparation step most frequently skipped on the assumption that modern paint-and-primer combinations eliminate the need for a separate primer coat. In practice, primer is genuinely necessary in specific situations where skipping it predictably produces problems: painting over dark colors with a significantly lighter one, painting over bare drywall where patches have been applied, painting over glossy surfaces without sanding, and painting over stains or marks that would bleed through standard paint. In each of these situations, a dedicated primer coat applied before the topcoat prevents the hours of additional work that attempting to cover these issues with additional paint coats typically generates.
Taping, Cutting In, and the Techniques That Save Rework
Clean edges between walls and trim, ceilings, and architectural features are what separate a professional-looking paint job from an amateur one, and achieving them consistently is primarily a matter of technique and patience rather than any innate artistic ability.
Painter’s tape applied properly provides reliable edge protection, but the application technique matters as much as the tape itself. Pressing the tape firmly against the surface with a putty knife or rigid straight edge, rather than simply pressing with your fingers, seats the tape edge tightly enough to prevent paint from bleeding beneath it — which is the failure mode that causes the ragged edges that make tape feel unreliable. Running a thin line of the existing wall color along the tape edge before applying the new color creates a seal that physically prevents bleed-through by filling any microscopic gap between the tape and the surface before the new paint is applied.
Removing tape at the right moment is equally important. Waiting until the paint is fully dry and then pulling tape can peel the dried paint film, particularly on surfaces where the paint has bridged from the wall to the tape. Removing tape while the paint is still slightly tacky — typically within an hour of the final coat — produces cleaner edges because the paint hasn’t fully bonded across the tape line. Pulling the tape back at a 45-degree angle rather than straight back further reduces the risk of pulling paint away from the wall with the tape.
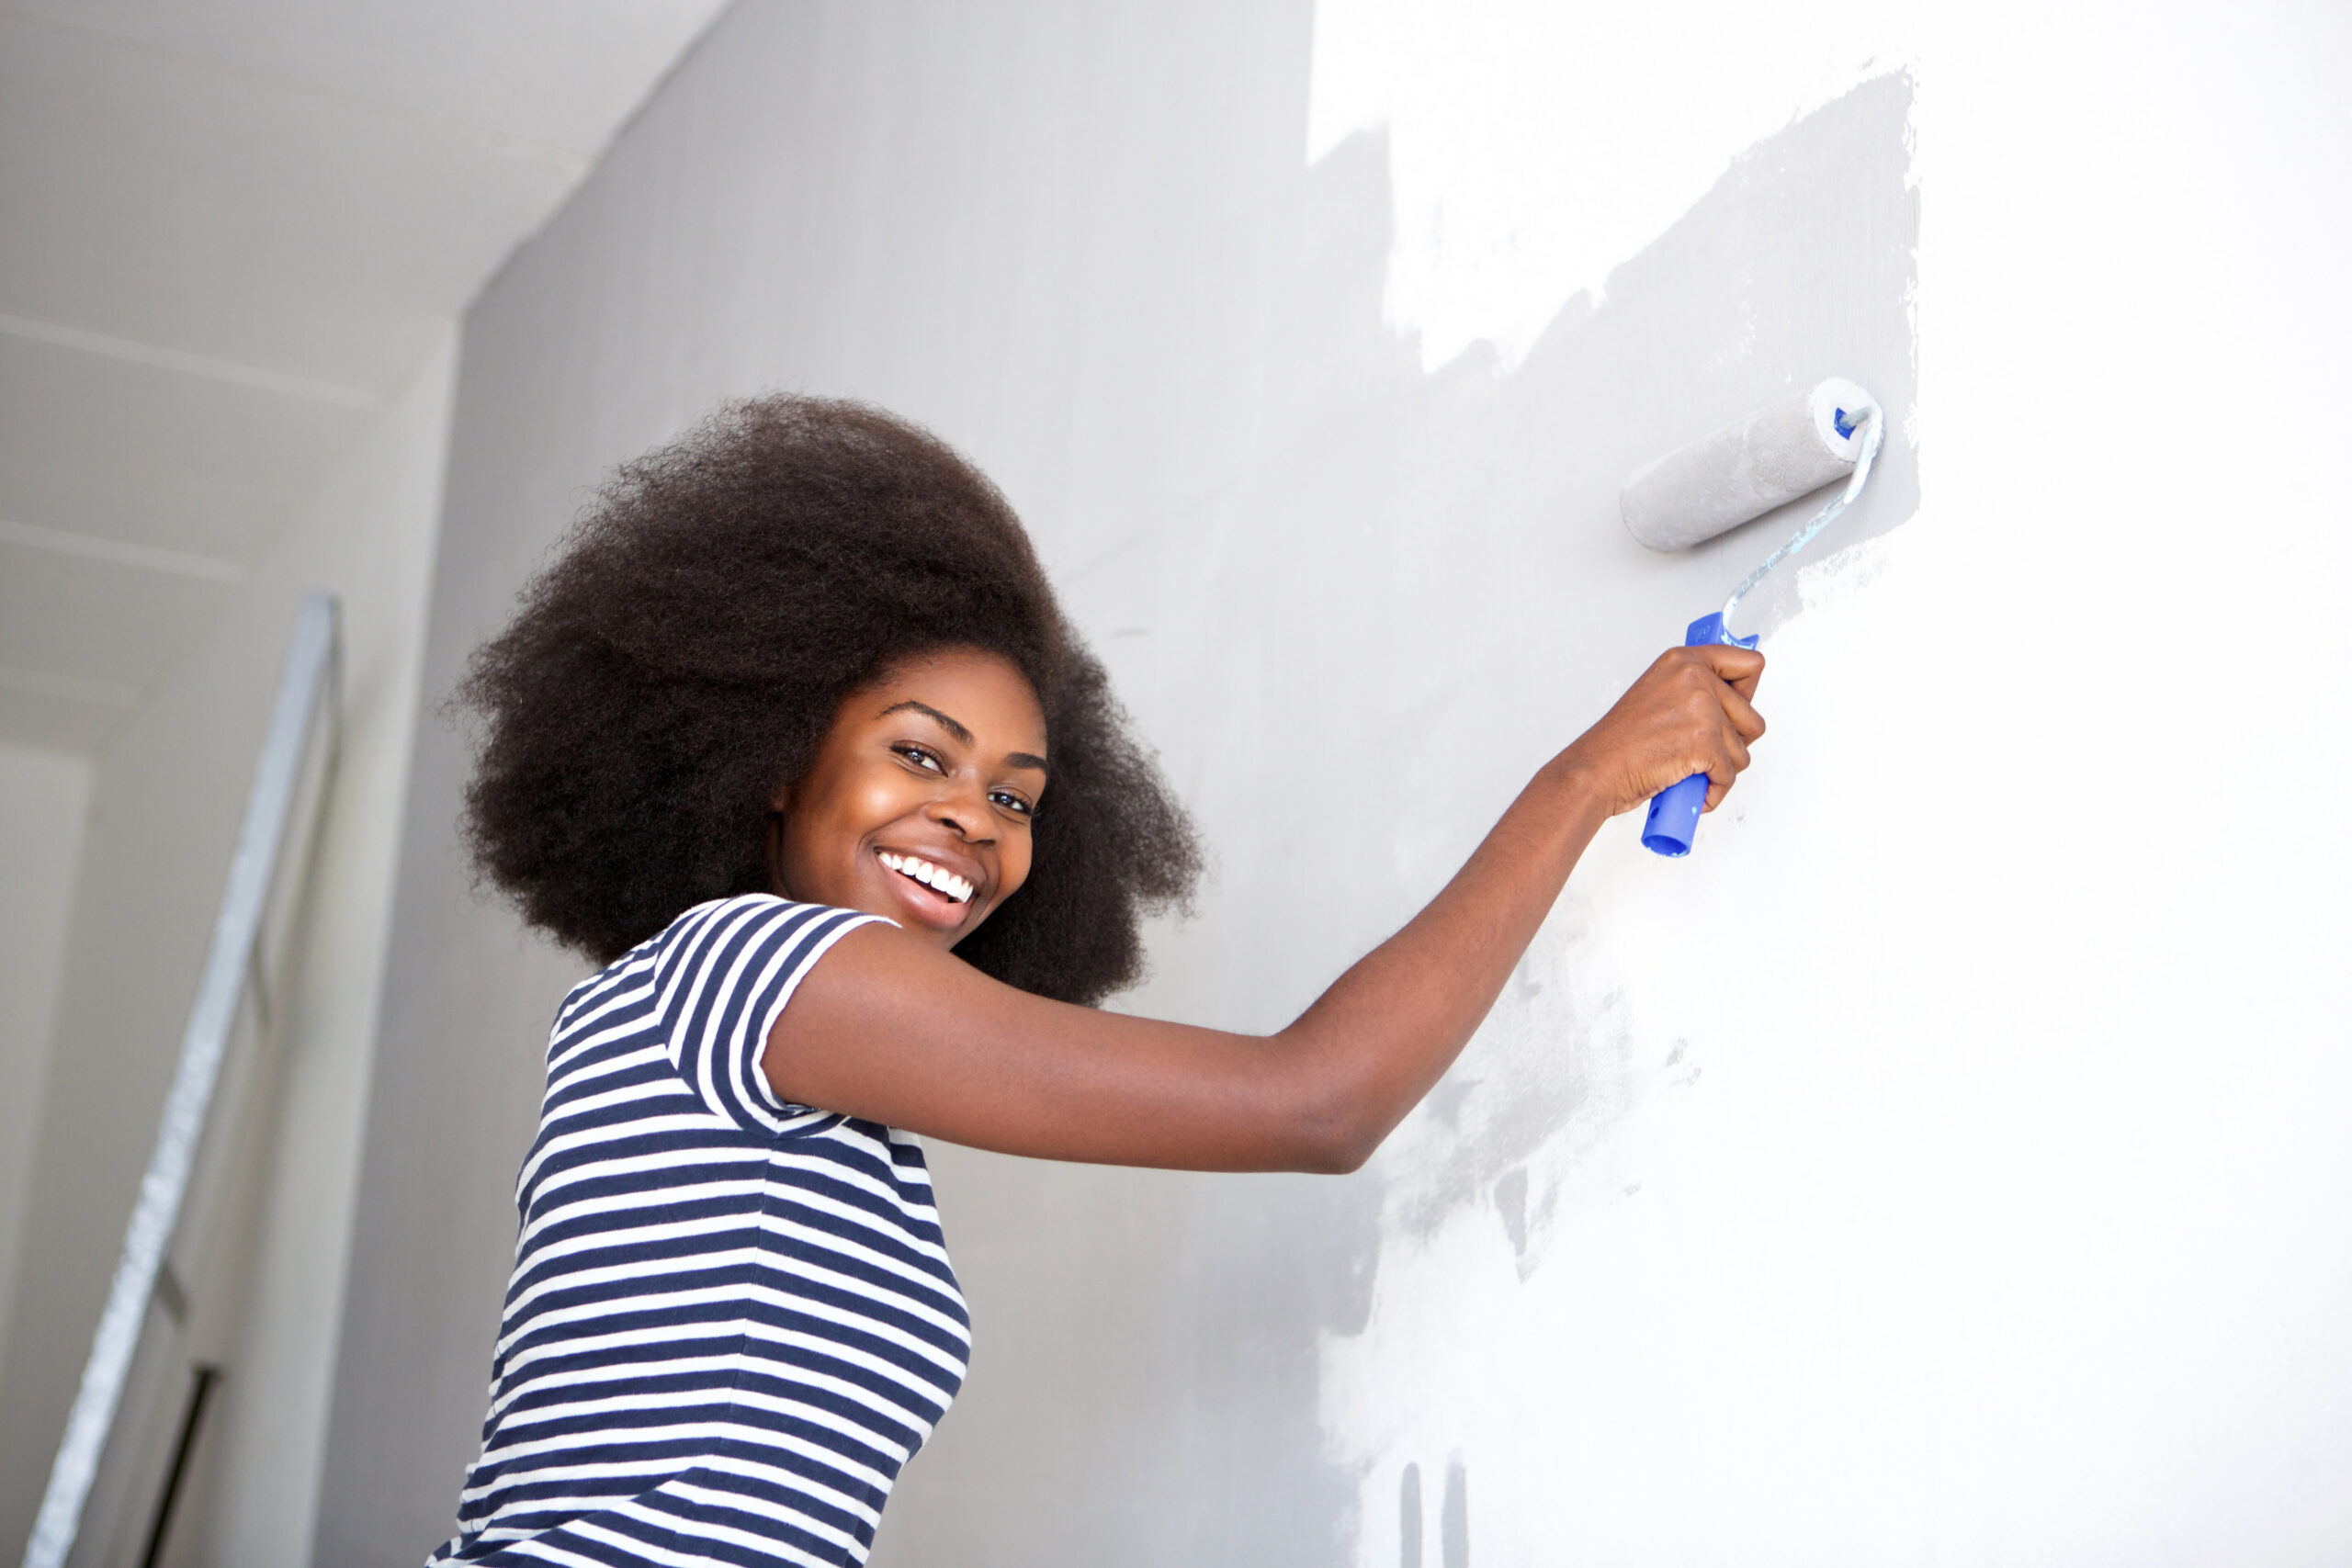
Cutting in — the technique of brushing a neat edge along the ceiling line, trim, and corners before rolling the main wall surface — is the skill that most determines the quality of the finished result. A quality angled brush of 2 to 2.5 inches, held near the bristles rather than the handle for better control, and moved with slow, deliberate strokes while watching the wet edge of the paint rather than the brush tip produces consistent results that improve with practice. Cutting in the entire room before rolling, and then rolling while the cut-in edges are still wet, blends the brush marks into the rolled surface in a way that cutting in dry walls and then rolling over dry cut lines doesn’t achieve.
How Many Coats You Actually Need
The number of coats a paint job requires depends on the relationship between the existing wall color and the new color, the quality of the paint being used, and whether primer was applied. General coverage guidance on paint cans is optimistic about the ability of a single coat to produce a finished result, and most residential paint applications look better and last longer with two coats than with one heavy coat.
Dark-to-light color changes are the most demanding coverage scenario and are where cutting corners on coat count produces the worst results. A deep navy or forest green wall being painted over with a warm white or light gray can require three or four coats of paint without primer, or two coats with a dedicated tinted primer coat that shifts the base color closer to the destination color before the topcoat is applied. Using a tinted primer — asking the paint department to tint the primer toward your finish color — reduces the number of topcoats needed and produces more even coverage than untinted primer.
Paint quality matters more than most people expect when comparing coverage across brands and price points. Premium paints contain higher concentrations of pigment and better-quality binders that produce more complete coverage per coat, better resistance to washability damage, and longer-lasting color without fading compared to budget paint. Spending more per gallon on better-quality paint and applying two coats typically produces a better and more durable result than spending less and applying three or four coats of a budget option.
Cleanup and the Final Details That Complete the Job
How a paint project is completed and cleaned up affects both the immediate quality of the result and your ability to use remaining paint for future touch-ups, which is the practical longevity benefit that makes keeping leftover paint worthwhile.
Storing leftover paint correctly requires cleaning the rim of the can so that the lid seats completely, which prevents the skin that forms on paint exposed to air and makes future touch-ups possible. Covering the paint surface inside the can with plastic wrap before replacing the lid creates a seal that extends the usable life of the remaining paint considerably. Storing cans in a location that doesn’t freeze — paint that freezes is typically unusable — and labeling each can with the room it was used in, the color name and code, and the finish type makes future touch-up work straightforward rather than a guessing exercise.
Cleaning brushes and rollers immediately after use rather than after taking a break is the habit that preserves tools for future use and prevents the loss of good-quality brushes to dried paint. Water-based latex paint cleans from brushes and rollers with warm water and mild soap while still wet and becomes considerably harder to remove after drying. Rinsing tools until the water runs completely clear, working the bristles back and forth while rinsing to clear paint from the base of the brush nearest the ferrule, and allowing brushes to dry hanging or bristle-down rather than resting on the bristle tips preserves the shape and alignment that makes them effective for future projects.