Table of Contents
- Why Painting Beats Almost Every Other Home Project
- Picking a Color Without Regretting It Later
- What You Actually Need Before You Open a Can
- The Prep Work Nobody Wants to Do
- When Primer Actually Earns Its Keep
- Technique Matters More Than Speed
- Ideas Beyond a Basic Wall Color
- Mistakes Worth Avoiding
- A Fresh Coat Is Worth the Weekend
- Sources
DIY Room Painting Ideas That Can Transform Your Home
Your walls are the cheapest renovation you’ll ever get to make, and most people ruin the results by rushing the one step that actually matters. Grab a gallon of paint before the weekend, and you can change the entire mood of a room for less than the cost of a nice dinner out.
Why Painting Beats Almost Every Other Home Project
A gallon of quality interior paint runs somewhere between $30 and $60 and covers roughly 350 square feet with one coat. Compare that to the cost of new flooring or a kitchen remodel, and painting starts to look less like a home improvement project and more like a cheat code. It’s also one of the few upgrades that doesn’t require a contractor, a permit, or a weekend spent watching someone else do the work.
There’s a psychological payoff too. Rooms that feel dated or cramped often just need a different wall color, not new furniture. A single afternoon with a roller can make a north-facing bedroom feel warmer or a cramped home office feel like it actually has room to think. If you’re stuck on where to start, the visualizer tools from Sherwin-Williams let you upload a photo of your actual room and test colors before you buy a drop of paint.
Picking a Color Without Regretting It Later
Paint chips lie. They’re small, they’re viewed under fluorescent store lighting, and they almost never look the same once they’re on a 10-foot wall getting hit by afternoon sun. Buy sample-size pots instead, paint a two-foot square on at least two different walls, and live with it for three or four days. Watch how it shifts from a cool gray at 8 a.m. to something almost lavender by sunset.
Smaller rooms generally do better with lighter, warmer neutrals since darker colors can make four walls feel like they’re closing in. Bedrooms and bathrooms tend to benefit from muted blues or sage greens, colors that read as calm rather than stimulating. If you want to get more adventurous, an accent wall lets you commit to something bold, like a deep terracotta or navy, without repainting the entire room if you end up hating it. Benjamin Moore’s color trend guides are worth a scroll if you want inspiration beyond the usual greige.
What You Actually Need Before You Open a Can
Skipping supplies is where most DIY paint jobs go sideways. You don’t need a professional-grade kit, but a few specific items make the difference between a wall that looks intentional and one that looks like it was painted in the dark.
- A gallon of quality paint plus a quart of primer if you’re covering a dark color
- 3/8-inch nap roller covers for smooth drywall, angled 2-inch sash brushes for cutting in
- Painter’s tape rated for the surface (delicate tape for wallpaper or fresh drywall)
- Canvas drop cloths, since plastic sheeting slides and bunches underfoot
- Spackling compound, 120-grit sandpaper, and a putty knife for repairs
Most big-box retailers, including The Home Depot and Lowe’s, sell starter kits that bundle most of this, though the rollers included are usually mediocre and worth upgrading separately.
The Prep Work Nobody Wants to Do
Here’s the uncomfortable truth: painting itself is the easy part. Preparation is what separates a professional-looking finish from something that screams “amateur weekend project,” and it’s also the step people skip when they’re excited to see color on the wall.
Clear the room as much as you can, and push anything too heavy to move into the center, covered with a drop cloth. Pull outlet covers, switch plates, and curtain hardware off the walls rather than taping around them, since tape lines around fixtures rarely look clean once removed. Wash the walls with mild dish soap and warm water to strip away the invisible layer of grease and dust that keeps paint from bonding properly; kitchens especially need this since cooking residue settles on every surface, not just the stove.
Once the walls are dry, run your hand over them in raking light from a lamp. Nail holes, dents, and hairline cracks are much easier to spot this way than under overhead lighting. Fill anything you find with spackling compound, let it cure for the time listed on the container, usually thirty minutes to a few hours depending on depth, then sand it flush and wipe away the dust with a barely damp cloth.
When Primer Actually Earns Its Keep
Plenty of paint cans now advertise “paint and primer in one,” which has convinced a lot of people primer is obsolete. It isn’t, at least not in every case. If you’re painting a light color over a dark one, covering a water stain, or rolling onto bare drywall or a patched repair, a dedicated primer coat will save you from needing three or four coats of the finish paint to get even coverage.
Primer is also considerably cheaper per gallon than most finish paints, so using it strategically on a dramatic color change can actually lower your total project cost rather than raise it. Tint the primer toward your finish color if your paint store offers that service; it cuts down on the number of topcoats you’ll need even further.
Technique Matters More Than Speed
Start every wall by cutting in the edges first: the corners where wall meets ceiling, the trim around doors and windows, and anywhere a roller physically can’t reach. Use a steady hand and a slightly loaded brush rather than trying to rush a full strip in one pass.
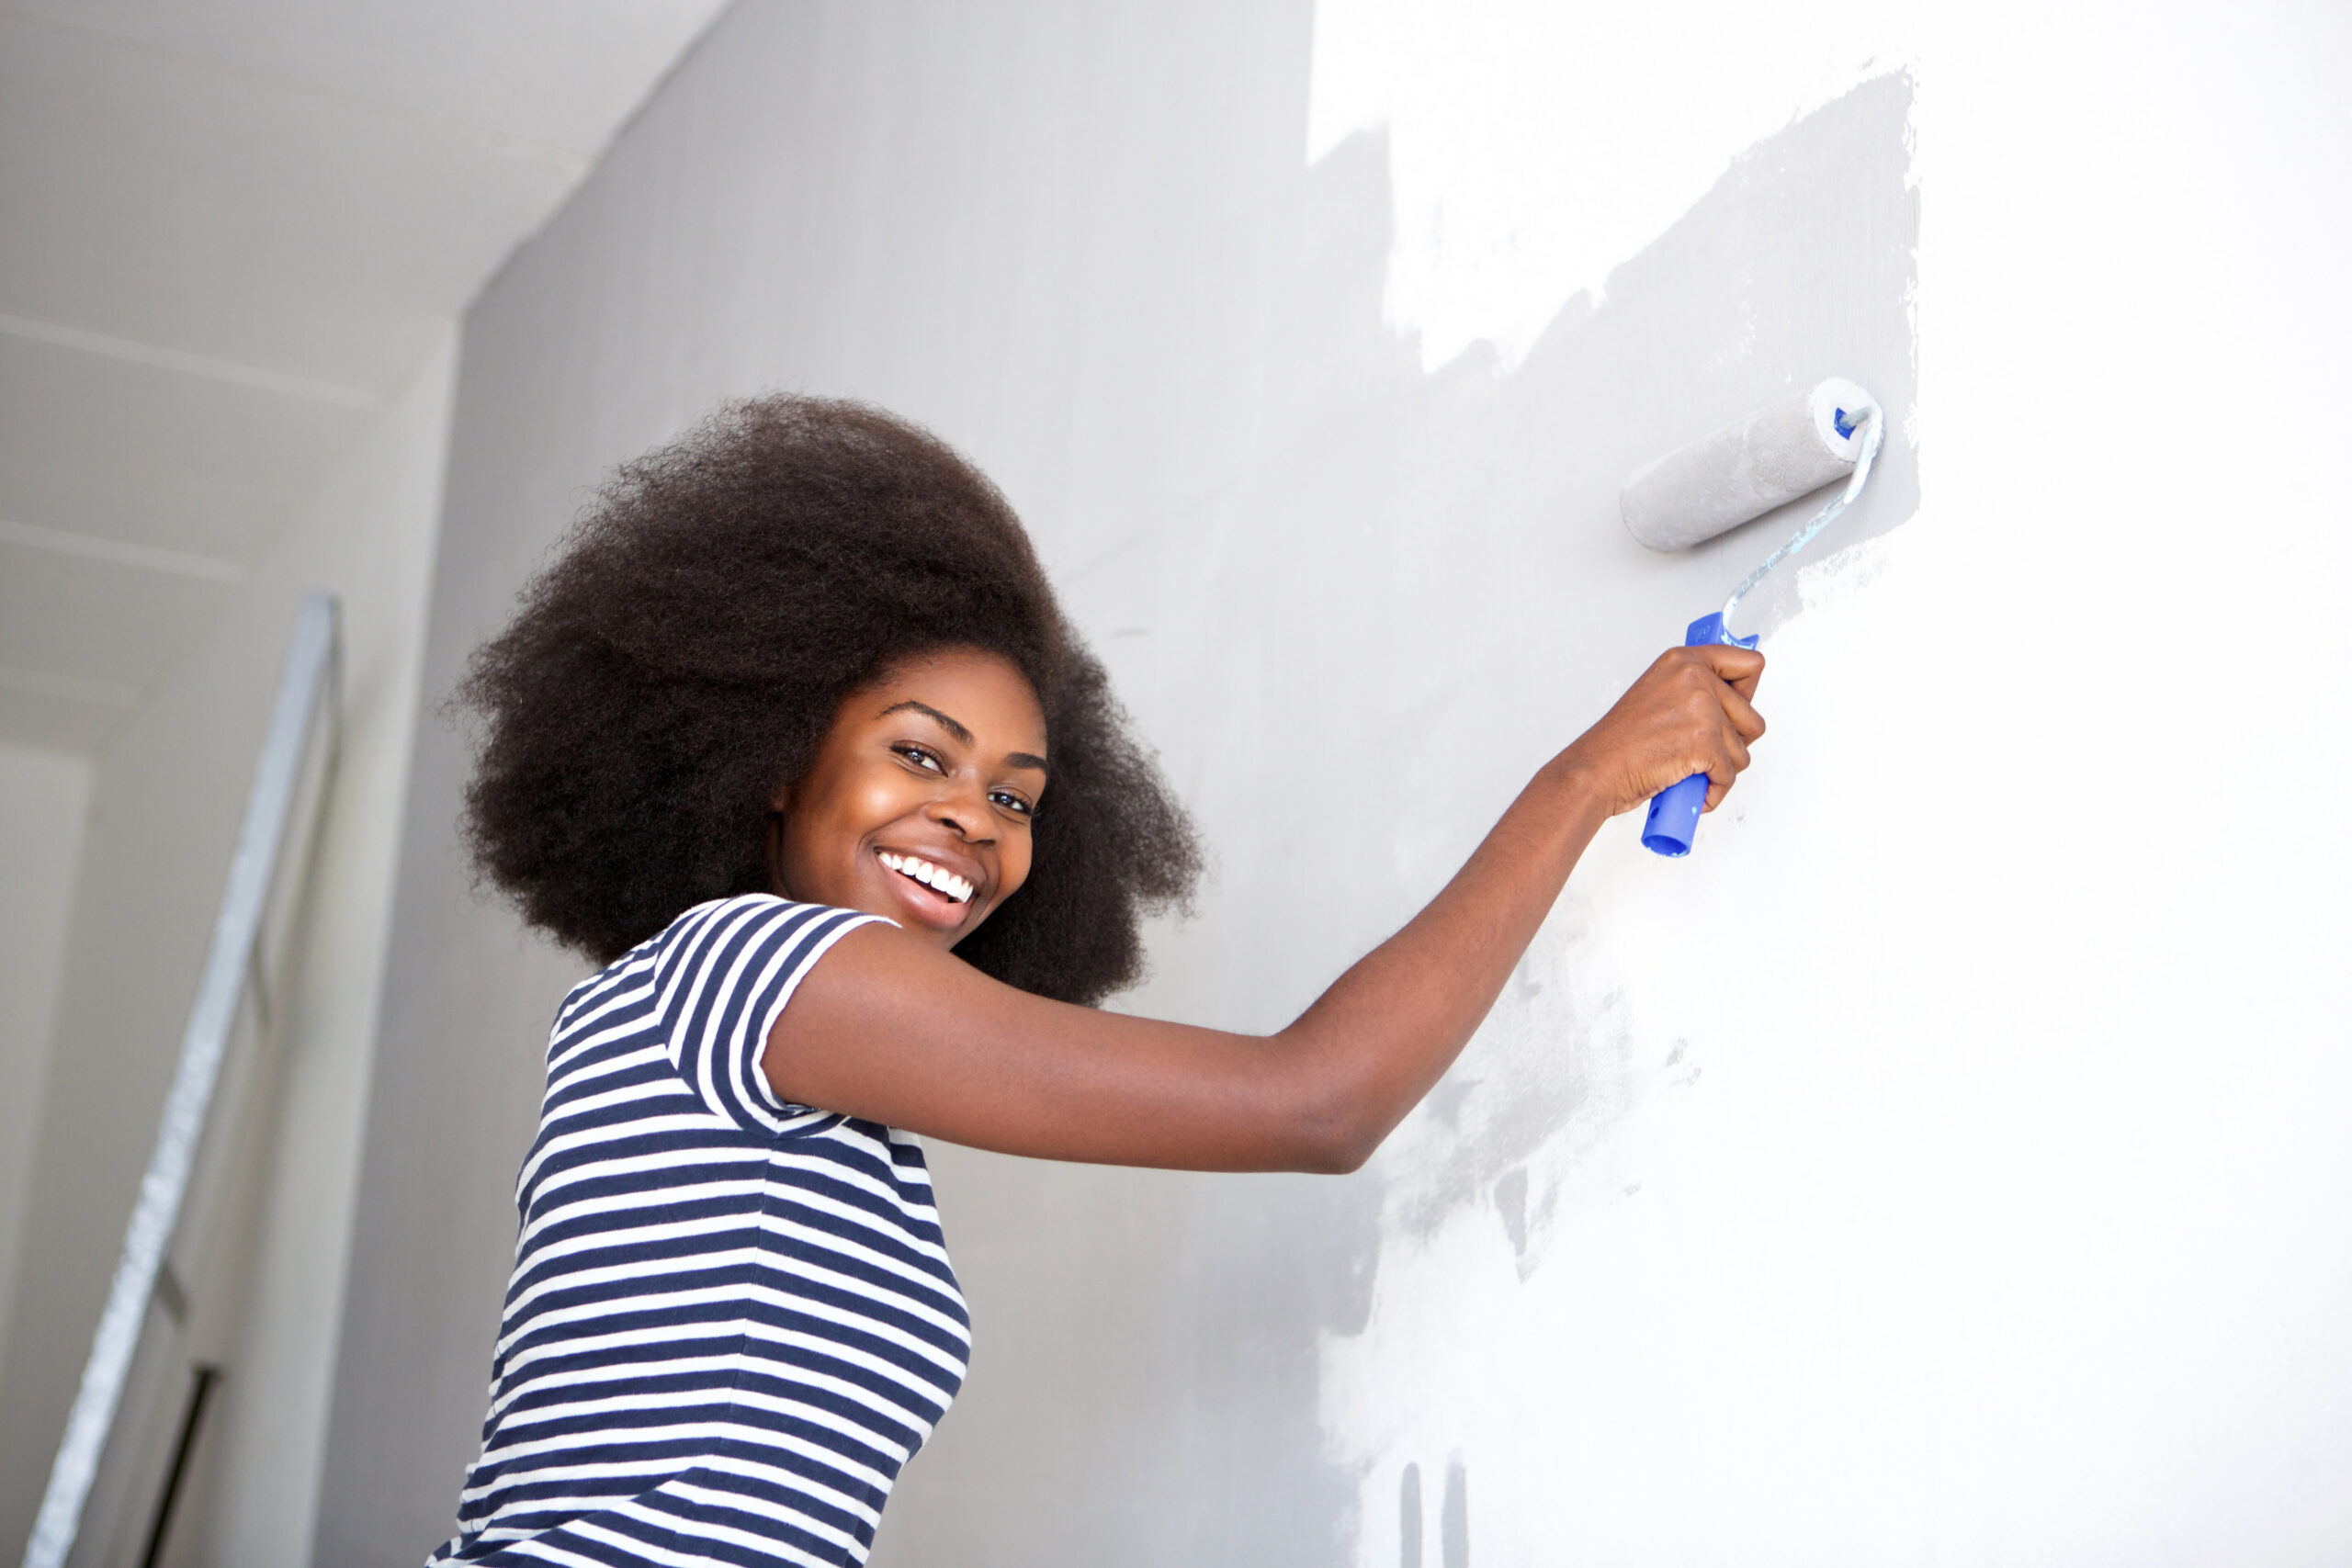
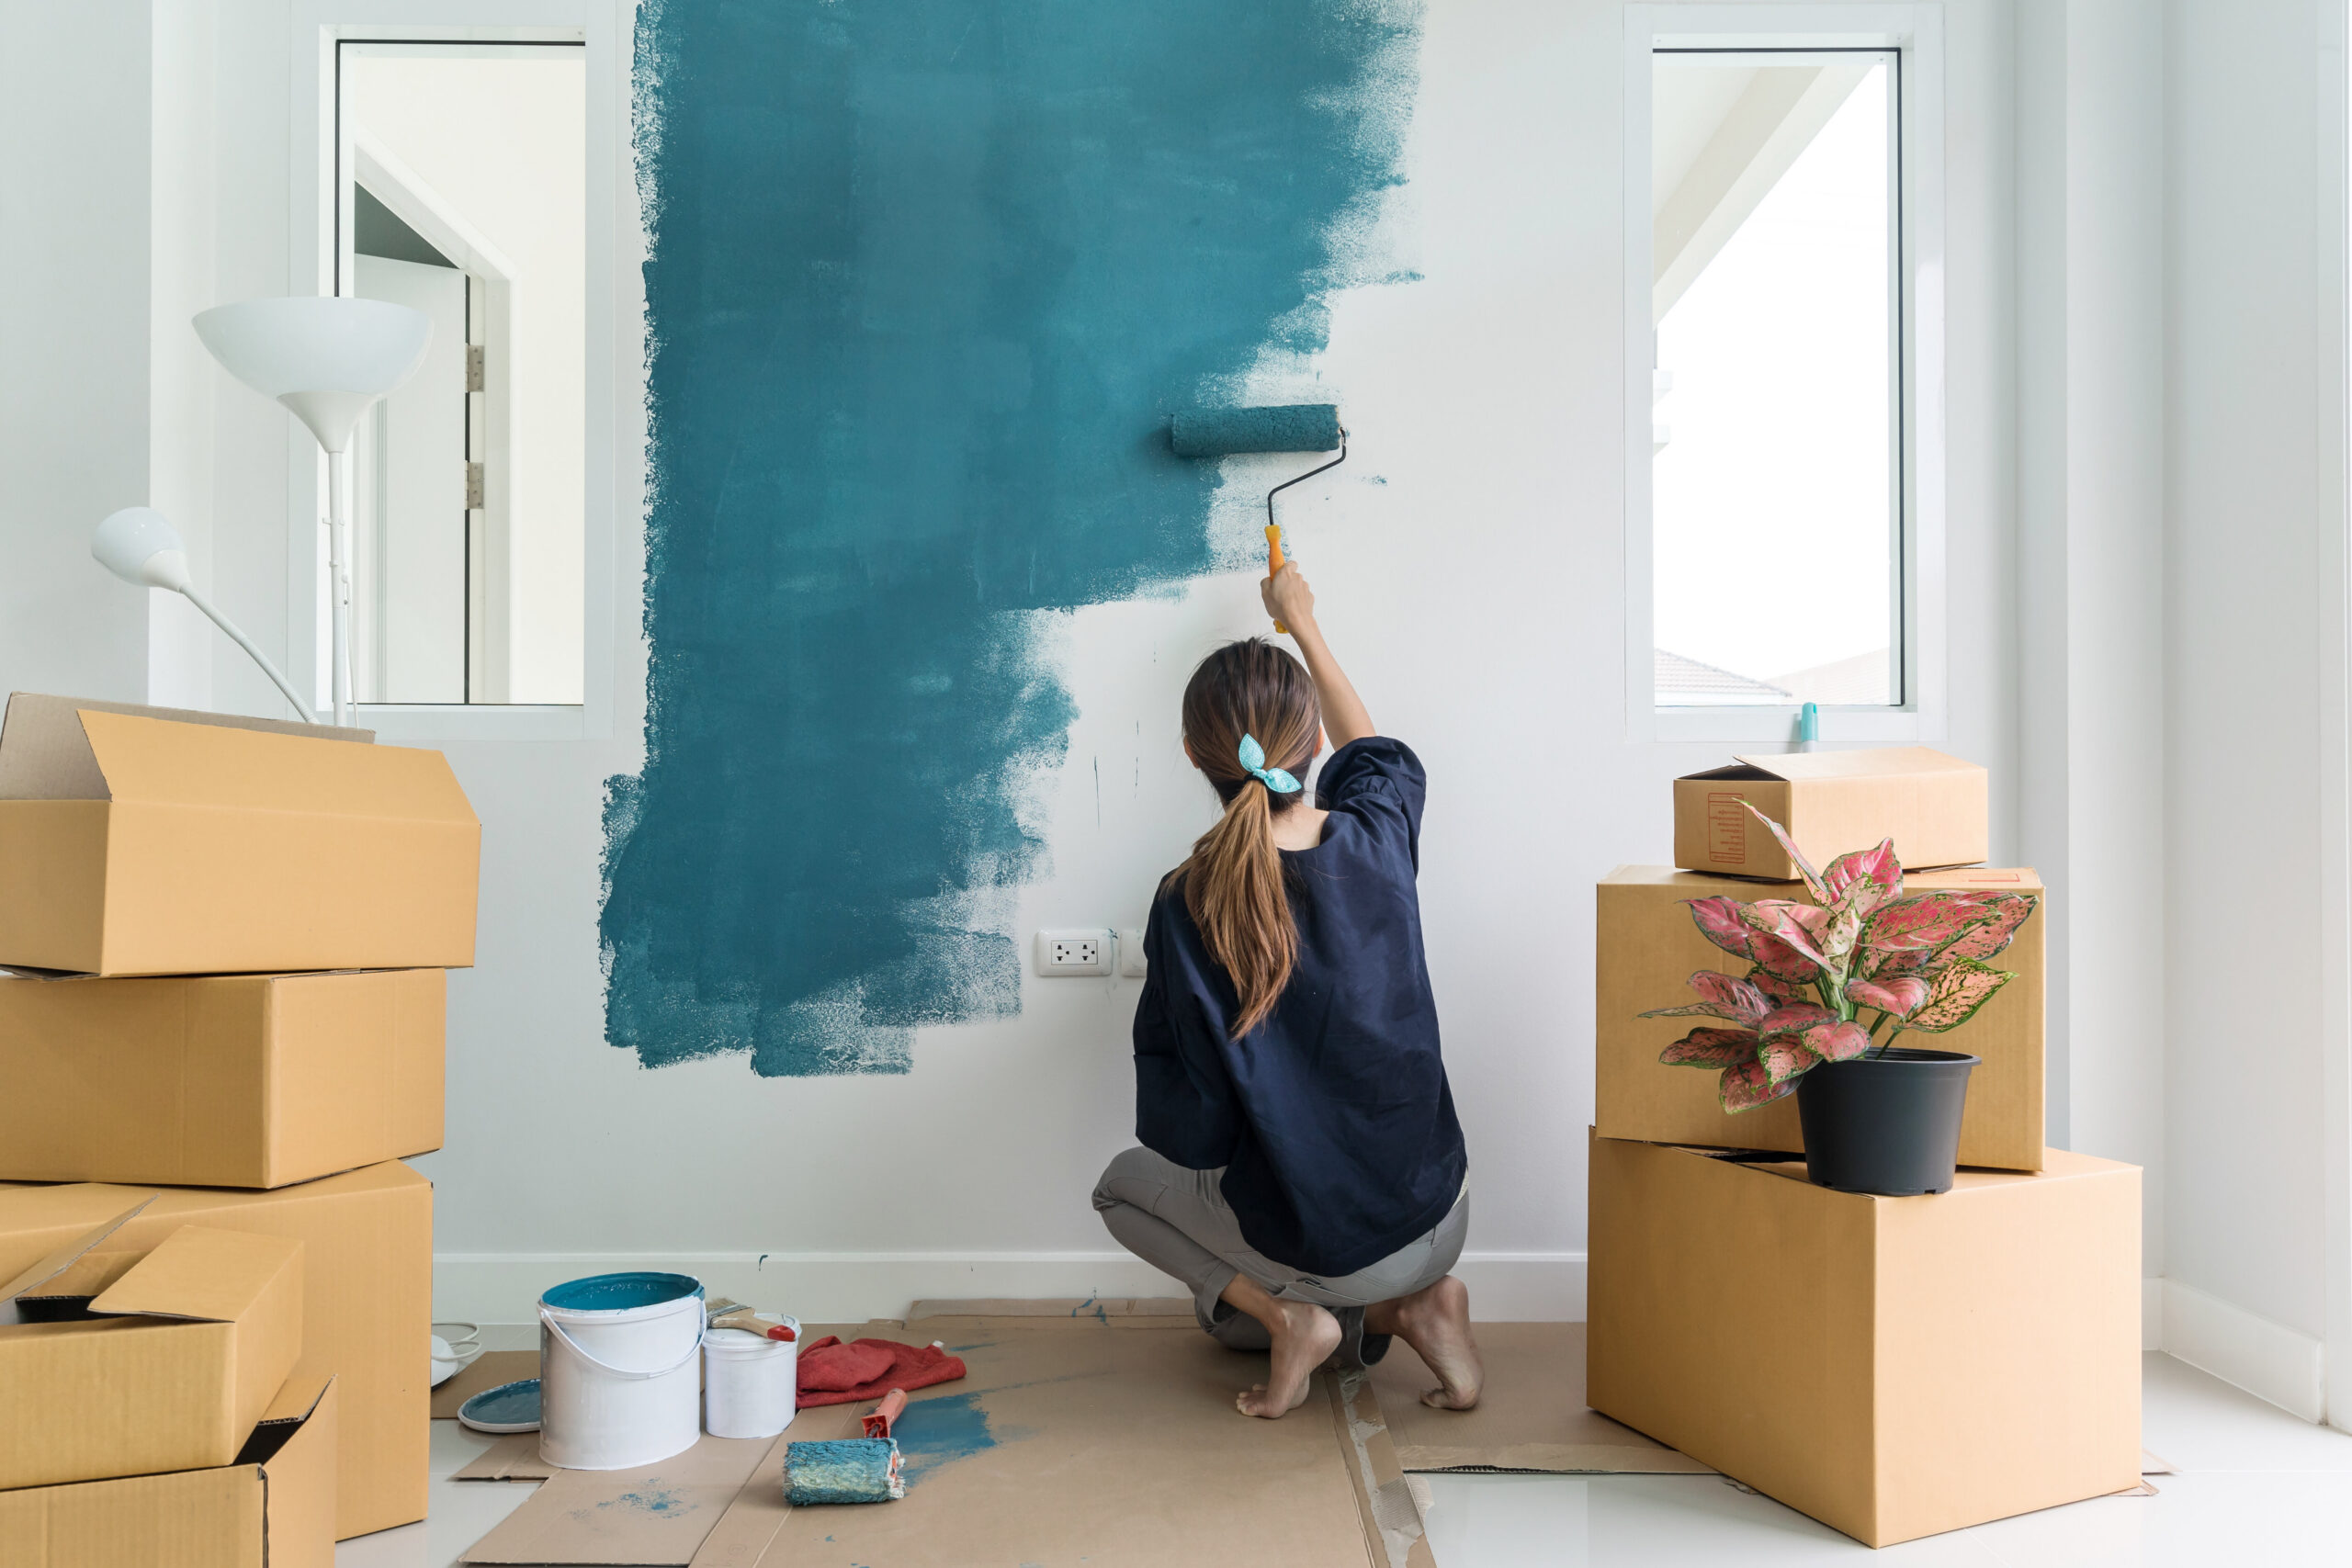
Once the edges are done, load the roller and work it into a “W” or “M” pattern across each section before filling in the gaps, which distributes paint more evenly than straight up-and-down strokes. Keep a wet edge as you move across the wall so new paint blends into what’s already down instead of leaving visible overlap lines, sometimes called roller marks or “picture framing.” Most walls genuinely look better with two thin coats rather than one thick one, so resist the urge to load the roller heavily just to finish faster. Let each coat dry for the time stated on the can, typically two to four hours, before starting the next.
Ideas Beyond a Basic Wall Color
Once you’ve got the fundamentals down, there’s a lot of room to get creative without much added risk. A painted arch behind a headboard or a bookshelf has become a favorite among renovation accounts on social media, and it only requires a compass, a pencil, and steady taping. Geometric blocking, done with painter’s tape and two contrasting colors, can make a plain wall in a kid’s room or home office feel custom-built rather than store-bought.
Don’t stop at walls, either. An old dresser or set of kitchen cabinets can look completely different with cabinet-grade paint and new hardware, often for under $100 in materials. Painting interior doors a contrasting color, paired with updated hinges and handles, adds a surprising amount of character to hallways that otherwise blend together. Even trim benefits from a fresh coat of semi-gloss white, since it makes wall colors look crisper by comparison. This Old House has documented plenty of these smaller updates if you want to see before-and-after examples before committing.
Mistakes Worth Avoiding
Running out of paint mid-project is one of the most common and most avoidable errors. Manufacturers list coverage estimates on the can, but rooms with lots of corners, windows, or trim eat more paint than a simple rectangular space, so it’s worth buying slightly more than the calculator suggests. Pulling painter’s tape off too late is another frequent misstep; tape comes away cleanest while the paint underneath is still slightly tacky, not once it’s fully cured overnight.
People also tend to underestimate cure time, which is different from dry time. Paint might feel dry to the touch within an hour, but it can take up to two weeks to fully cure and reach its final hardness, which matters if you’re planning to push furniture back against a freshly painted wall. Give it a few extra days if you can.
A Fresh Coat Is Worth the Weekend
Painting remains one of the rare home projects where a modest budget and a Saturday afternoon can genuinely transform how a space feels to live in. Pick one room, take the prep work seriously, and don’t be afraid to test a color you’re not sure about; it’s just paint, and it’s always fixable with another coat.