Table of Contents
Create the Backyard Fire Pit You’ve Always Wanted
That patch of grass in your backyard could be a gathering spot by next weekend instead of just a place you mow. Here’s what it actually takes to build a fire pit that looks good, holds up through winter, and doesn’t cost a fortune.
Check the Rules Before You Dig
Before you buy a single block, call your city or check its website for burn restrictions. Some municipalities require a minimum distance from property lines (often 10 to 25 feet), while others ban open flames entirely during dry seasons. The National Fire Protection Association publishes general guidance on outdoor fire safety, but local rules vary enough that a five-minute phone call to your building department can save you from tearing out a finished project later. If you live in an HOA community, don’t skip this step. Plenty of DIYers have built a beautiful fire pit only to find out it violates a covenant nobody read.
Choosing a Spot That Actually Works
Location matters more than most people expect going in. You’ll want at least 10 feet of clearance from your house, fence, deck railings, and any low-hanging tree branches, and the ground should be as flat as you can find without regrading. Pay attention to which way the wind usually blows in the evening; nobody enjoys smoke rolling straight into their eyes every time they sit down. A spot visible from your kitchen or patio door tends to get used more often simply because it’s easy to glance at and easy to walk to.
Think ahead, too. If you might add a paver patio, string lights, or a small pergola down the road, leave yourself six or seven extra feet of buffer now rather than boxing yourself in.
Picking a Style and Size
Most backyard fire pits fall into one of three camps: circular block pits, square or rectangular pits with a more modern look, and natural stone pits built for a rustic feel. A 36- to 44-inch interior diameter is the sweet spot for most families, big enough for a real fire, small enough that six or eight people can still talk comfortably across it. Circular retaining wall blocks remain the fastest build because they’re designed to interlock without cutting, and a single pallet from a home improvement store typically runs somewhere between $150 and $300 depending on the material.
Square pits take a little more measuring and a miter saw or wet saw for corner cuts, but they pair nicely with a rectangular patio or a modern deck. Natural stone is the slowest option since every piece is a different shape, though the payoff is a pit that looks like it’s been there for decades.
Gathering Your Materials
Before you start digging, get everything on site so you’re not making three trips to the store mid-project.
- Retaining wall blocks or natural stone (roughly 40 to 60 blocks for a 40-inch circular pit), crushed gravel for the base, paver sand, a 36-inch steel fire ring liner, landscape block adhesive, a shovel, a hand tamper, a 4-foot level, a tape measure, and work gloves.
A steel liner isn’t strictly required if you’re using heat-rated blocks, but it protects the masonry from cracking after repeated freeze-thaw cycles, and most liners cost less than $40.
Digging In: The Foundation
Mark your outline with spray paint or a garden hose, then dig down about 6 to 8 inches inside that circle, removing grass, roots, and topsoil as you go. Fill the excavated area with 4 inches of crushed gravel and compact it firmly with a hand tamper, working in thin layers rather than dumping it all in at once. A plate compactor speeds this up considerably if you’re renting one anyway for a nearby patio project.
Check the surface with your level in several directions before moving on. Even a half-inch of slope becomes obvious once you’ve stacked three or four courses of block on top of it, and by then it’s a much bigger fix.
Stacking the Walls
Lay your first course carefully, checking level after every single block since this row sets the tone for everything above it. Stagger the joints on each subsequent course the way you would with a brick wall, which adds real structural strength and gives the finished pit a more finished, less stacked-Lego look. Most stackable retaining wall blocks are designed to sit without mortar, but if you want a permanent installation, run a bead of exterior-rated construction adhesive between the top two or three courses.
Slide the steel fire ring liner into place before you finish the last course. Trying to wedge it in afterward is annoying and occasionally impossible depending on how tight your fit is.
Seating and Comfort
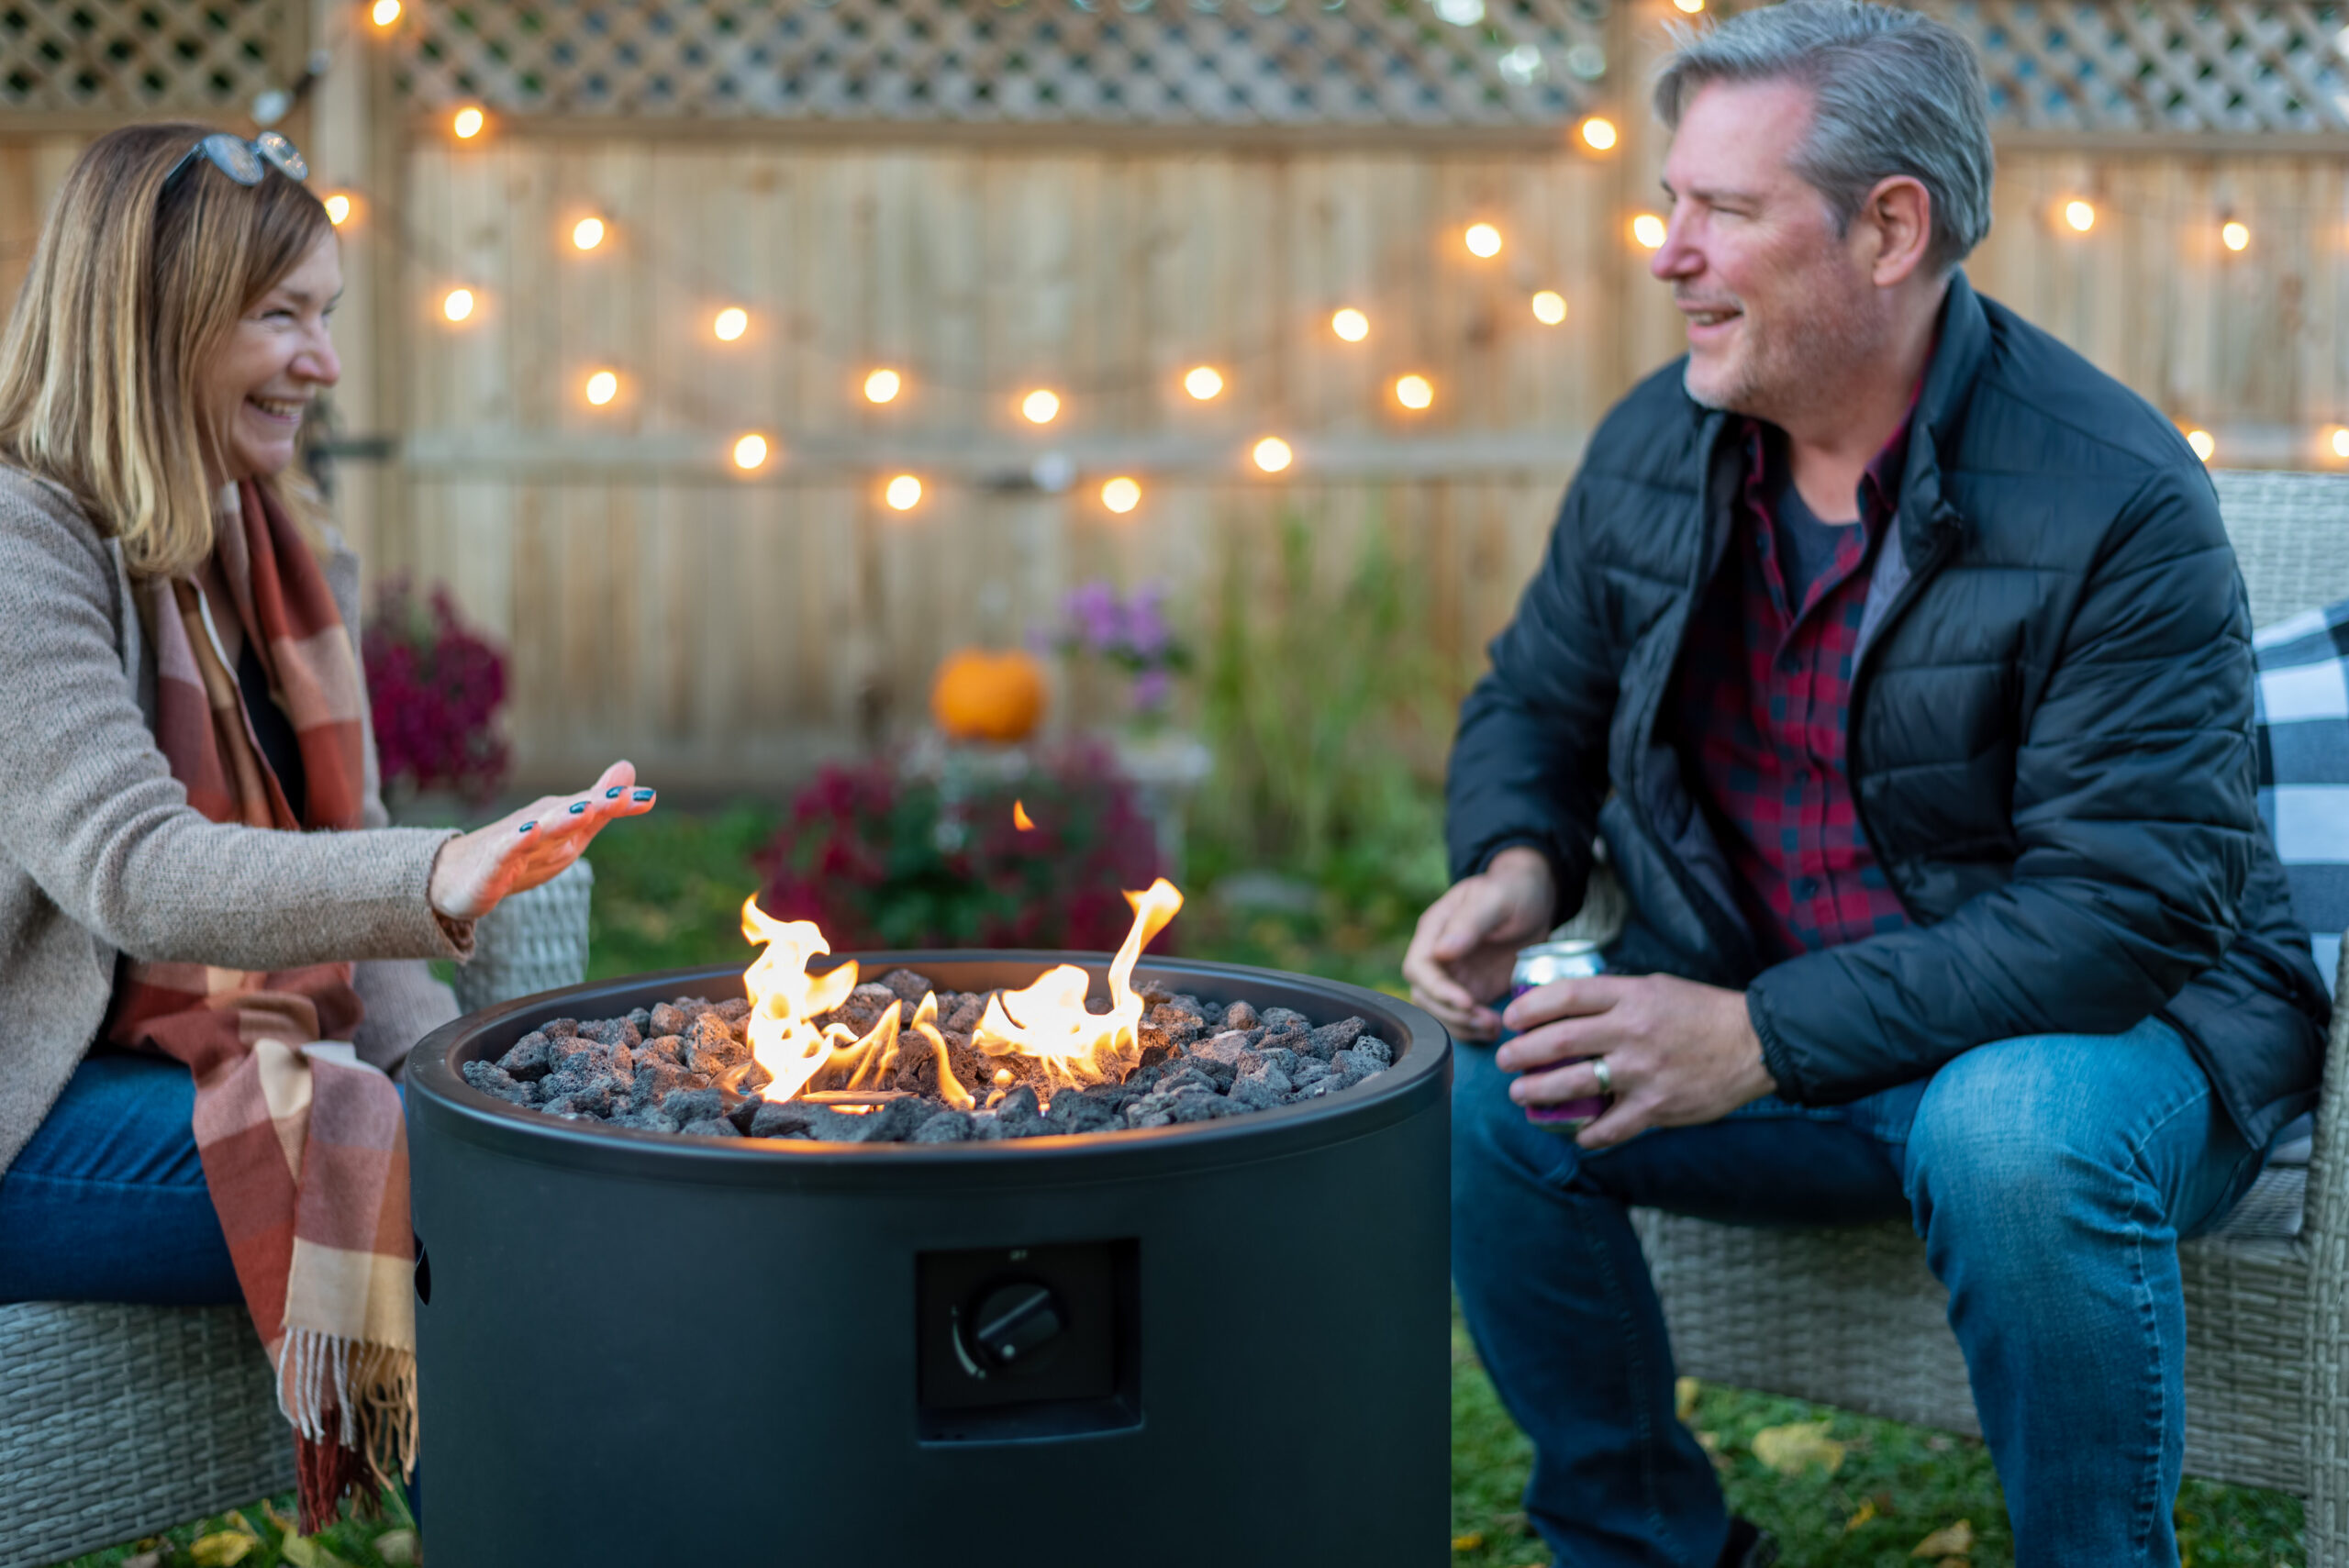
The fire pit itself is only half the project; where people sit determines whether they stay for twenty minutes or two hours. Adirondack chairs remain popular because they’re inexpensive, weatherproof, and comfortable enough to sit in for a while. A simple seating wall built from the same blocks as your pit creates a cohesive look and gives you permanent seating that needs almost no upkeep. Keep chairs at least 3 feet back from the fire ring so everyone stays warm without roasting.
Finishing Touches and Landscaping
Once the pit itself is done, a paver patio around the base cuts down on mud and gives the whole area a finished look; even a simple 10-by-10-foot pad makes a noticeable difference. Solar path lights need no wiring and make the walk back to the house safer after dark. Ornamental grasses or seasonal flowers in planters around the perimeter soften all that hard landscaping, and a few well-placed shrubs can add privacy if your yard backs up to a neighbor. Better Homes & Gardens and Family Handyman both have solid photo galleries if you want ideas before you commit to a layout.
Fire Safety Isn’t Optional
Burn only seasoned firewood unless your pit is built specifically for gas or propane, and skip treated lumber, painted wood, or anything with glue or finish on it, since burning those releases chemicals you don’t want to breathe. Keep a hose or a bucket of water within reach any time there’s a flame going, and never walk away from a fire that’s still burning, even for a few minutes. Kids and pets need supervision around open flames every time, no exceptions. The Consumer Product Safety Commission has additional guidance worth a quick read before your first gathering, especially if this is your first fire pit.
Keeping It Looking Good
Fire pits are low maintenance, but they’re not zero maintenance. Scoop out ash once it’s fully cooled after each use, since letting it pile up chokes off airflow to future fires. Once a year, walk the perimeter and check for blocks that have shifted from frost heave, and reset or re-glue anything that’s moved. If you’re using a steel liner, glance inside for rust every season or two and swap it out once it starts flaking, which usually happens somewhere around year five to eight depending on your climate. A simple weatherproof cover during heavy rain or snow protects both the liner and the surrounding stone.
Building your own fire pit isn’t complicated, but it does reward patience, especially during the foundation stage where a little extra care pays off for years. Get the base right, pick materials that suit your yard, and the rest of the project tends to fall into place on its own. By next month, you could be handing someone a marshmallow stick instead of still thinking about it.